
How to Photograph Winter Like a Fairy Tale
Learn 10 tips to improve your photography in frozen landscapes.
Prefer to watch this tutorial in video format? 😏
In this tutorial, I'm going to walk you through 10 tips to improve your photography within frozen landscapes. This is applicable to all snowy, winter, and generally cold places. Let’s jump in.
Tip #1: Keep Your Batteries Warm
My first tip is to keep your batteries warm, and to bring extra batteries on your cold adventures. A fun fact about electronics is that they will die significantly faster if exposed to colder temperatures. If you're shooting anywhere below 30°F, this factor comes into play, especially if you're shooting video.
What I like to do is bring a couple of extra batteries and keep them in my pocket next to my leg. This ensures that they’re warm and ready to go if needed.
Tip #2: Clean Your Sensor
Although keeping your sensor clean is applicable to all genres of photography, it’s especially important if you’re shooting in the snow, (or in the fog, for that matter.) This is because when you're shooting in a place with high levels of white, those pesky sensor spots become more visible.
The easiest way to do this is to use a camera dust cleaner, which looks exactly like a turkey baster. You simply blow it into your sensor a few times before going out to get most of the dust/hair out. I usually don’t do a full sensor cleaning unless there’s spots that aren’t coming out from this method, which is rare.
However if you’re already out and it’s too late to clean the sensor, an easy fix is to shoot at a lower f-stop, like f/1.8, f/2.8, or even f/4. You can clean them up in post-production using Healing tools, but it can be cumbersome, especially if there are many of them.
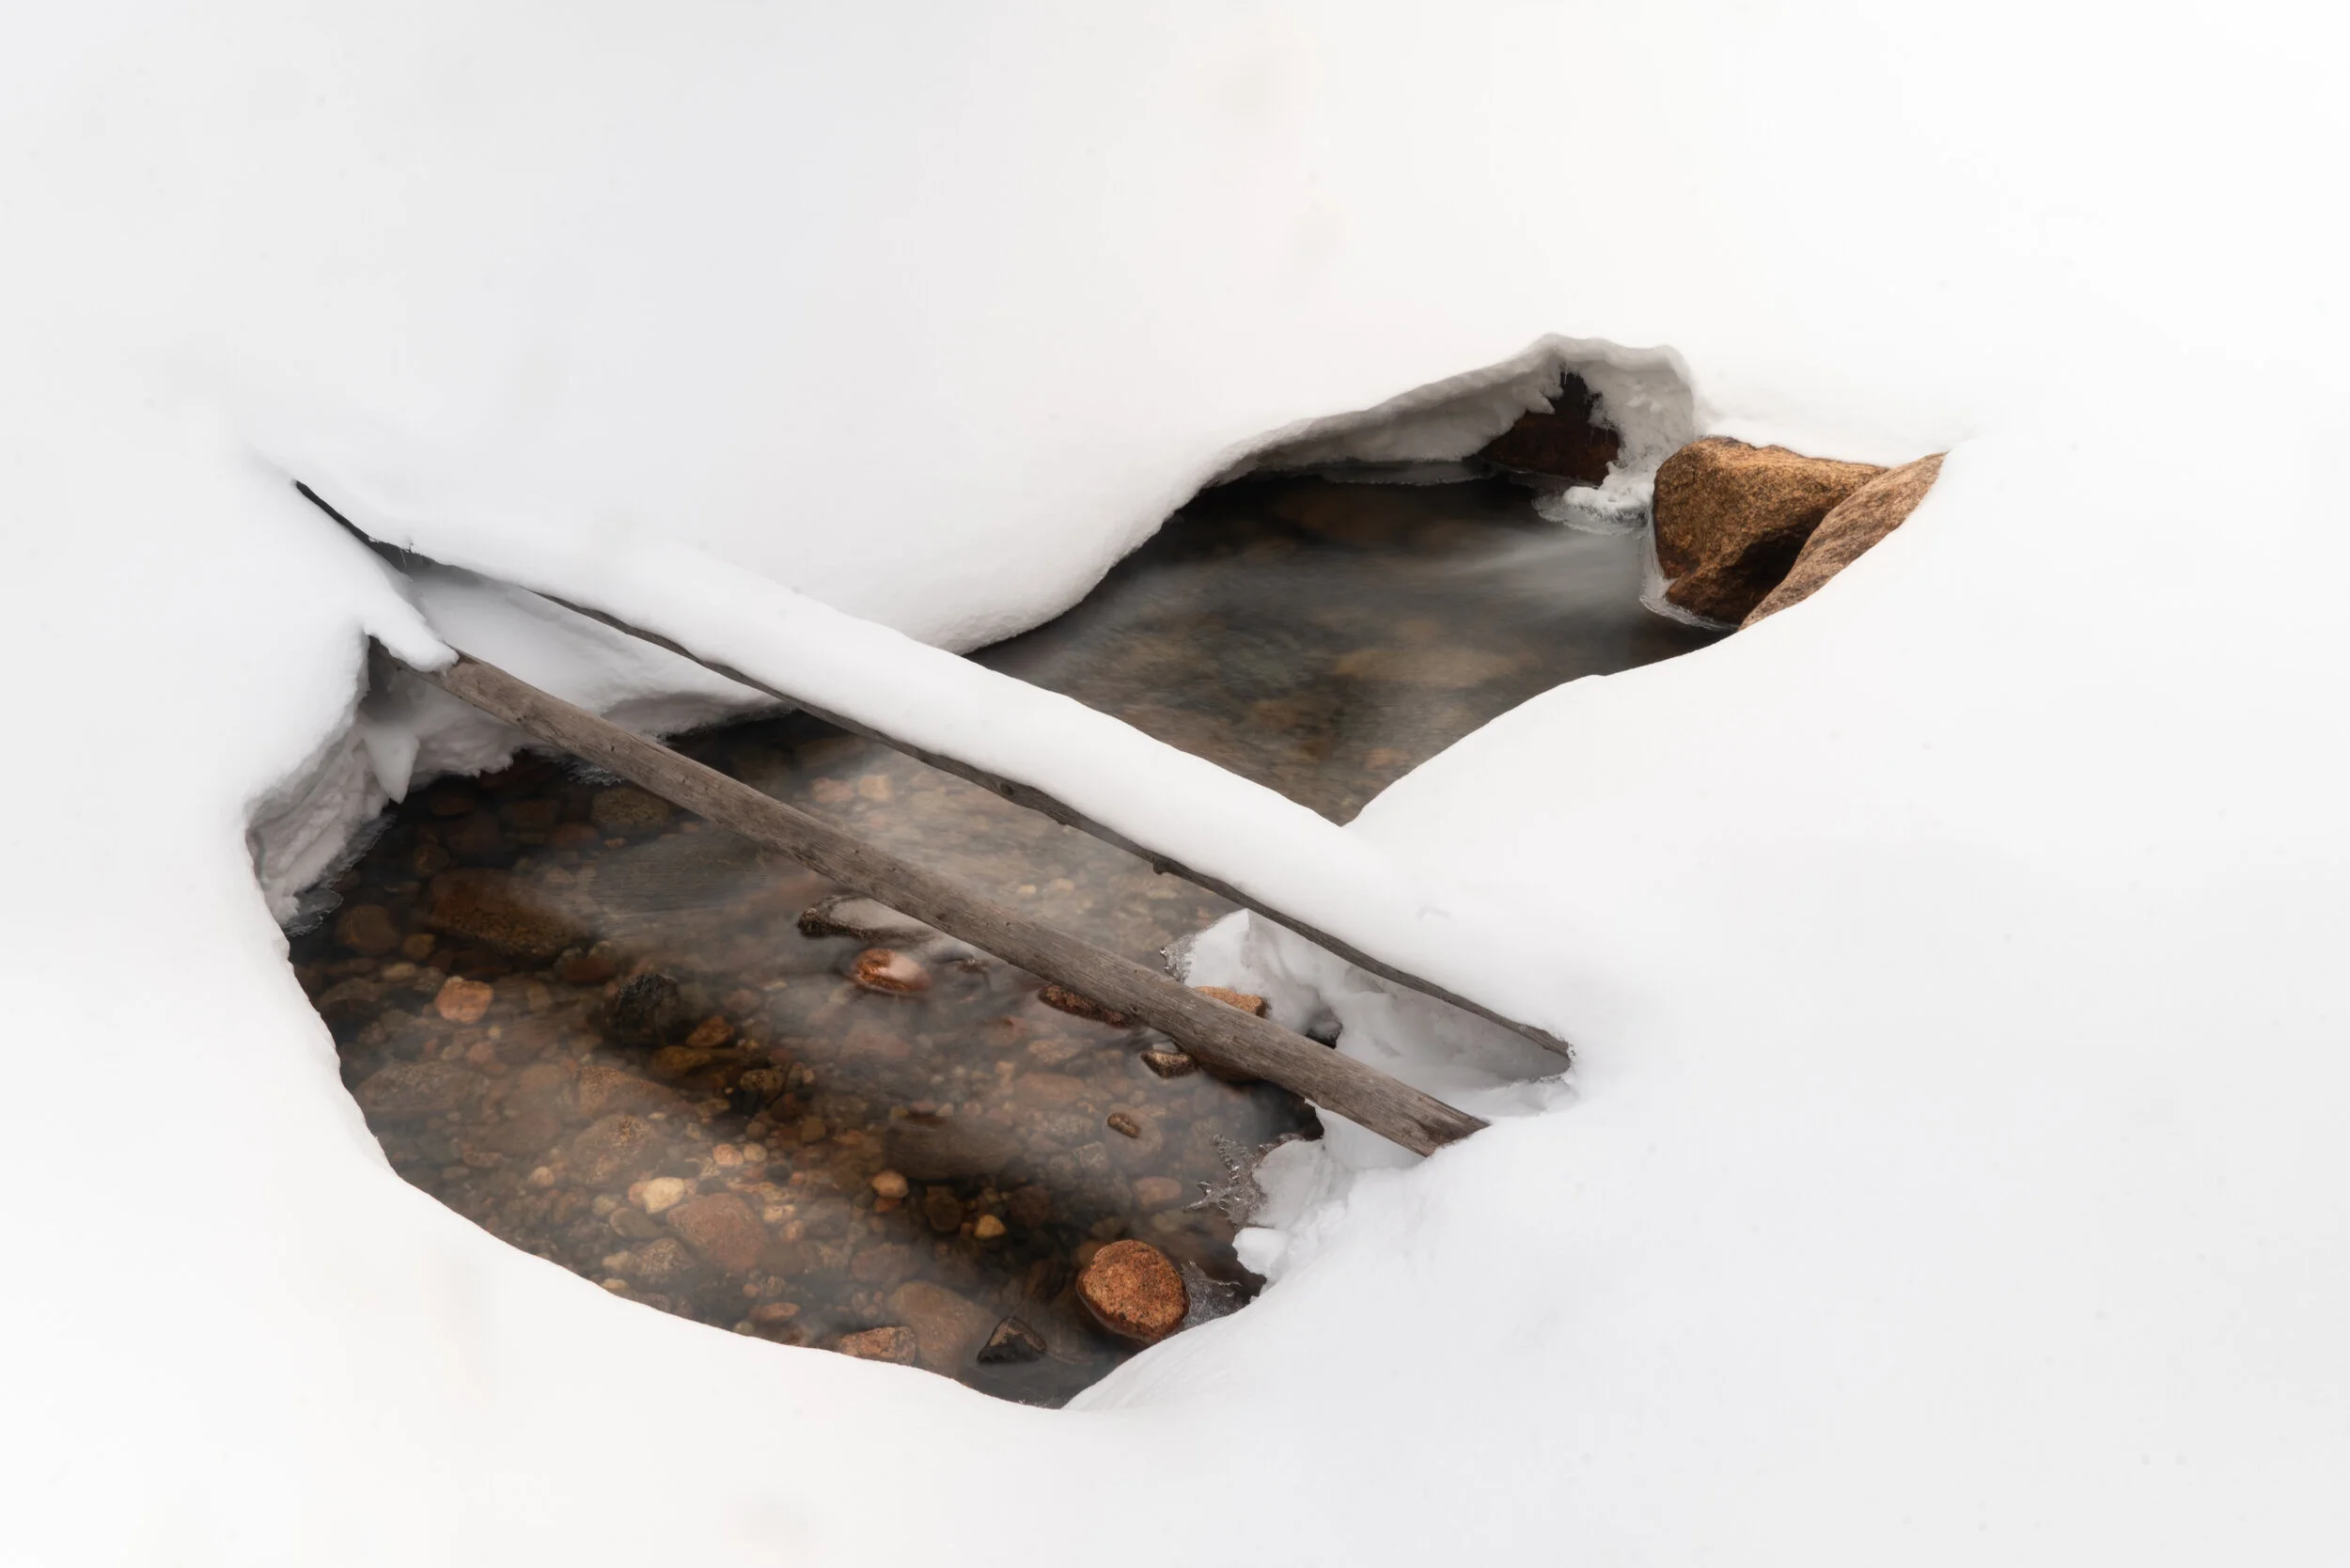
This photo of a frozen river in the snow was taken near Lawn Lake in Rocky Mountain National Park.
Tip #3: Gloves with Removable Fingertips
The third tip I have is to get gloves with removable fingertips. These are gloves that have small “hoods” over the fingertips that you can remove to fiddle with your camera settings.
This is a life-saver when it’s especially cold out and you don’t want to remove your entire glove to tweak the shutter or aperture. Trust me, there’s nothing harder than trying to click camera buttons with a full glove on.
One thing I also like to do, if it's particularly cold out, is bring one of those small hot packs and keep it in my pocket. Even if you don’t think you’ll use it, throw one in the bag just in case- they only weigh a few ounces. Rising in elevation can bring cooler temperatures, and weather can change unexpectedly.

This photo of Mt. Rainier was taken on a notoriously cold afternoon.
Tip #4: Use a Polarizing Filter
The fourth tip I have is to use a polarizing filter. I don’t use polarizing filters very often, but I do find them useful in the snow. If you remember from the Filter tutorial, polarizing filters help reduce the glare in your shots.
On bright days, sunlight reflecting off snow can easily overexpose your images. A polarizing filter reduces that immensely- saving you the trouble of having to tweak other settings to make up for it. Alternatively, you can avoid this problem altogether by shooting on cloudy days, which makes it easier to get a proper exposure.
Tip #5: Shoot Right After Fresh Snowfall
The fifth tip I have is to shoot right after a fresh snowfall. Even an hour or two after the snow has stopped falling is the best time because the snow is still in its light, delicate form, which looks amazing in landscape photography.
For one, the snow hasn’t had a chance to melt yet, and you’ll find it hanging from trees and leaves in subtle ways. There are also no footprints, trails, or leaves, which leaves you with a clean and pristine landscape to shoot.

This photo was taken when Chatfield Reservoir was frozen over, mid-winter, in Colorado.
Tip #6: Watch for Footprints
The next tip I have is to watch where you're stepping. Really watch. Every clearing could be a potential composition, and they can be easily ruined by trudging around in it.
Sure, you can clean up a few footsteps in Photoshop, but if you’re walking back and forth, it’s going to become immensely harder to clean up. The same concept also applies to sand in the desert, ironically.
If you find yourself shooting in a touristy area, you’ll probably need to go far off the main path to get a clean shot- or you’ll need to arrive early.
Tip #7: Clean Your Gear
The seventh tip I have is to use a microfiber towel to clean your lens and a lens hood, especially if the snow is blowing. I’ve mentioned this in several tutorials, but it’s worth repeating: do not let water stay on your lens. The moment you see it, clean it off.
Dried water can ruin great compositions, and there’s nothing worse than getting home and realizing there’s a giant spot in the middle of your shot. Always check your lens and make sure it’s clean before shooting.

This photo was taken in Rocky Mountain National Park at Sprague Lake.
Tip #8: How to Capture Falling Snowflakes
For this eight tip, I wanted to cover how to capture falling snowflakes, which can be a nice foreground element for your shots. Generally, you want to put your shutter speed between 1/250th a second or faster to freeze the snowflakes in mid-air. You can go lower if you want a more rain-like effect, but for light, delicate flakes, stick with higher shutter speeds.
Another way to illuminate the snowflakes is by using an external flash. If your camera supports one, place the flash above your camera and fire it up to illuminate the snowflakes in front of you. This can help them appear more prominent in the scene, especially if you’re shooting at a lower f-stop.
You can also add snowflakes in post-production, using Filters or Brushes in Photoshop.

This photo, taken on Mt. Sherman in Colorado, had some snowflakes in real life, but I added more in post-production to bring it home.
Tip #9: How to Shoot Snowflakes
The ninth tip I have is for shooting individual snowflakes, in the macro sense. If you have a snowflake land on your mitten or see a cluster on a leaf that you want to photograph up close, the best way to do this is with a macro lens paired with an extension tube.
This allows you to focus on the tiny, precise details of snowflakes. You would think a macro lens would be able to do this on their own, but many macro lenses don’t have the capability to do this without the help of an extension tube.
Set your aperture somewhere in the middle, like f/11 or f/13, place your camera on a tripod, attach the extension tube, and shoot. Depending on your setup, you might need to Focus Stack the shot since depth of field is extremely small. Shooting the snowflake straight on (rather than from the side) can help you keep it fully in focus.
Finally, make sure the snowflake is well lit. Many extension tubes come with a small ring light to assist with this. Good luck!
Tip #10: Bag Your Camera
The last tip I have is for when you're done shooting in very cold temperatures: bag your camera. By this, I mean have a plastic ziplock bag ready for your equipment. Once you're done shooting, place your entire camera inside the bag while you’re still outside and seal it shut. Then, bring that bag into your house and let the camera slowly acclimate to room temperature in the bag.
If you bring your cold camera directly into a warm room, condensation can form all over it. Depending on how weather-sealed your camera and lens are, this can cause damage to the components. I generally keep the bag sealed in the bag for an hour or two until it adjusts to the new temperature.
Alright! Those are my 10 tips for shooting in frozen landscapes. Let’s go ahead and hop into the next tutorial, where I’m going to give you ten tips for shooting in the Mountains.