
10 Fresh Freshwater Photography Tips
Learn 10 tips to improve your photography in freshwater situations.
Prefer to watch this tutorial in video format? 😏
In this tutorial, I'm going to be walking you through 10 different tips to improve your freshwater photography. And by freshwater, I mean waterfalls, lakes, rivers, and hot springs.
Since waterfalls are the most complex out of these, the first five tips will be about them. Let’s jump in!
Tip #1: Avoid The Sky in Waterfalls
My first tip is to try to find waterfalls that don’t have a sky in the backdrop. Look for ones that have trees at the top of them, or find an angle that lets you cut most of the sky out.
This is going to make your post-processing significantly easier, because balancing the long exposure between the water and the sky can be difficult. It’s very easy to blow out the sky, and oftentimes you’ll have to do exposure blends to compensate for the massive differences in Dynamic Range.
For example, here’s a shot of a waterfall that has a nice tree overhang, so I didn’t have to worry about the sky:

This photo was taken at Dog Slaughter Falls in Kentucky.
On the other hand, here’s another shot that did have some sky in the backdrop, and I had to do a massive amount of post-processing work, including a Sky Replacement and the Orton Effect:

This photo of Fairy Falls was taken off the Wahkeena Loop in Oregon.
It looks great now, but if you can avoid skies in your frame, it’ll make your life much easier in the editing room.
Tip #2: Use the Right Shutter Speed for Waterfalls
The second tip I have is to make sure your shutter speed is dialed in for the specific type of waterfall. Generally, anything from one-tenth of a second to two seconds will be enough.
However if you want more texture, lean on the side of a faster shutter speed. Generally, you want texture in larger, faster moving waterfalls because there’s a bigger area of water being displayed. It’s nice to see the detail in this area instead of just a giant curtain of white.
For example, check out this shot right here:
This photo of a textured waterfall was taken at Sahalie + Koosah Falls in Oregon.
I was able to get a decent amount of texture, which makes the photo look much better than a simple flat white blur. On the other hand, sometimes you want a nice silky texture, like in this shot right here:

This photo was taken at Pulhapanzak Waterfalls in Honduras. Notice the smooth, less textured waterfall.
And then there are times when you might want a completely choppy waterfall for a different effect. For example, check out this shot:

This photo of a choppy waterfall was taken at Drift Creek Falls in Oregon.
I purposely made the waterfall look choppy because I wanted it to pair nicely with the cracked stone in the frame. It really depends on the vibe of your shot.
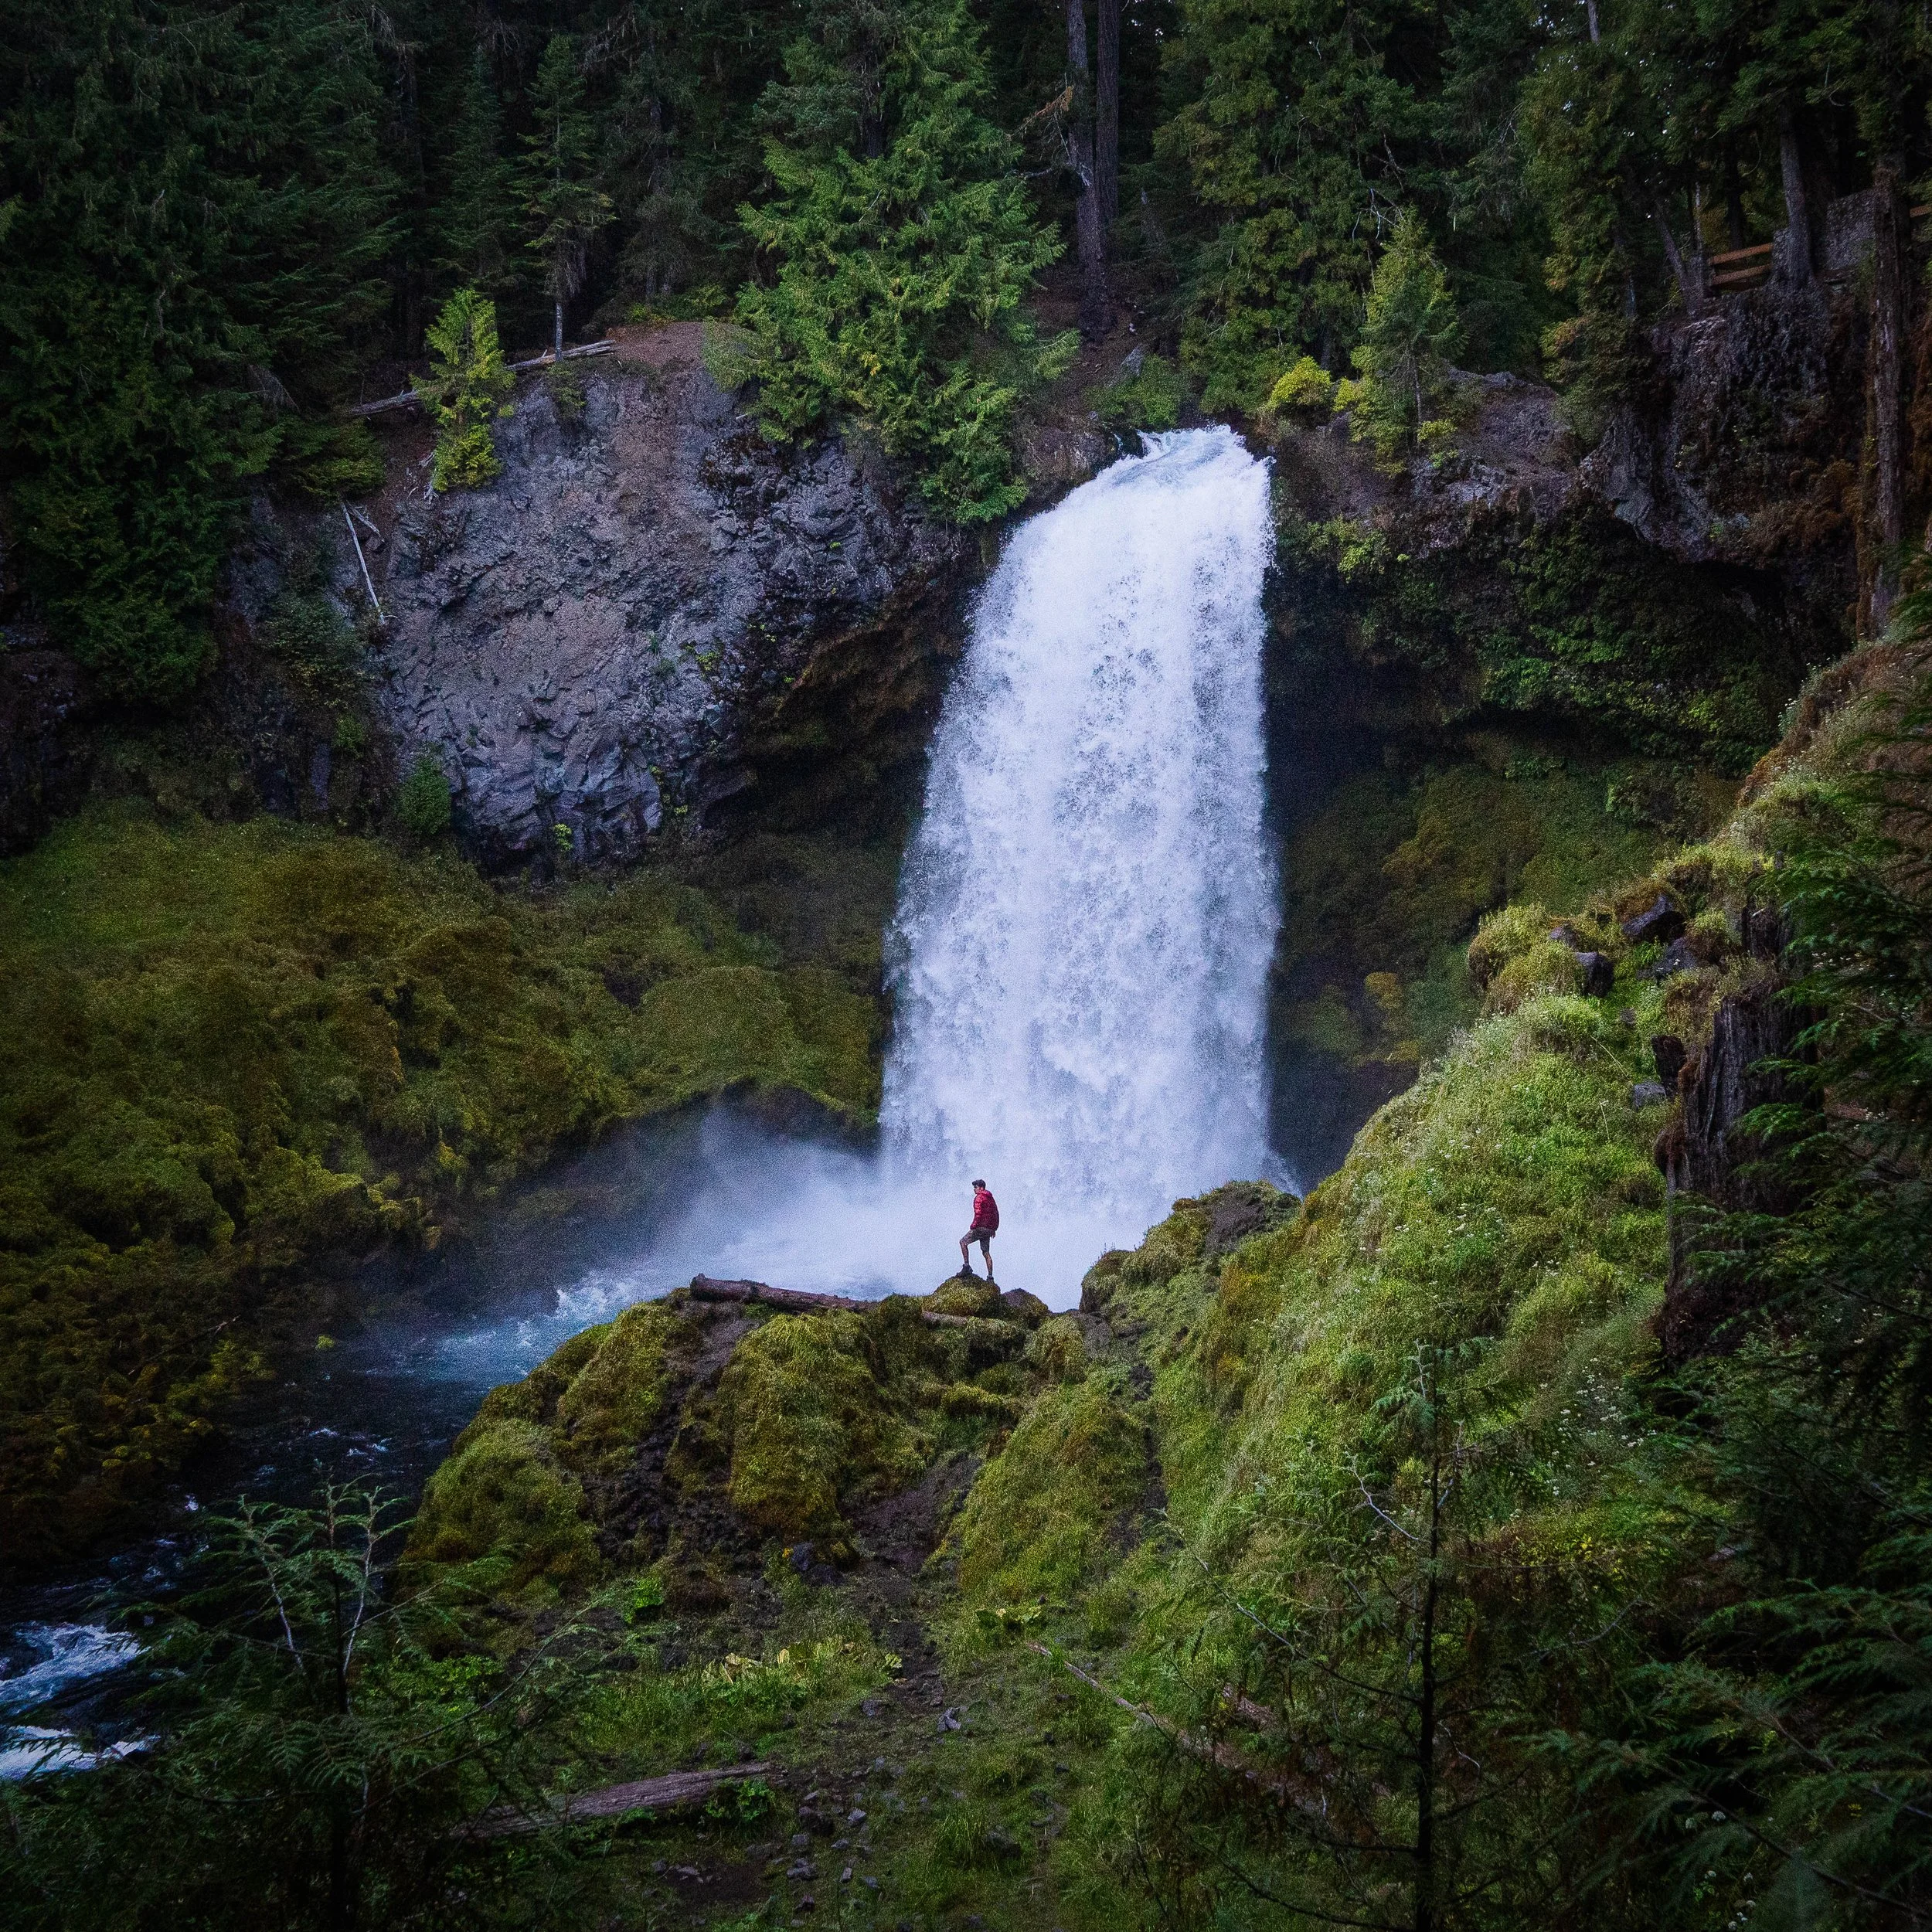
Tip #3: Use Humans as Silhouettes in Waterfalls
Using humans as silhouettes is a great way to help show scale, and they stand out particularly well against the white backdrop of water.
For example, in that previous textured waterfall photo, you can see how having a person adds a sense of size and depth. Here’s another example where I used myself as a silhouette- it’s a simple but powerful way to enhance the composition:

This photo of me silhouetted against a waterfall was taken at Rock Island in Tennessee.
Tip #4: Look for Light Rays at Waterfalls
My fourth tip is to look for light rays in or around waterfalls. If the sun is hitting them at the right side angle, they’ll usually appear because of the mist created by the water hitting the rocks.
Sometimes you won’t even end up shooting the waterfall itself- the light rays might be enough. Check out this shot:

This photo of light rays was taken at Sol Duc Falls in Oregon.
I was actually standing above a waterfall on a bridge, but the light rays became the main subject on their own. Of course, you can also use light rays with the waterfall itself to magnify the effect, like in this image here:

This photo was taken at Cascadas El Paraiso in Guatemala.
Tip #5: Look for Swirls in Waterfalls
My fifth tip is to keep an eye out for swirls in the pool at the bottom of waterfalls. Usually this is more common in small waterfalls, or downstream from bigger falls. The reason to look out for it is that it adds a nice whirlpool effect in your long exposure- especially if there are leaves involved.
Check out this image I took in Mexico:
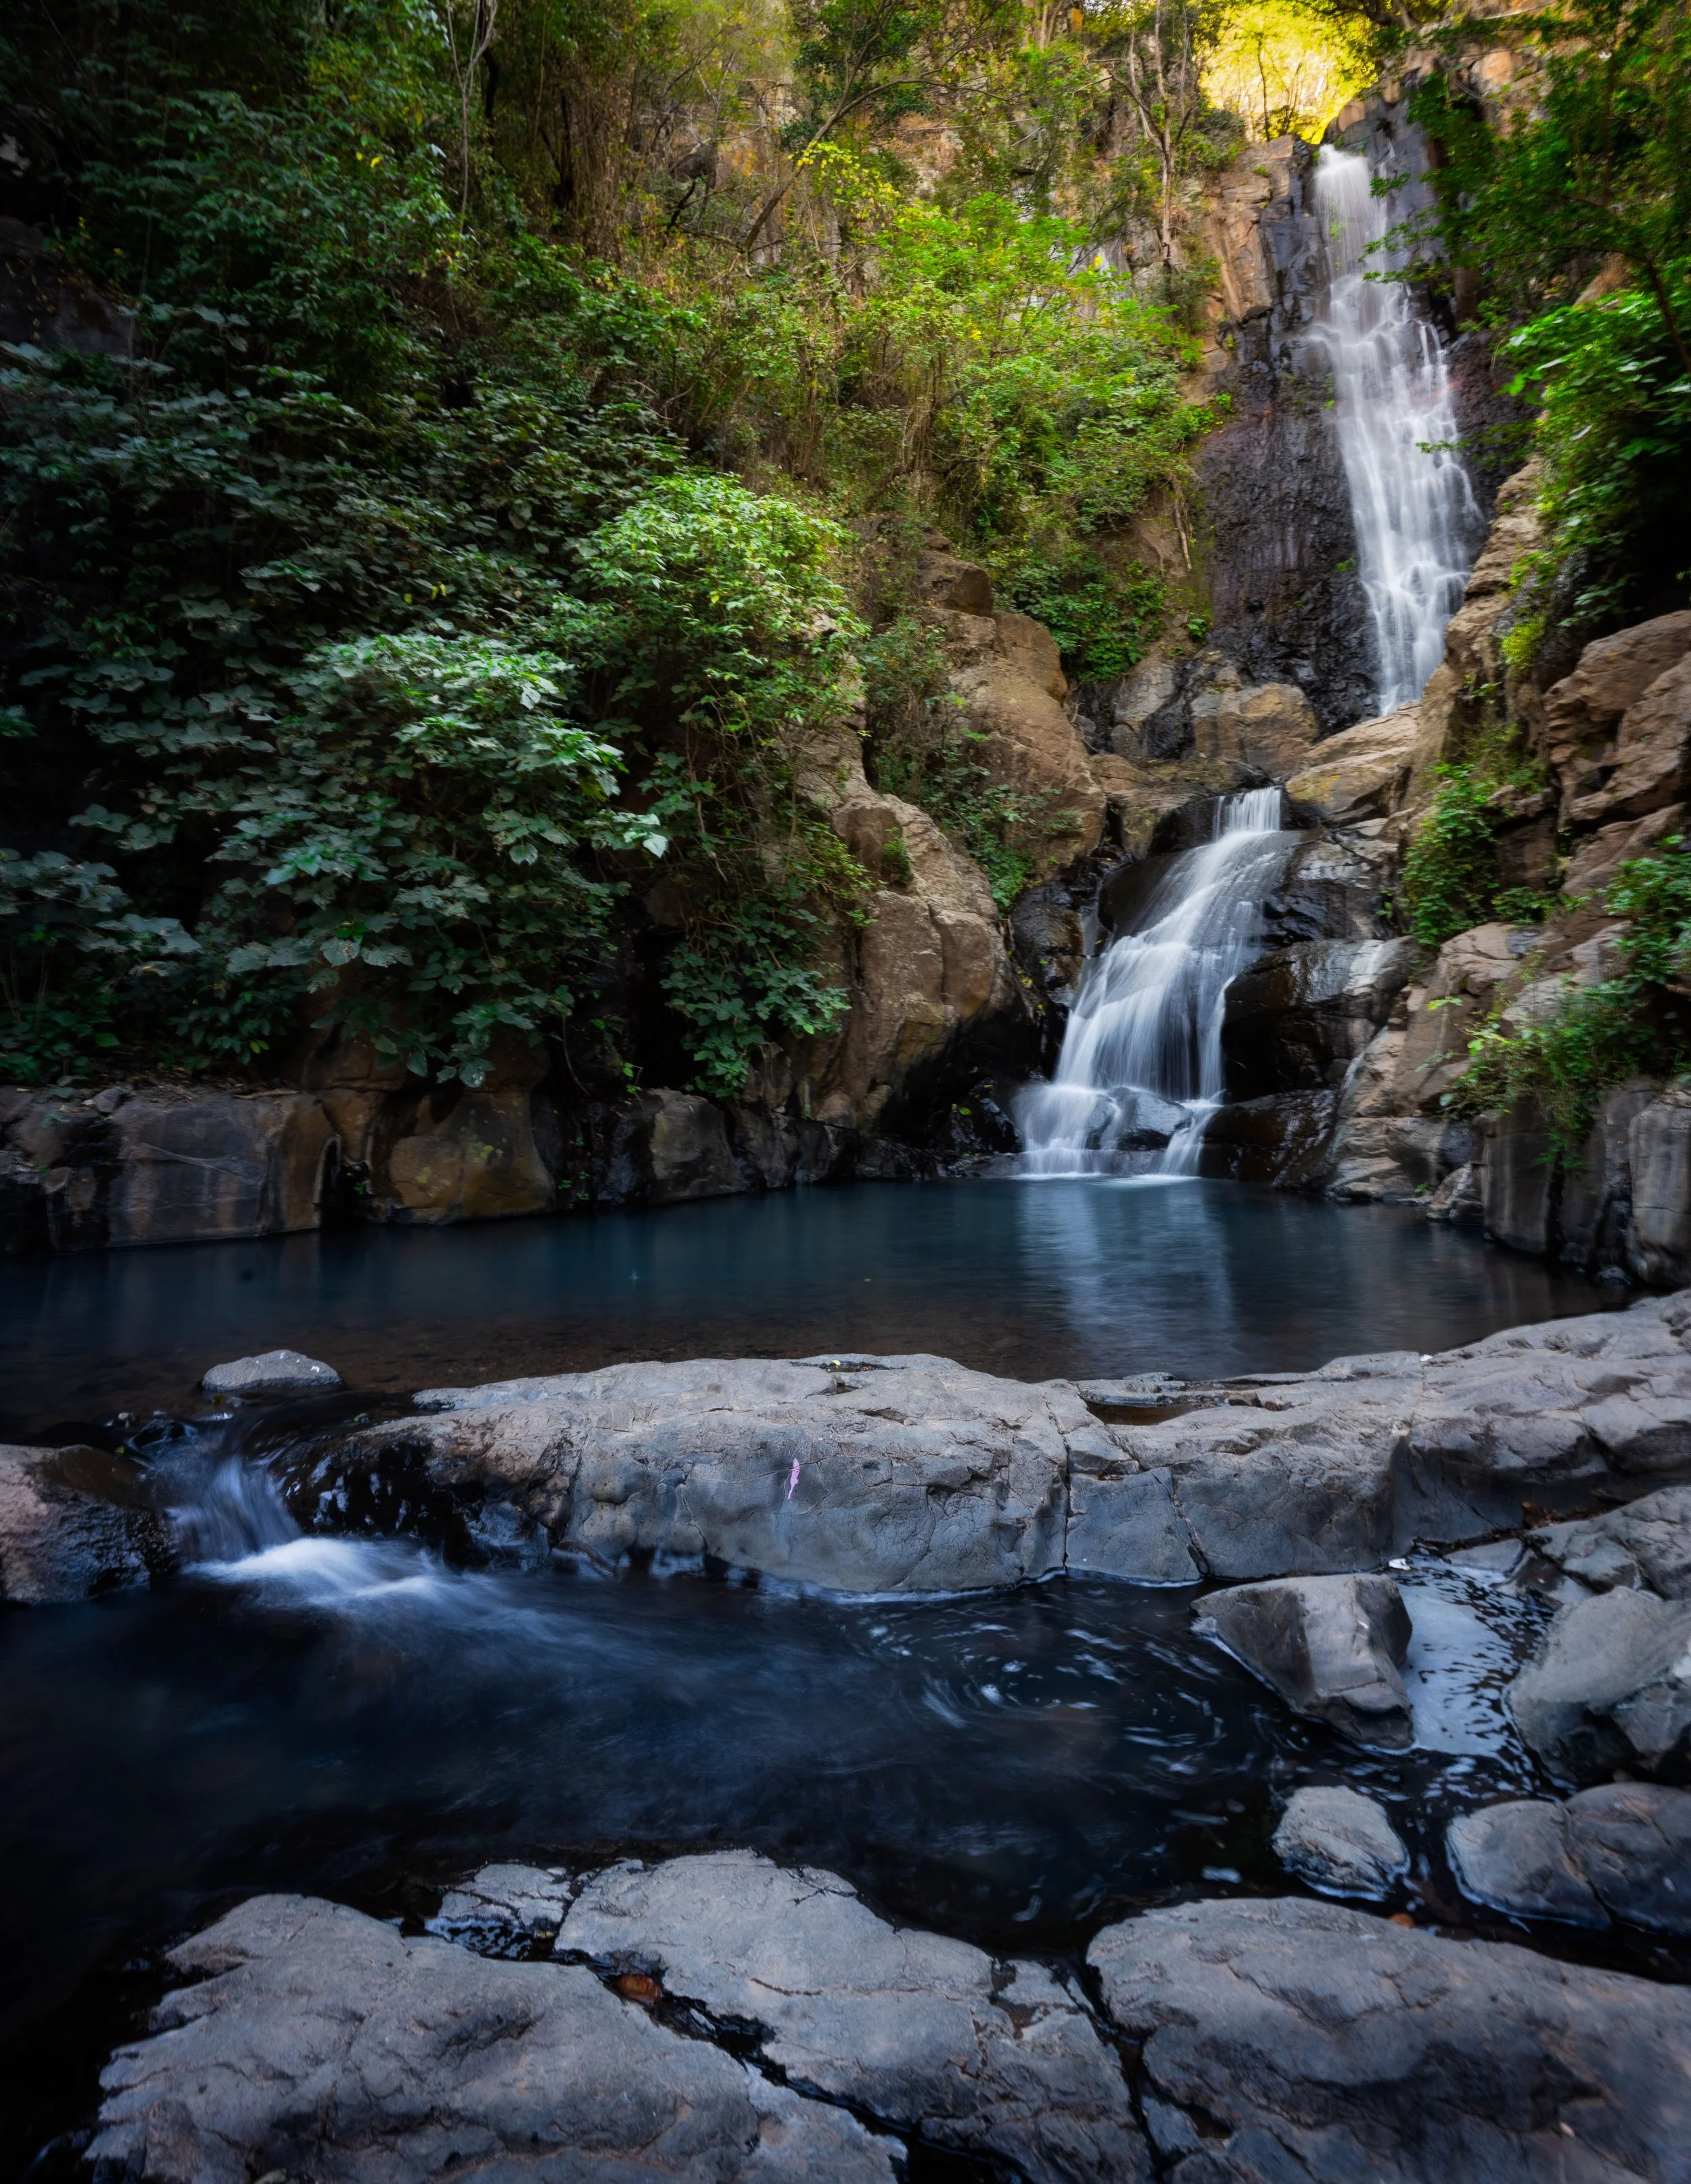
This photo featuring a small whirlpool was taken at Cascada Los Azules in Mexico.
You can see the subtle whirlpool effect at the bottom of the pool. This effect can be magnified if larger pools are present, but you get the general idea with this small pool.
Let’s move on to the next source of freshwater I want to discuss, which is lakes.
Tip #6: Shoot Lakes from Above
My sixth freshwater tip is to shoot lakes from above. In general, lakes look better when you’re photographing from an overlook, a mountain, or a hill. They provide more depth, which gives the lake better context to the viewer.
If you’re right along the shoreline, it can be hard to show the scale of what you’re looking at. Even if the lake is miles long, the viewer will have no idea.
This photo of a lake, taken from above, was at Bonsai Rock at Lake Tahoe.
However, if you do find yourself at the shoreline of a lake, my favorite technique is to use docks, rocks, or piers as subjects. They provide great leading lines, add depth to the composition, and can make for an interesting focal point- especially if you place a human figure at the end.
Tip #7: Look for Lake Reflections
My seventh freshwater tip is to look for reflections in lakes, especially if you’re on the shoreline. Reflections are a unique way to incorporate mountains, trees, or other massive objects into the image.
The key to reflections is perfectly still water, which usually means shooting first thing in the morning when there’s no wind or boats on the lake. However, reflections can also be created on concrete or other flat surfaces if you simply pour some water down.

This reflection shot of a sunset was taken at the Great Salt Lake in Utah.
Tip #8: Look for What Lurks Below the Water
My eighth tip is to look inside the water. If you're at a particularly clean body of water, you can often find colorful small rocks, plants, or other objects that you can use in the foreground of your shot.
Tip #9: Don’t Be Afraid to Get in Rivers
Now, moving on to streams and rivers- my ninth tip is to not be afraid to get in the water. Many of the best compositions of streams are from inside the stream. This means bringing waterproof boots and/or socks, and stepping in the stream like a fly fisherman.
If the current’s not too strong, you’ll also find that you can also bring your tripod into the water for those long exposure shots. Just make sure it’s very stable against the rocks (don’t let go of it.)
Being in the water will allow you to focus on smaller features like mini waterfalls, individual rocks, or detailed patterns in a waterfall. It also gives the viewer a more unique perspective that they wouldn’t normally see.

In order to get this phot of Cascadas Roberto Barrios, I had to stand in the water! Fortunately, it was warm.
Now let’s move on to hot springs- one of my favorite sources of photography because of the steam they can create. And you know what? Let’s throw some bonus tips in here because I have so many.
Tip #10: Arrive to Hot Springs Early
Hot springs are some of the most popular spots for tourists, no matter where in the world you are. Even in the middle of nowhere, people show up. The best way to get clean shots is to arrive right at sunrise- and even then, you might not have the place entirely to yourself. I usually avoid shooting hot springs at sunset entirely, because it’s almost certain they’ll be packed with people.
Tip #11: Enjoy the Hot Springs After You Get Photos
Get your photos first, then enjoy the hot springs. Trust me when I say there’s nothing worse than getting comfortable in the warm water, and then realizing you have to get out and shoot while you’re dripping wet. You also risk getting drops of water around the outskirts of the pool, which can be an eye sore in the photos. Take your shots first, then relax and enjoy the scenery.
Tip #12: Bring a Microfiber Cloth to Hot Springs
My fourth tip is to bring a microfiber cloth to the hot springs. The moisture and condensation created from the steam can leave your lens fogged up. A microfiber towel is essential for wiping down your lens between shots.
This tip also applies to waterfalls, which I didn’t mention earlier- if you’re standing close to one, you’ll definitely get mist on your lens.
Tip #13: Be Mindful of Other People at Hot Springs
My final tip is to be careful about getting people in your shots, especially at hot springs. A lot of people are sensitive about being photographed in swimwear- or in some natural hot springs, the lack thereof. A surprising amount of remote springs are clothing-optional, so always ask permission before shooting and respect people’s privacy.
Let’s jump into the next tutorial, where I’m going to go over 10 tips for shooting in Frozen landscapes.