
Camera Settings You NEED to Know
Learn about some additional settings within your camera for more niche situations.
Prefer to watch this tutorial in video format? 😏
Introduction
In this tutorial, I'm going to be going through a bunch of additional settings within your camera that we haven't covered yet. We’ll call this a sort of “catch all” tutorial. These are all for very nuanced settings that might not apply to every situation, but it’s good to know that they exist if you need them.
Let’s jump in!
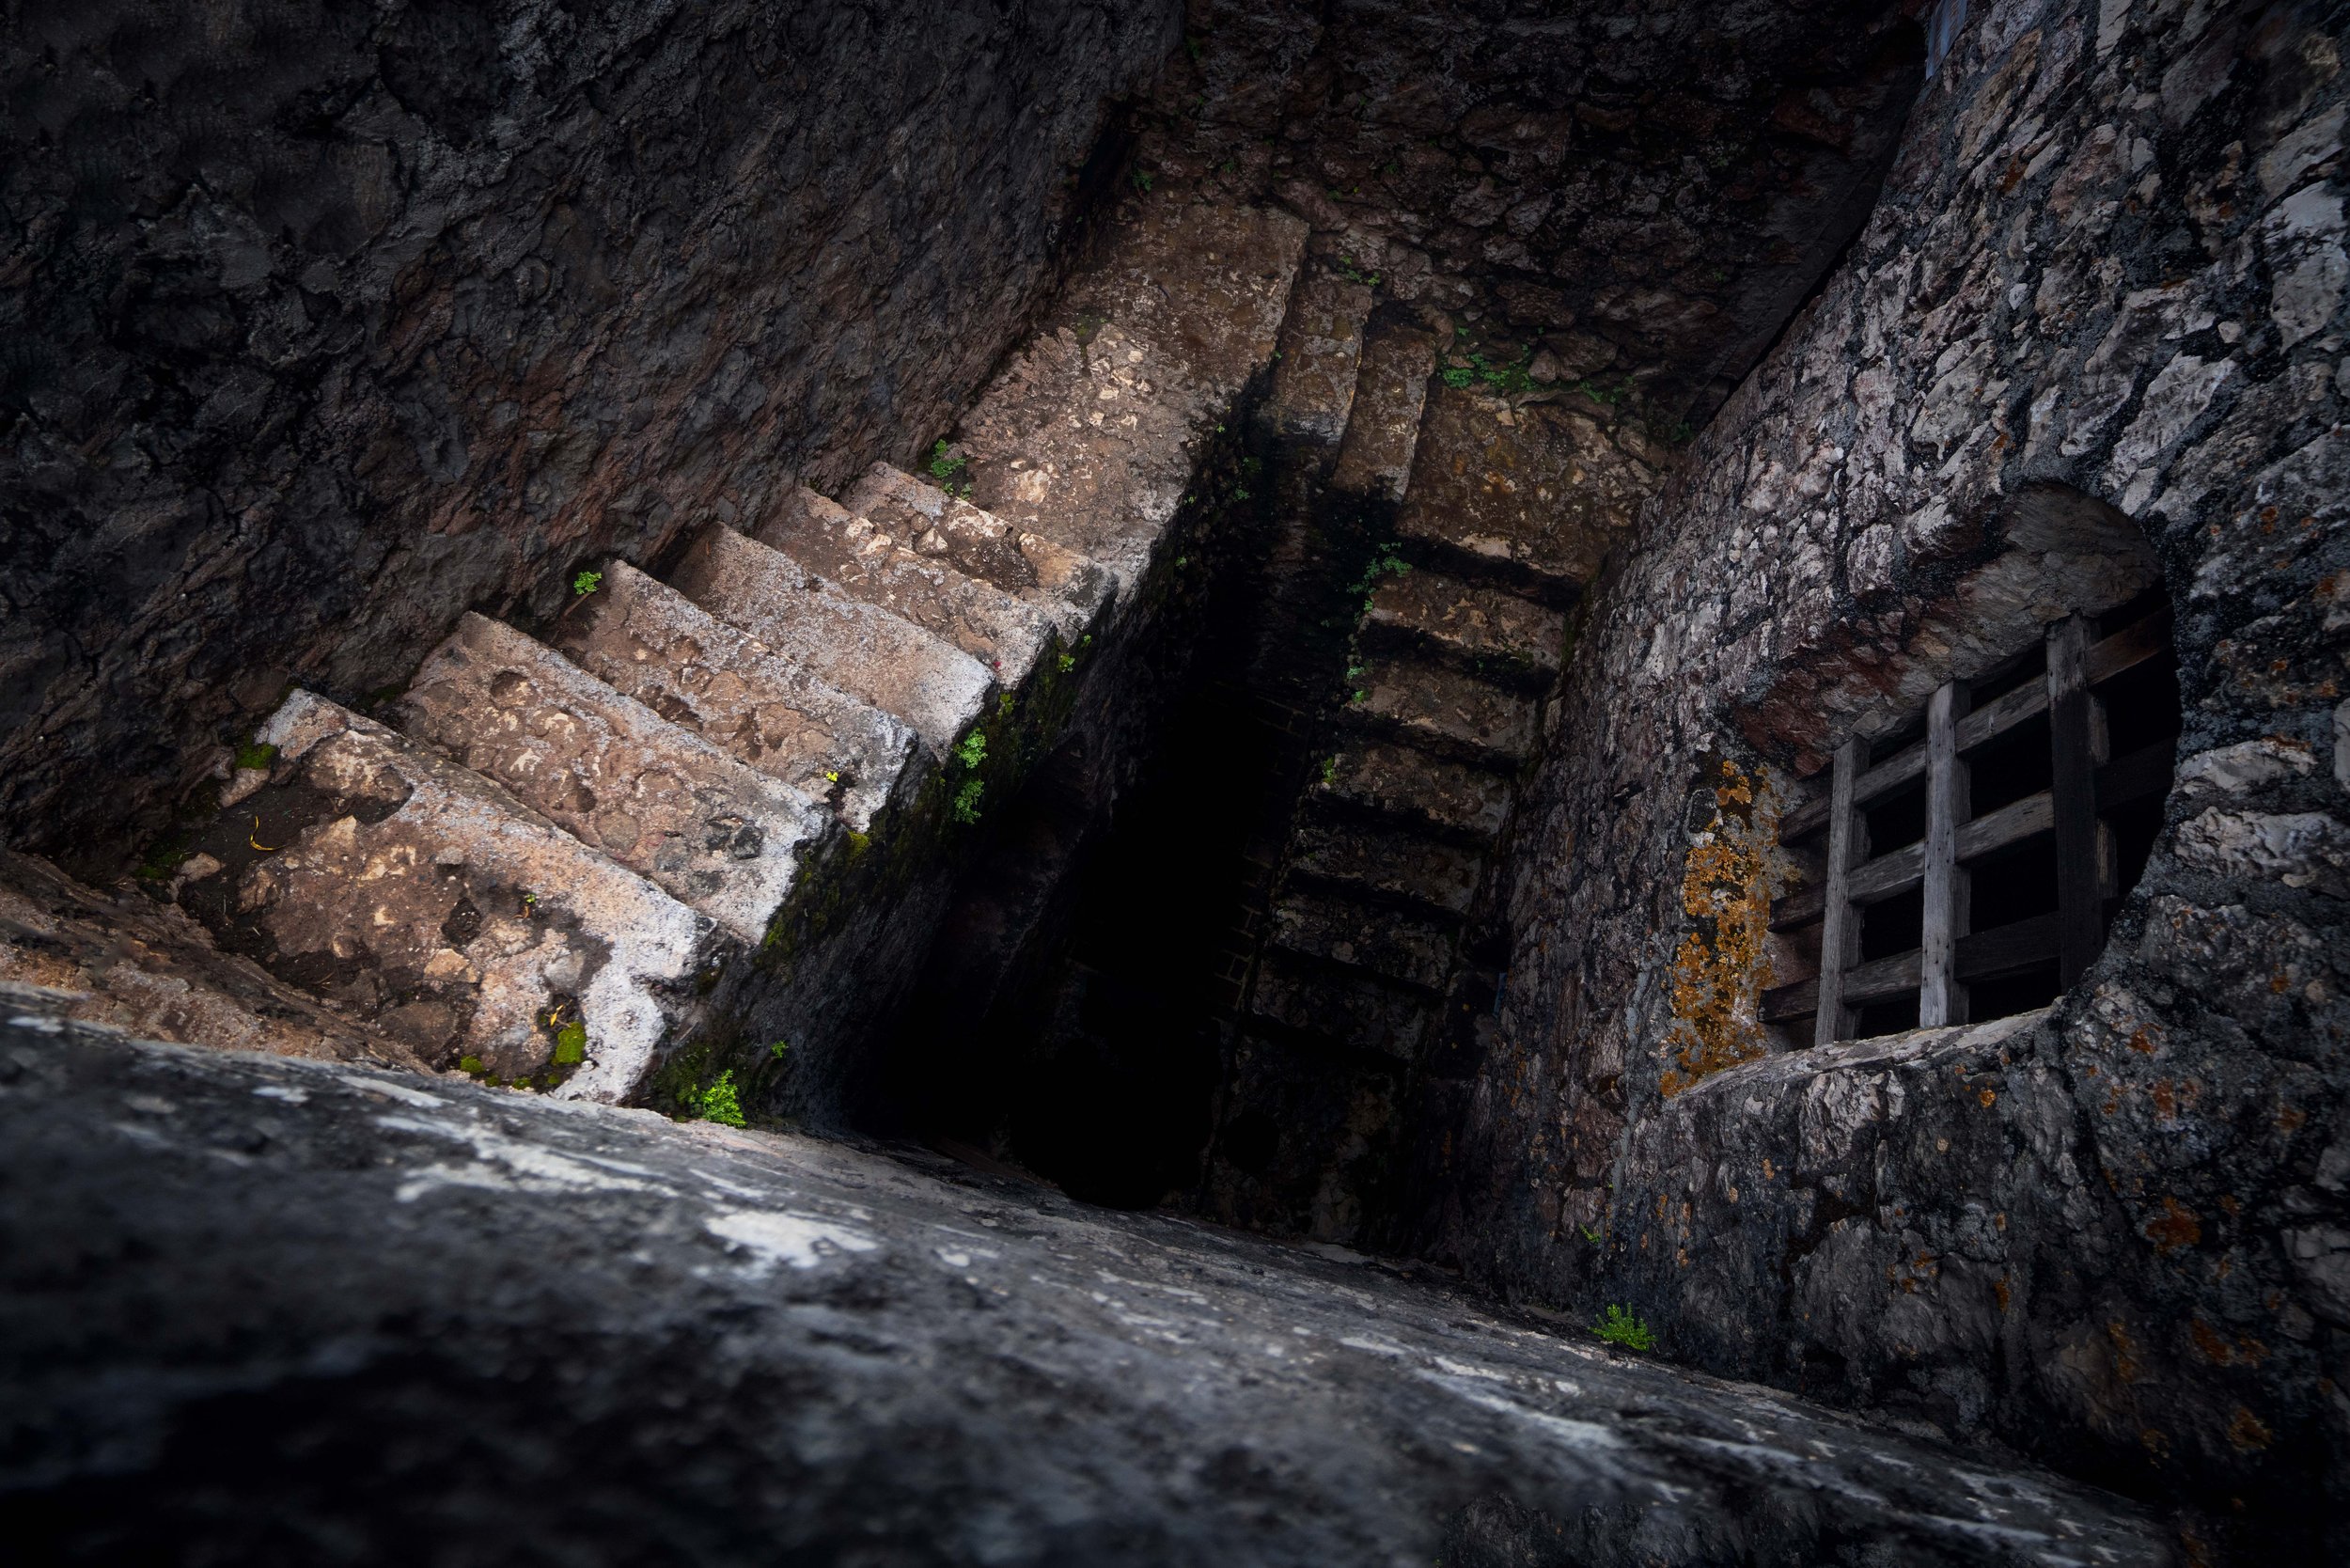
Ready to descend into the depths of your camera menu? This photo was taken at Castillo de San Felipe in Guatemala.
Camera Modes
Let’s start by discussing camera modes. This means Automatic, Aperture Priority, and Shutter Priority. They’re usually activated through a dial on the top of your camera body. Manual mode could also be lumped into this category, but since we already covered it thoroughly in the Exposure tutorial and we’re assuming you’re going to be using it pretty much all the time, we’ll leave it out here.
Automatic Mode
Frist off, Automatic mode is the complete opposite of Manual mode. In this mode, your camera makes all the technical decisions for you: the focus point, shutter speed, ISO, and aperture will be all pre-determined. You don’t have to do anything except zoom in/out, and click the shutter button.
The camera’s detection skills will vary based on the model, but in general, if there’s a person it’ll focus on them with a low aperture, and if there’s a landscape, it’ll focus on the largest part of that landscape with a high aperture. The ISO will adjust based on what it needs to expose the image properly.
Since control is limited in this mode, I rarely use it. However, it might come in handy if someone else is using your camera. For example, if you're hiking on a trail and someone offers to take a picture of you, I simply put the camera in automatic mode and hand it to them.
Shutter Priority Mode
The next mode is Shutter Priority mode. This mode is similar to Automatic, except it now allows you to adjust the shutter speed. As we discussed in the Exposure tutorial, shutter speed controls how much motion blur appears in your shot. This mode allows you to set it to whatever you want (like 1/2000th of a second or 1 second, for example,) and the camera will handle the aperture and ISO on its own. Unlike Automatic mode, Shutter Priority mode also allows you to pick a focus point.
This mode is great for fast-moving scenes because you don’t have to worry about adjusting aperture and ISO in the moment- you can simply flip up your camera and snag the shot. I usually use this mode while on wildlife photoshoots where something can pop out at any moment.

This photo, taken at Glacier Point in Yosemite. Using Shutter Priority, I was able to simply set the shutter speed to 1/640s then aim the camera.
Aperture Priority Mode
Aperture Priority mode is similar to Shutter Priority, except it allows you to control the aperture while the camera automatically adjusts the shutter speed and ISO. I use this mode for portraits, events, or concerts- any time I know I want a shallow depth of field. For instance, if I always want to shoot at f/1.8 or f/2.8 to emphasize the subject with a background blur, I can set it once and then just focus on composing my shot while walking around.
These two modes, Shutter Priority and Aperture Priority, are great for these types of niche situations, but for general adventure photography, they’re not ideal because they tend to force the ISO into higher places.
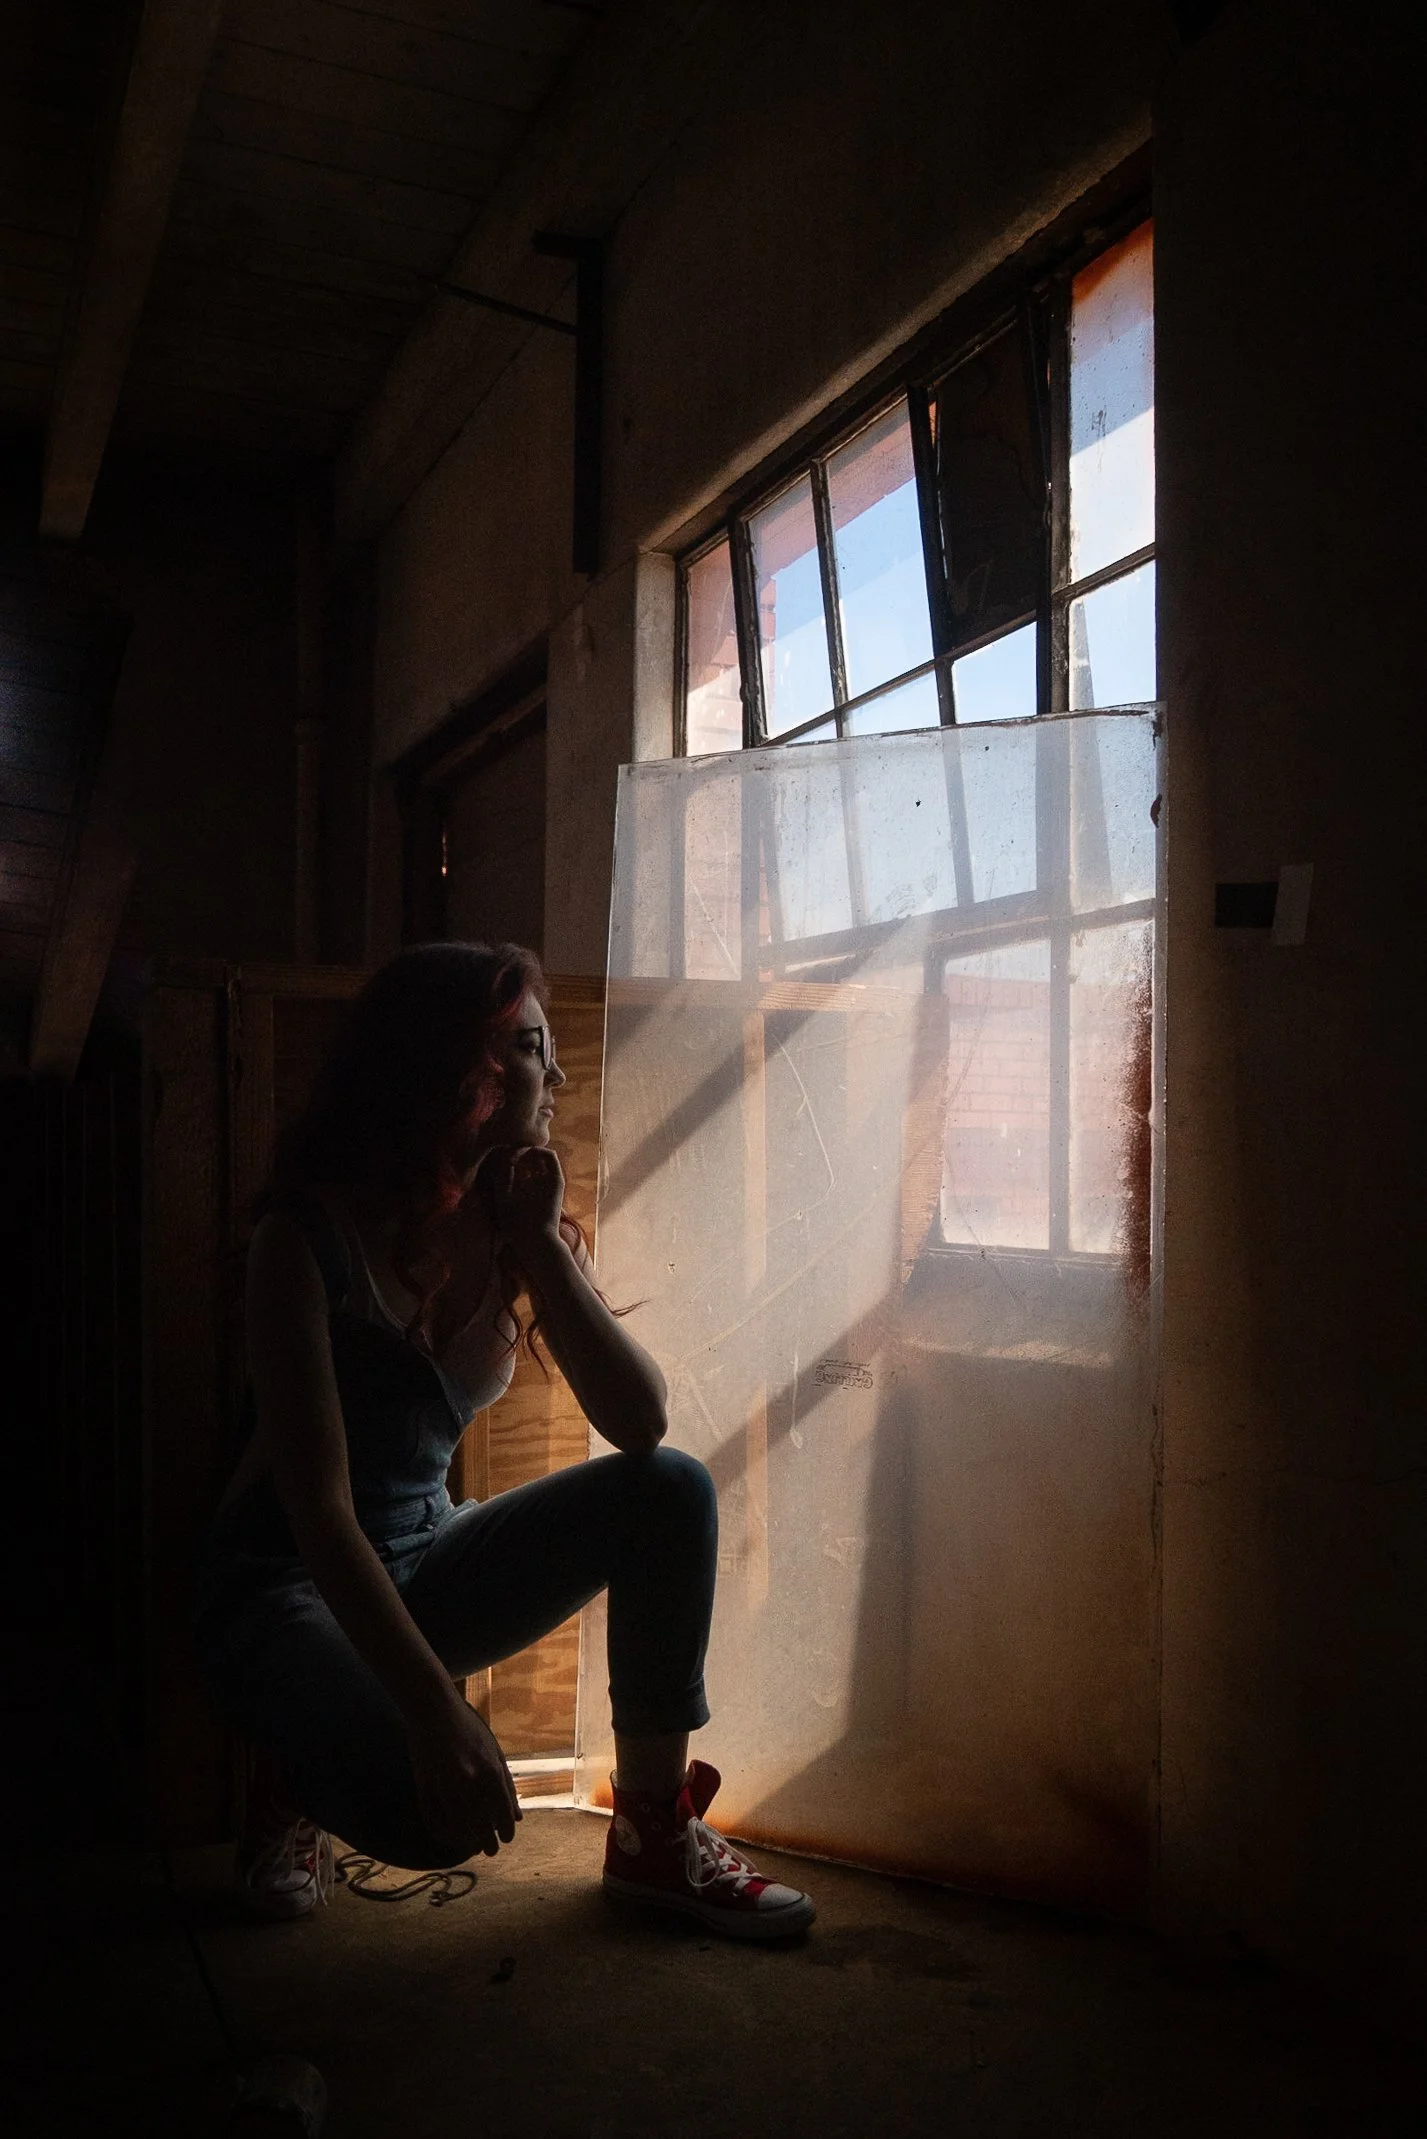
This photo, taken at The Headquarters in Colorado, was taken using Aperture Priority mode. This whole photoshoot was a giant event where models and photographers could link up and shoot. Using AP, I could walk around, ready to take a portrait at a moment’s notice.
Drive Modes
Now let’s talk about Drive modes. Drive modes, in simple terms, determine the rate at which your camera takes photos. Do you want it to take photos in rapid succession and/or at different exposures? Drive modes are your answer. We’re going to cover the four most popular ones.
Single Shot
The first drive mode is called Single Shot mode. More than likely, this is the mode you’ll be using most often as it tells your camera to take one photo when you hit the shutter button. Every camera starts in this mode by default.
Continuous / Burst Mode
The second drive mode is Continuous mode, which is also known as Burst mode. If you hold down the shutter when in this mode, the camera will keep taking photos rapidly, like a machine gun.
Depending on your camera model, the speed of Burst mode will vary, and most cameras allow you to change the rate at which it fires. On Sony models, for example, you can choose between Lo (3 frames per second,) Mid (6 frames per second,) Hi (8 frames per second,) and Hi+ (10 frames per second.)
One thing to be aware of is the buffer rate. This means your camera might be able to take, say, 30 shots in a row, before it needs to pause and write those to the SD card. Make sure to learn your camera's limits so you can get the most out of this mode.
Burst mode is great for action: sports, wildlife, or any fast-moving scenes where you want a variety of frames to choose from. Just be careful- if you overuse it, you'll end up with hundreds or thousands of images that take a long time to sort through, especially if you're shooting in RAW.
It’s also worth noting that most cameras have a shutter life. This means that the shutter can only click a certain number of times before it needs to be repaired, which usually costs around $300 - 500. Most mirrorless cameras have a shutter life of approximately 500,000 clicks. If you’re continuously using burst mode, you’re going to cycle through this fairly quickly.

This photo, taken at The Headquarters in Colorado, was taken using Burst Mode. When the cards were thrown in the air, I was able to capture about a dozen different shots was they fell to the ground. This moment presented the cards in the most unique position.
Bracketing
The next drive mode is Bracketing mode. This mode allows you to take multiple shots in succession, all at different exposures. Now why would you want to do this? Well, it’s a fantastic way to take photos for Exposure Blending if your camera can’t expose every part of the image in one shot.
Let’s say you want to expose the sky at one level and the foreground at another- bracketing allows you to automatically take multiple shots at different exposures in rapid succession. All you need is a tripod.
In this mode, you can usually configure how many shots the camera takes and change the exposure increments between them. For example, you might choose for it to take five shots as opposed to two shots, and vary the exposure between them by 0.5, 1, or 2 stops of light.
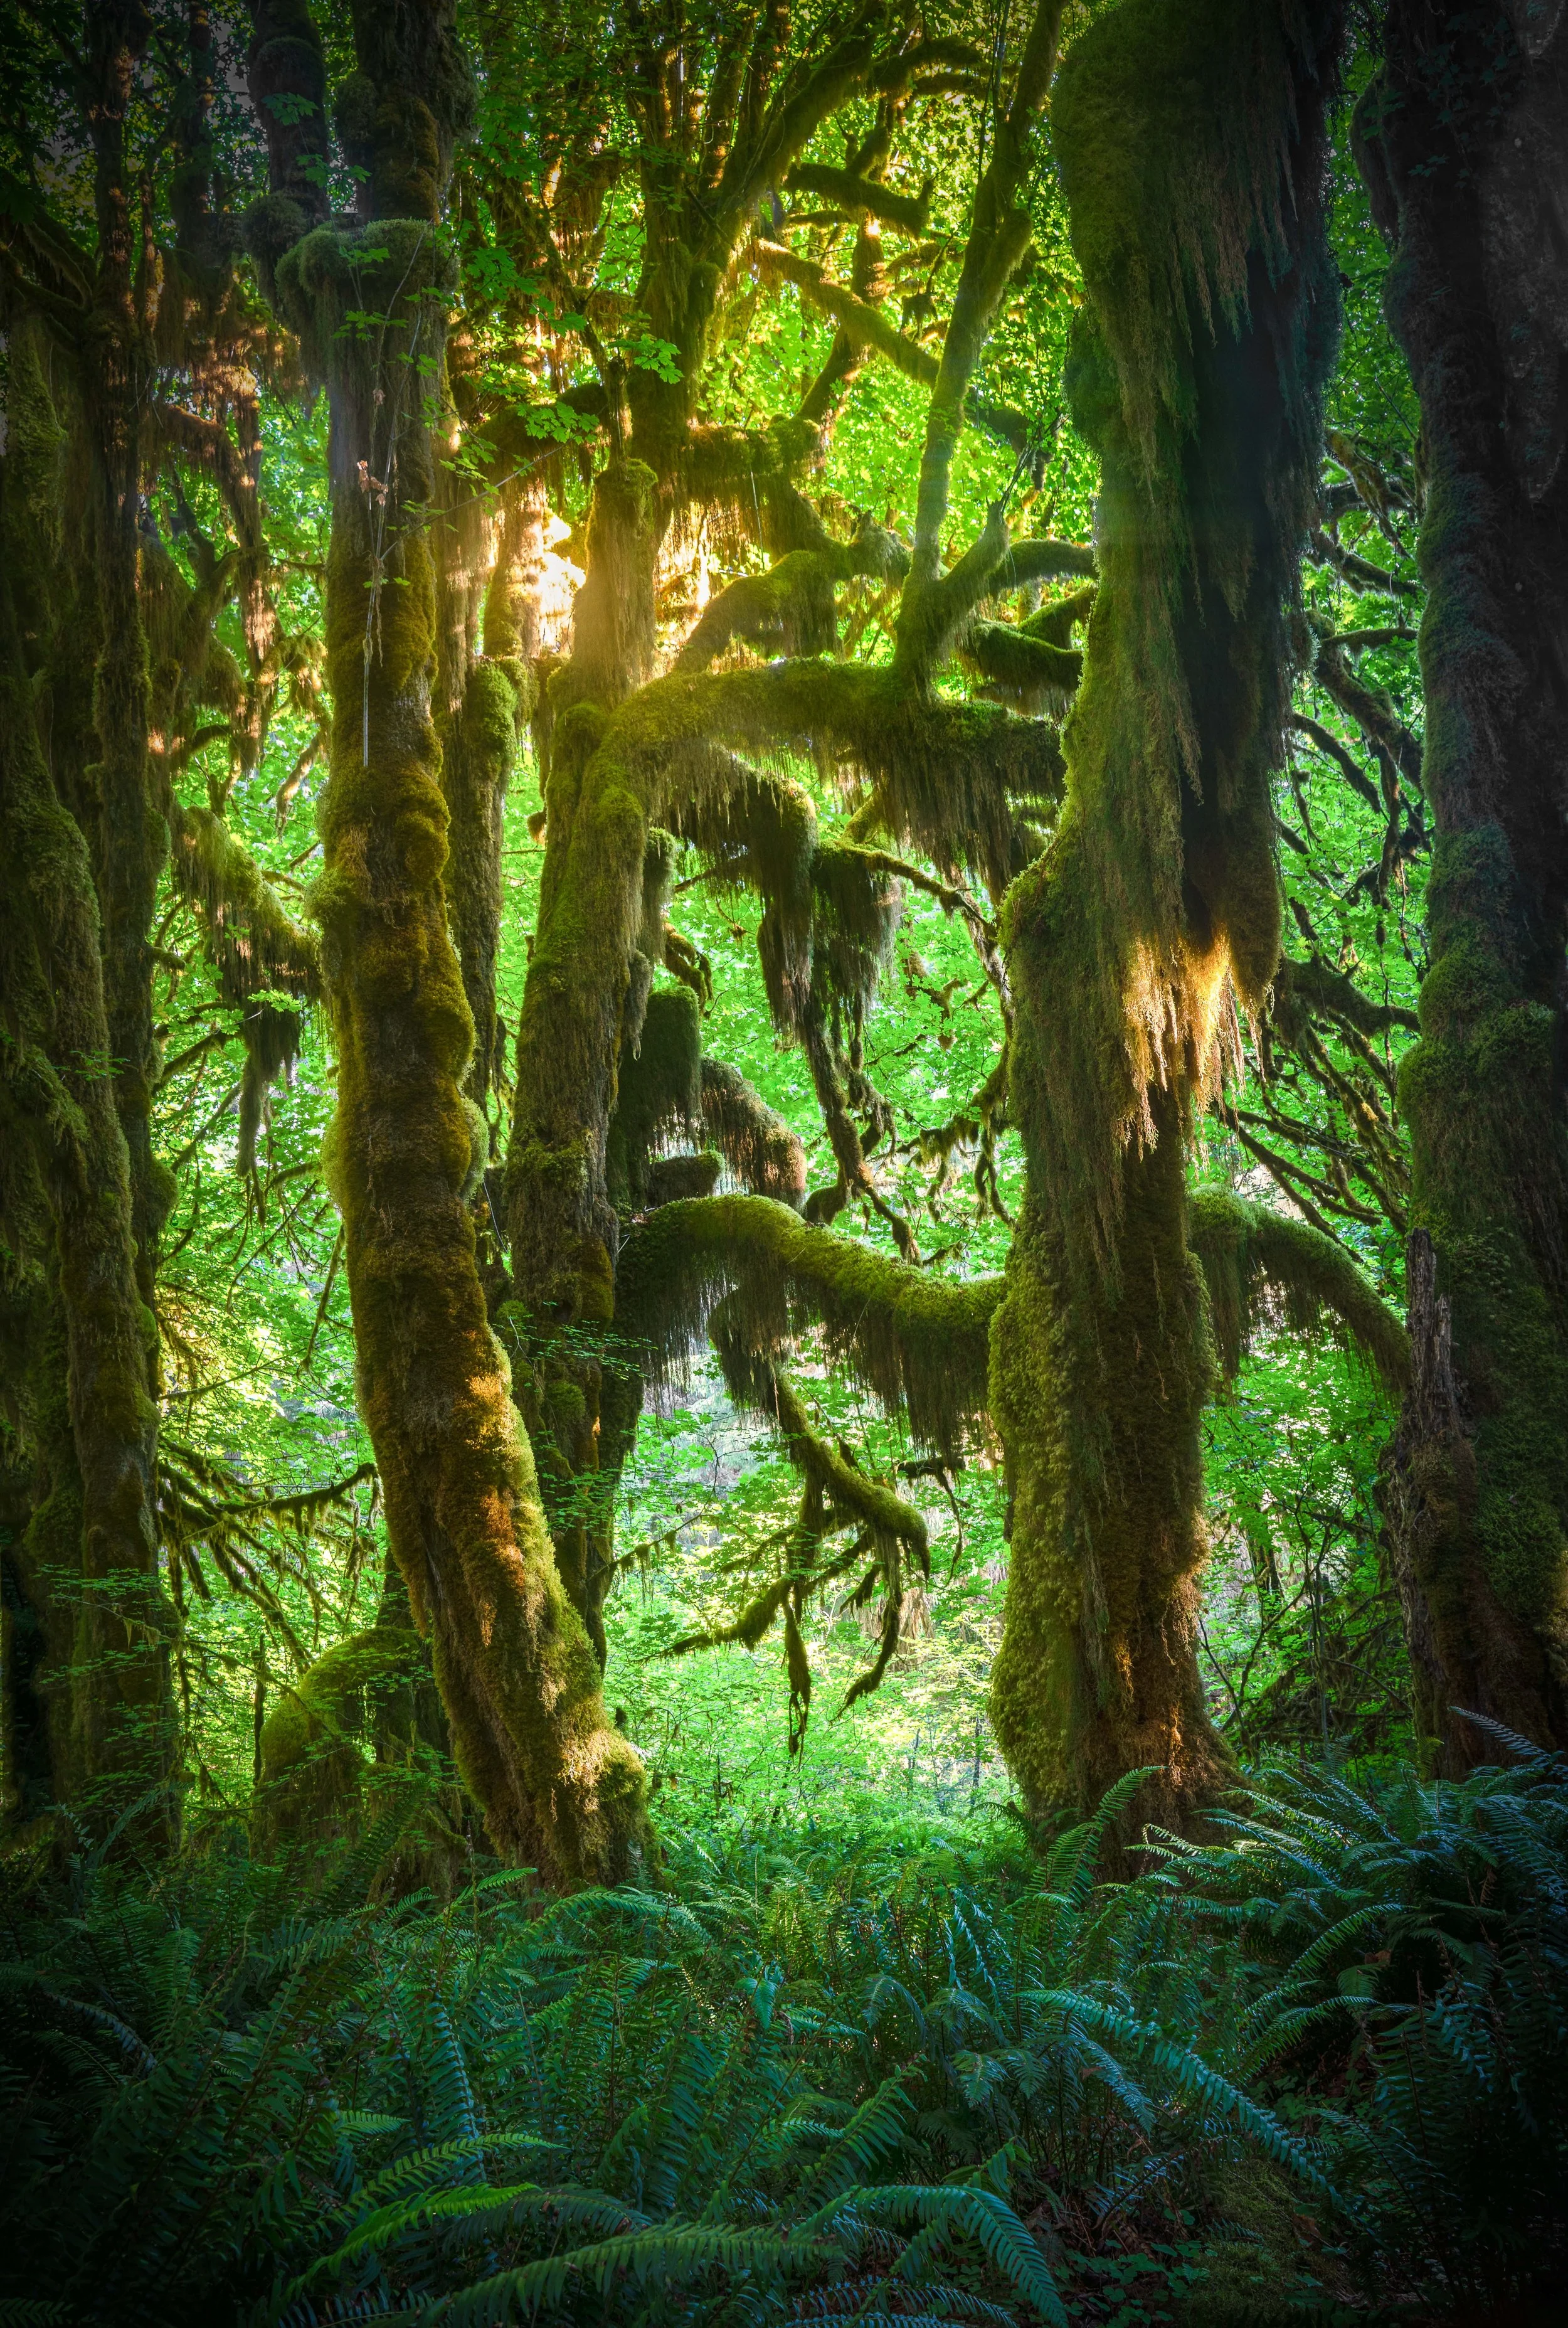
This photo, taken at the Hoh Rainforest in Washington, was shot using Bracket mode. This allowed me to get shots of the bright backdrop and the shadowy undergrowth exposed correctly.
Timer
The last drive mode I want to cover is Timer mode. This mode allows you to pick how many seconds the camera will wait before taking a photo. Most cameras will offer options like 0, 3, 5, or 10 seconds.
This is especially helpful for long exposures. For instance, if you're doing a 10-second exposure and manually pushing the shutter button down to start it, you might micro-shake your camera at the start of the shot. It can be a good practice to set a 3-second timer before exposure starts, to allow the camera to settle into place after pushing the button. It can also be great for self-portraits- simply set the timer to 10 seconds, run into the scene, and pose.
If you need a longer timed delay and/or numerous shots, you’ll need to use Time-Lapse mode (if your camera has it) or use an intervalometer, which is discussed in the Accessories tutorial.
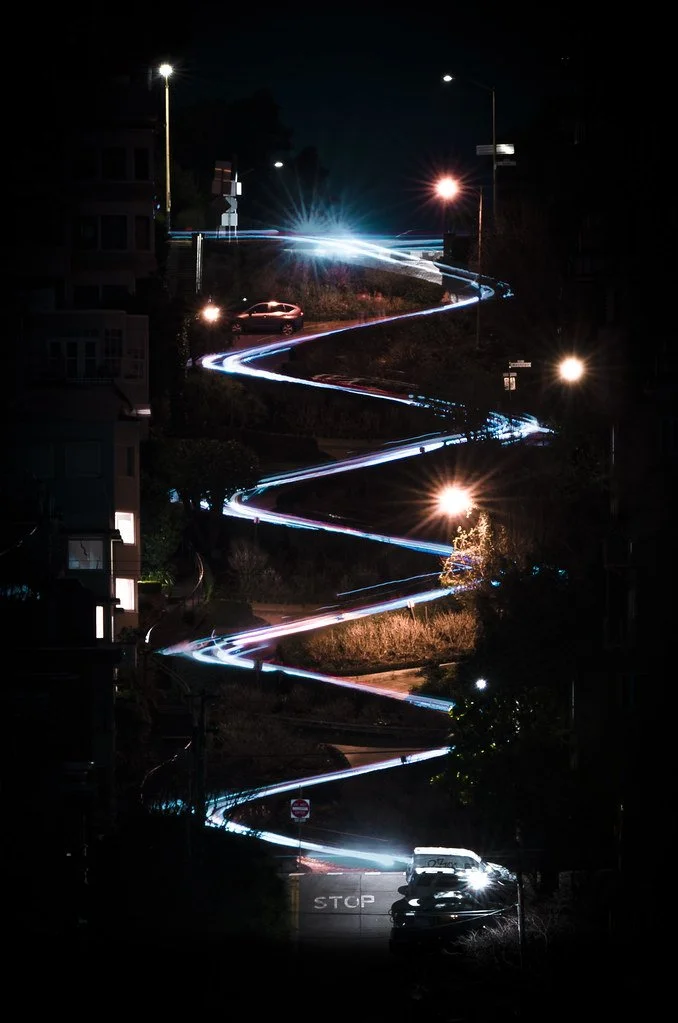
This photo, taken on Lombard Street in San Francisco, used a long exposure. Using the Timer mode, I was able to set a 3 second time to ensure no camera shake was in the exposure.
Image Stabilization
Image Stabilization (IS) allows you to take handheld shots at slower shutter speeds by reducing camera shake digitally. For example, if you’re shooting at 1/12th or 1/30th of a second, IS can help eliminate the micro-blur. Before you buy a lens, check to see if it has IS support.
Important tip: Turn off image stabilization when using a tripod. Ironically, IS can introduce blur when the camera is perfectly still, as it tries to "compensate" for non-existent movement. This is a fairly common beginner mistake, especially when shooting long exposures on a tripod.

This photo, taken at Benton Falls in Tennessee, was shot handheld. It was at .4s, with the help of image stabilization.
Silent Shooting & Beep Settings
Certain cameras have a beeping sound it makes before it takes a shot, which can get annoying fast, especially if you’re taking many photos. You can usually turn this sound off in the settings.
Similarly, you’ll also notice the sound of the shutter when the camera takes a photo. That sweet lil’ click sound. Some higher-end cameras allow you to disable this shutter sound as well. This can be useful in quiet environments, like weddings, performances, or when shooting wildlife where any small sound might cause a disruption.
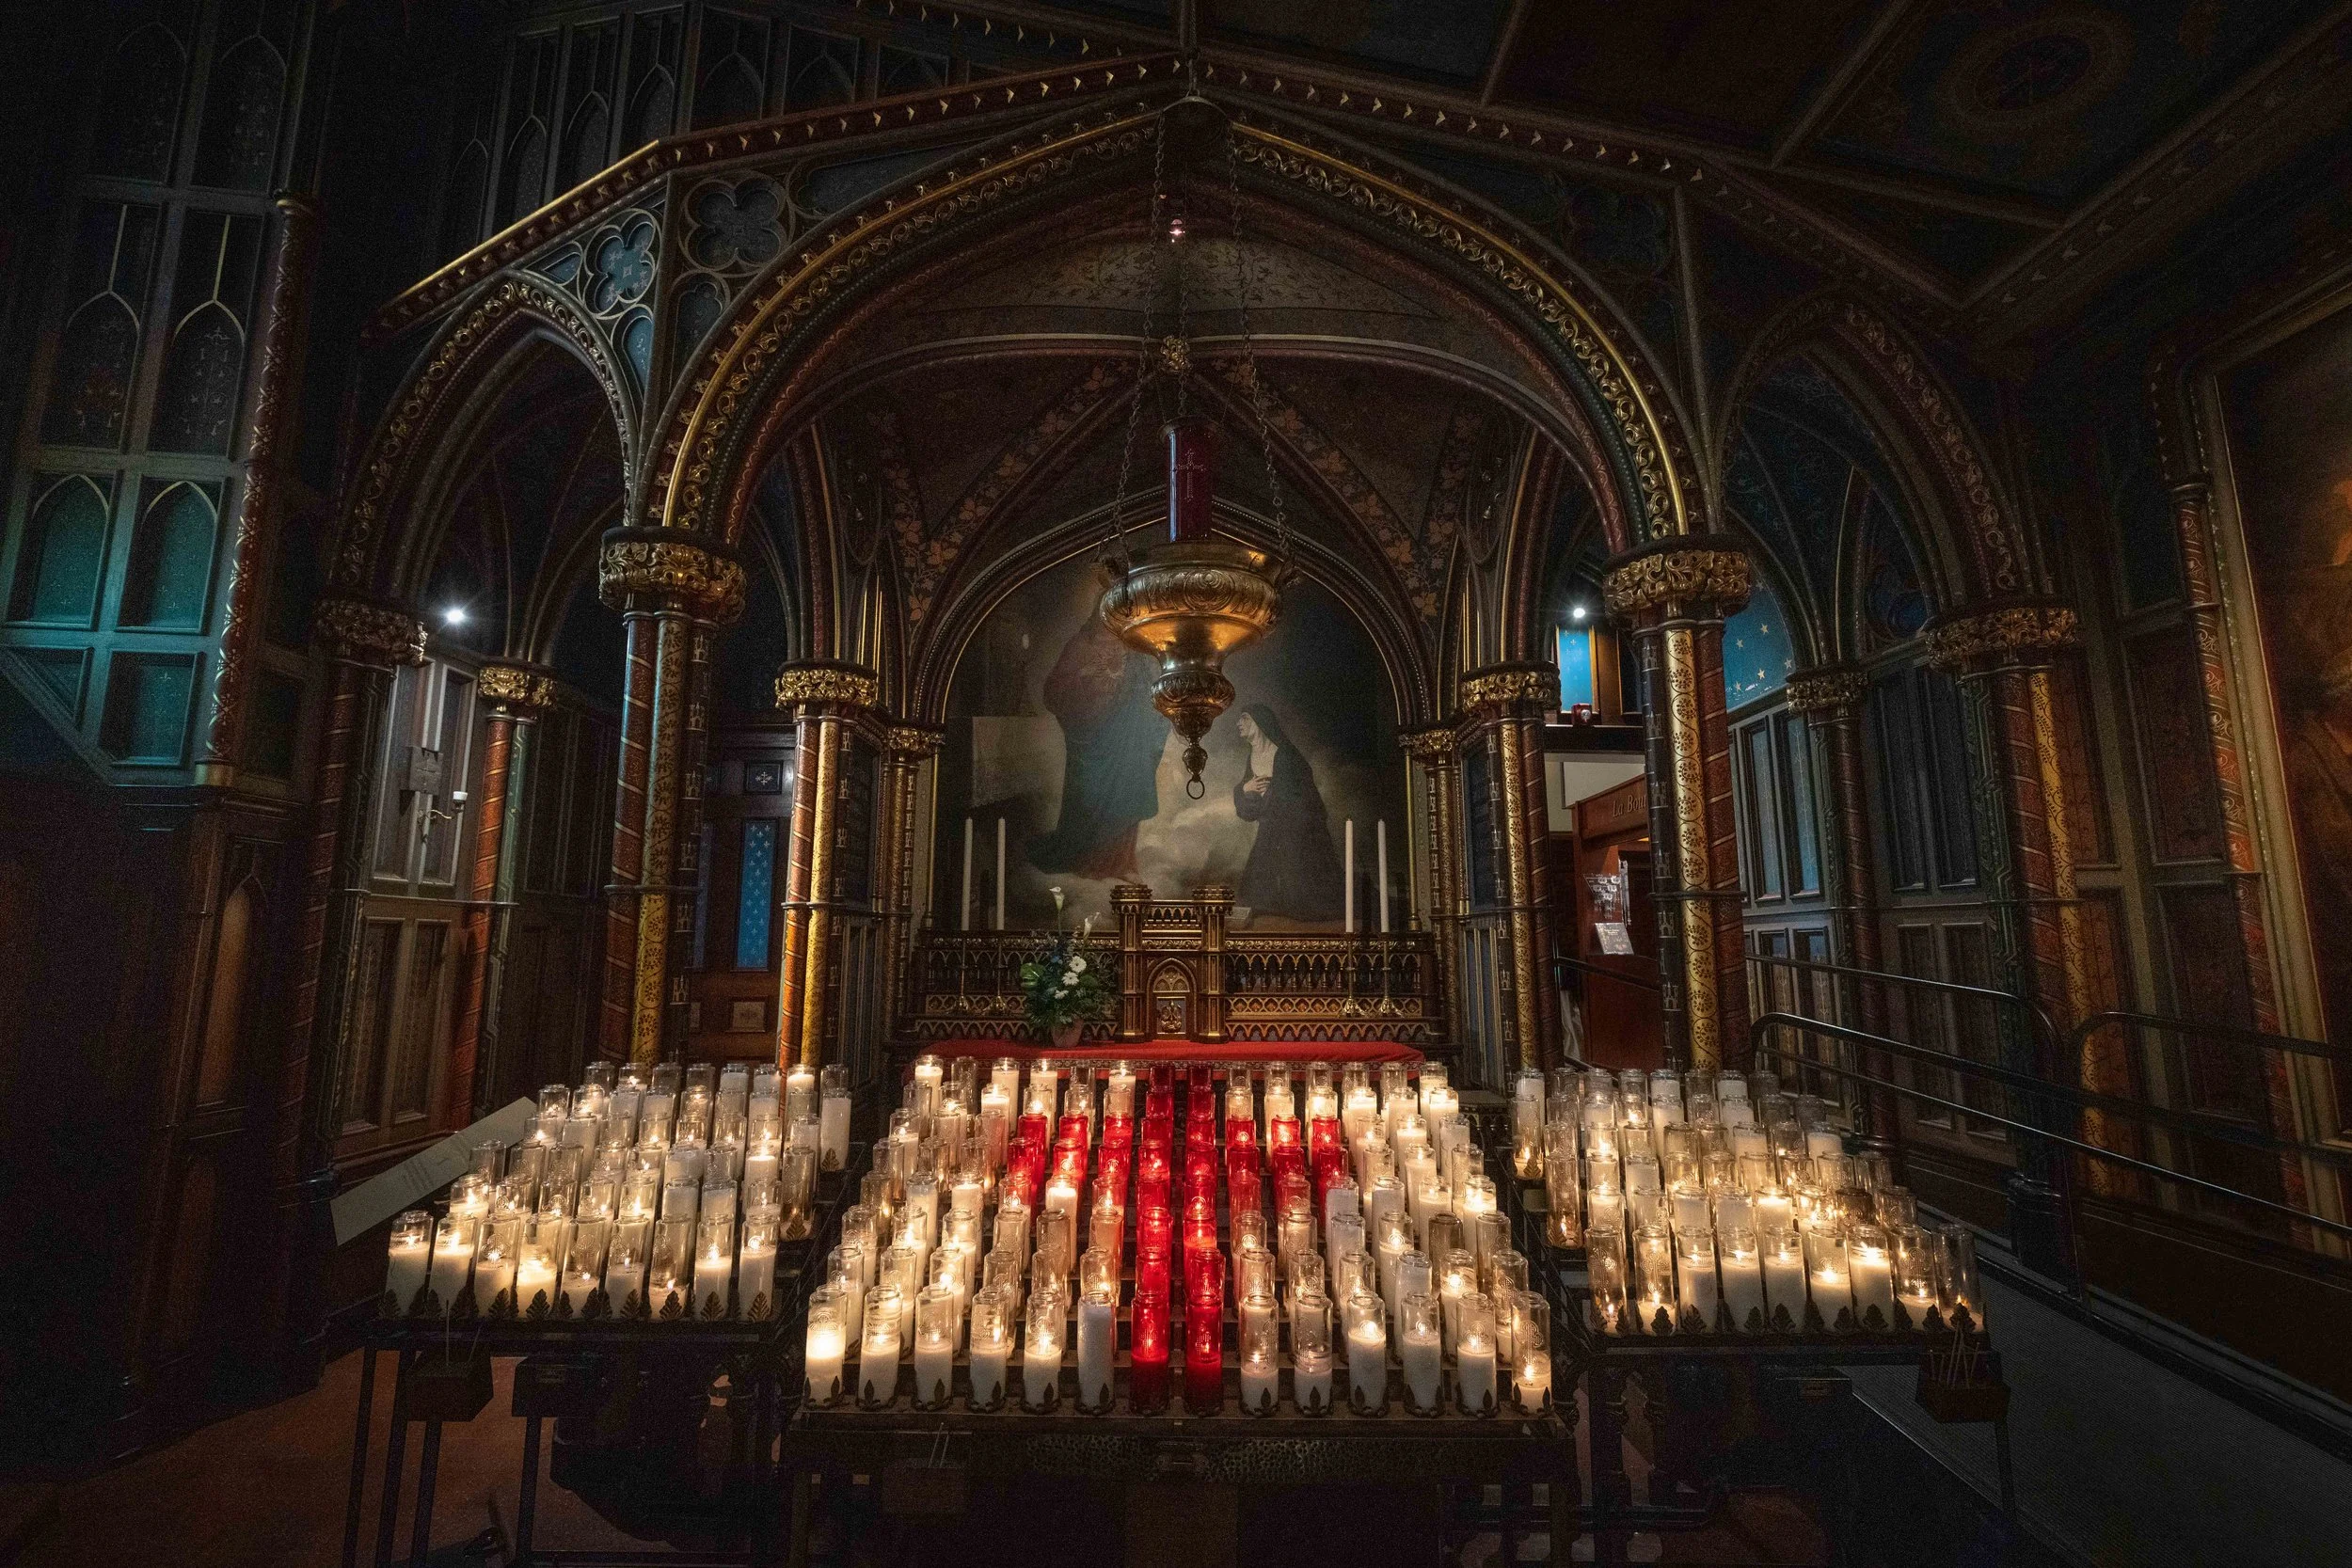
This photo, taken at the Notre-Dame Basilica of Montreal, was taken in silent shooting mode out of respect for the church.
Creative Styles
One thing you’ll notice in cameras these days is the Creative Styles settings. These are essentially in-camera filters like “Old-Fashioned,” “Futuristic,” or “Desaturated.”
Don’t use them- save it for the edit. Usually, they’ll mess up your image and bake in unwanted looks that you can’t change later on. If you’re shooting RAW (which you should be), all these styles can be done far better in Lightroom or Photoshop. These modes are mostly meant for beginners who don’t know how to edit their photos yet.
Custom Buttons
Many cameras allow you to customize the buttons, and I’d highly recommend taking advantage of this feature. For example, I’ve programmed a button on the back of my camera to mark a photo with a 5-star rating. That way, when I’m reviewing photos later in Lightroom, I can easily sort and find my favorite shots.
Custom buttons can speed up your workflow and help you stay organized, especially when shooting in fast-paced environments. I also have a custom button programmed to switch my camera into timelapse mode, and another button to switch between RAW vs JPEG photos.

This photo, taken in Boston, Massachusetts has a retro look to it, but no Creative Styles were used. All the editing was done in Photoshop.
Conclusion
In the end, there’s an endless list of new settings in cameras, especially as new technology comes out. But in general, these are the most important settings to be aware of. This list, among the things learned in the Exposure and Focus tutorials, should easily get you through the first five years of your photography career, unless a ground-breaking new technology comes out.
If you run into an unfamiliar setting, a quick Google search will usually do the trick. Let’s go ahead and hop into the next tutorial, where I discuss Location Scouting!