
Adventure Photography Accessories You Can’t Live Without
Learn about twelve accessories that you may or may not need for adventure photography.
Prefer to watch this tutorial in video format? 😏
Introduction
In this turtorial, I’m going to be talking about accessories. AKA, which photography accessories you should add to your bag to make shooting in the field easier, and which accessories you don’t need. There’s twelve million different accessories out there right now, and it can be fairly overwhelming to figure out what is necessary and what isn’t. We’re going to cut right through the bulls#it.
Please note that this tutorial will only focus on items that enhance your photography experience. There will be a separate tutorial following this one that covers Caring for your photography gear. That tutorial will include items to help protect your gear in the field, as well as tips to keep it safe for future shoots.
With that being said, let’s jump into the seven accessories I believe are the most essential for adventure photography.

This photo was taken at Abiqua Falls in Oregon, and it required a tripod in order to get both the water blur and up-close leaf in focus.
Accessories You Need For Adventure Photography
1. Tripod
Although it may seem obvious, a lot of people underestimate the importance of a tripod.
The primary function of a tripod is to stabilize your camera, which is particularly important for long-exposure shots where you're capturing motion blur. We’ll dive deeper into how to shoot long exposures later in this course.
A tripod is also crucial for techniques like focus stacking (combining multiple focus points into one sharp image) and exposure blending (merging different exposures of the sky and ground, or doing sky replacements).
Personally, I carry my tripod on every hike, whether it’s one mile or ten miles. I mount my camera on it and carry the setup like Thor’s hammer, ready to set up for a shot at any moment.
When choosing a tripod for adventure photography, there’s a few things to look out for:
Lightweight Design: Aluminum tripods are a good balance of weight and cost. If you have the budget, carbon fiber tripods are even lighter and feel like you’re carrying nothing.
Sturdiness: Avoid cheap plastic tripods. Think of your tripod as the primary barrier between your camera and the Earth. This means it will take a lot of abuse, as it’s constantly being set up on uneven ground, knocked into rocks, submerged in rivers or lakes, and exposed to dirt/sand. Trust me, a high-quality tripod is worth the investment. Most quality tripods are around $100-$200. I personally use the Manfrotto BeFree, which costs about $150.
Ball Head Mount: This must-have tripod feature allows you to easily swivel your camera up, down, or left/right for portrait orientation. Don’t even think about getting one that doesn’t have this, or you’ll be limiting your range of possibilities.

This photo was taken at Grutas Tolantanga in Mexico. The surreal water blur wouldn’t have been possible without a tripod.
2. Flexible Tripod
The second most important accessory is also a tripod, but a flexible one.
These smaller tripods, usually about a foot tall, have bendable legs that you can wrap around tree branches, railings, or position very close to the ground. This makes them ideal for macro photography, focus stacking, or creative low-angle shots that regular tripods can’t reach. I personally use the Joby GorillaPod 3K.
I don’t carry a flexible tripod on every shoot, but it’s great for specific situations where I know I’m going to be very close to the ground. It’s also handy for vlogging, as it’s much less clunky than a full-size tripod.

This photo was taken at Thor’s Well on the Oregon coast. A small, flexible tripod allowed me to get right up close to the mussels.
3. Small RGB Light
Next up is a small RGB light. This isn’t a studio light, but a small compact one that fits in your backpack.
This is invaluable for night photography if you need to light up a scene (like an arch in Arches National Park, for example). It’s also great for creative portraits, adding colored lighting effects, or even practical uses like illuminating a campsite.
Why RGB, might you ask? Well, it gives you access to the full color spectrum, which is perfect for dramatic lighting- like having red on one side of the face and blue on the other. It’s also nice to be able to manually change the lighting to warmer or cooler settings.
Again, I don’t bring this on every single shoot, but if I’m going to be doing night photography or portraits, it’s nice to throw in the bag. Personally, I’d recommend the Savage RGB Video Light.

This photo was taken at Delicate Arch in Utah. The arch was lit up using a small RGN light.
4. Intervalometer
An intervalometer might sound intimidating, but it’s a simple tool with several key uses. It’s basically an advanced remote for your camera.
For one, it’s great for timelapses and distant self-portraits. For example, you can program it to take one photo every second for 300 shots, which is nice because most cameras only let you have 10 second delays.
It’s also necessary for long exposure photos that are lasting longer than 30 seconds. Most cameras max out at 30 seconds, but an intervalometer lets you keep the shutter open for minutes or even hours- which is essential for star trail photography. Simply set your shutter speed to “Bulb” mode and program your intervalometer.
However, before buying one, check to see if your camera has a timelapse feature built in. Many higher-end models are adding it into the software these days to avoid the extra gear.
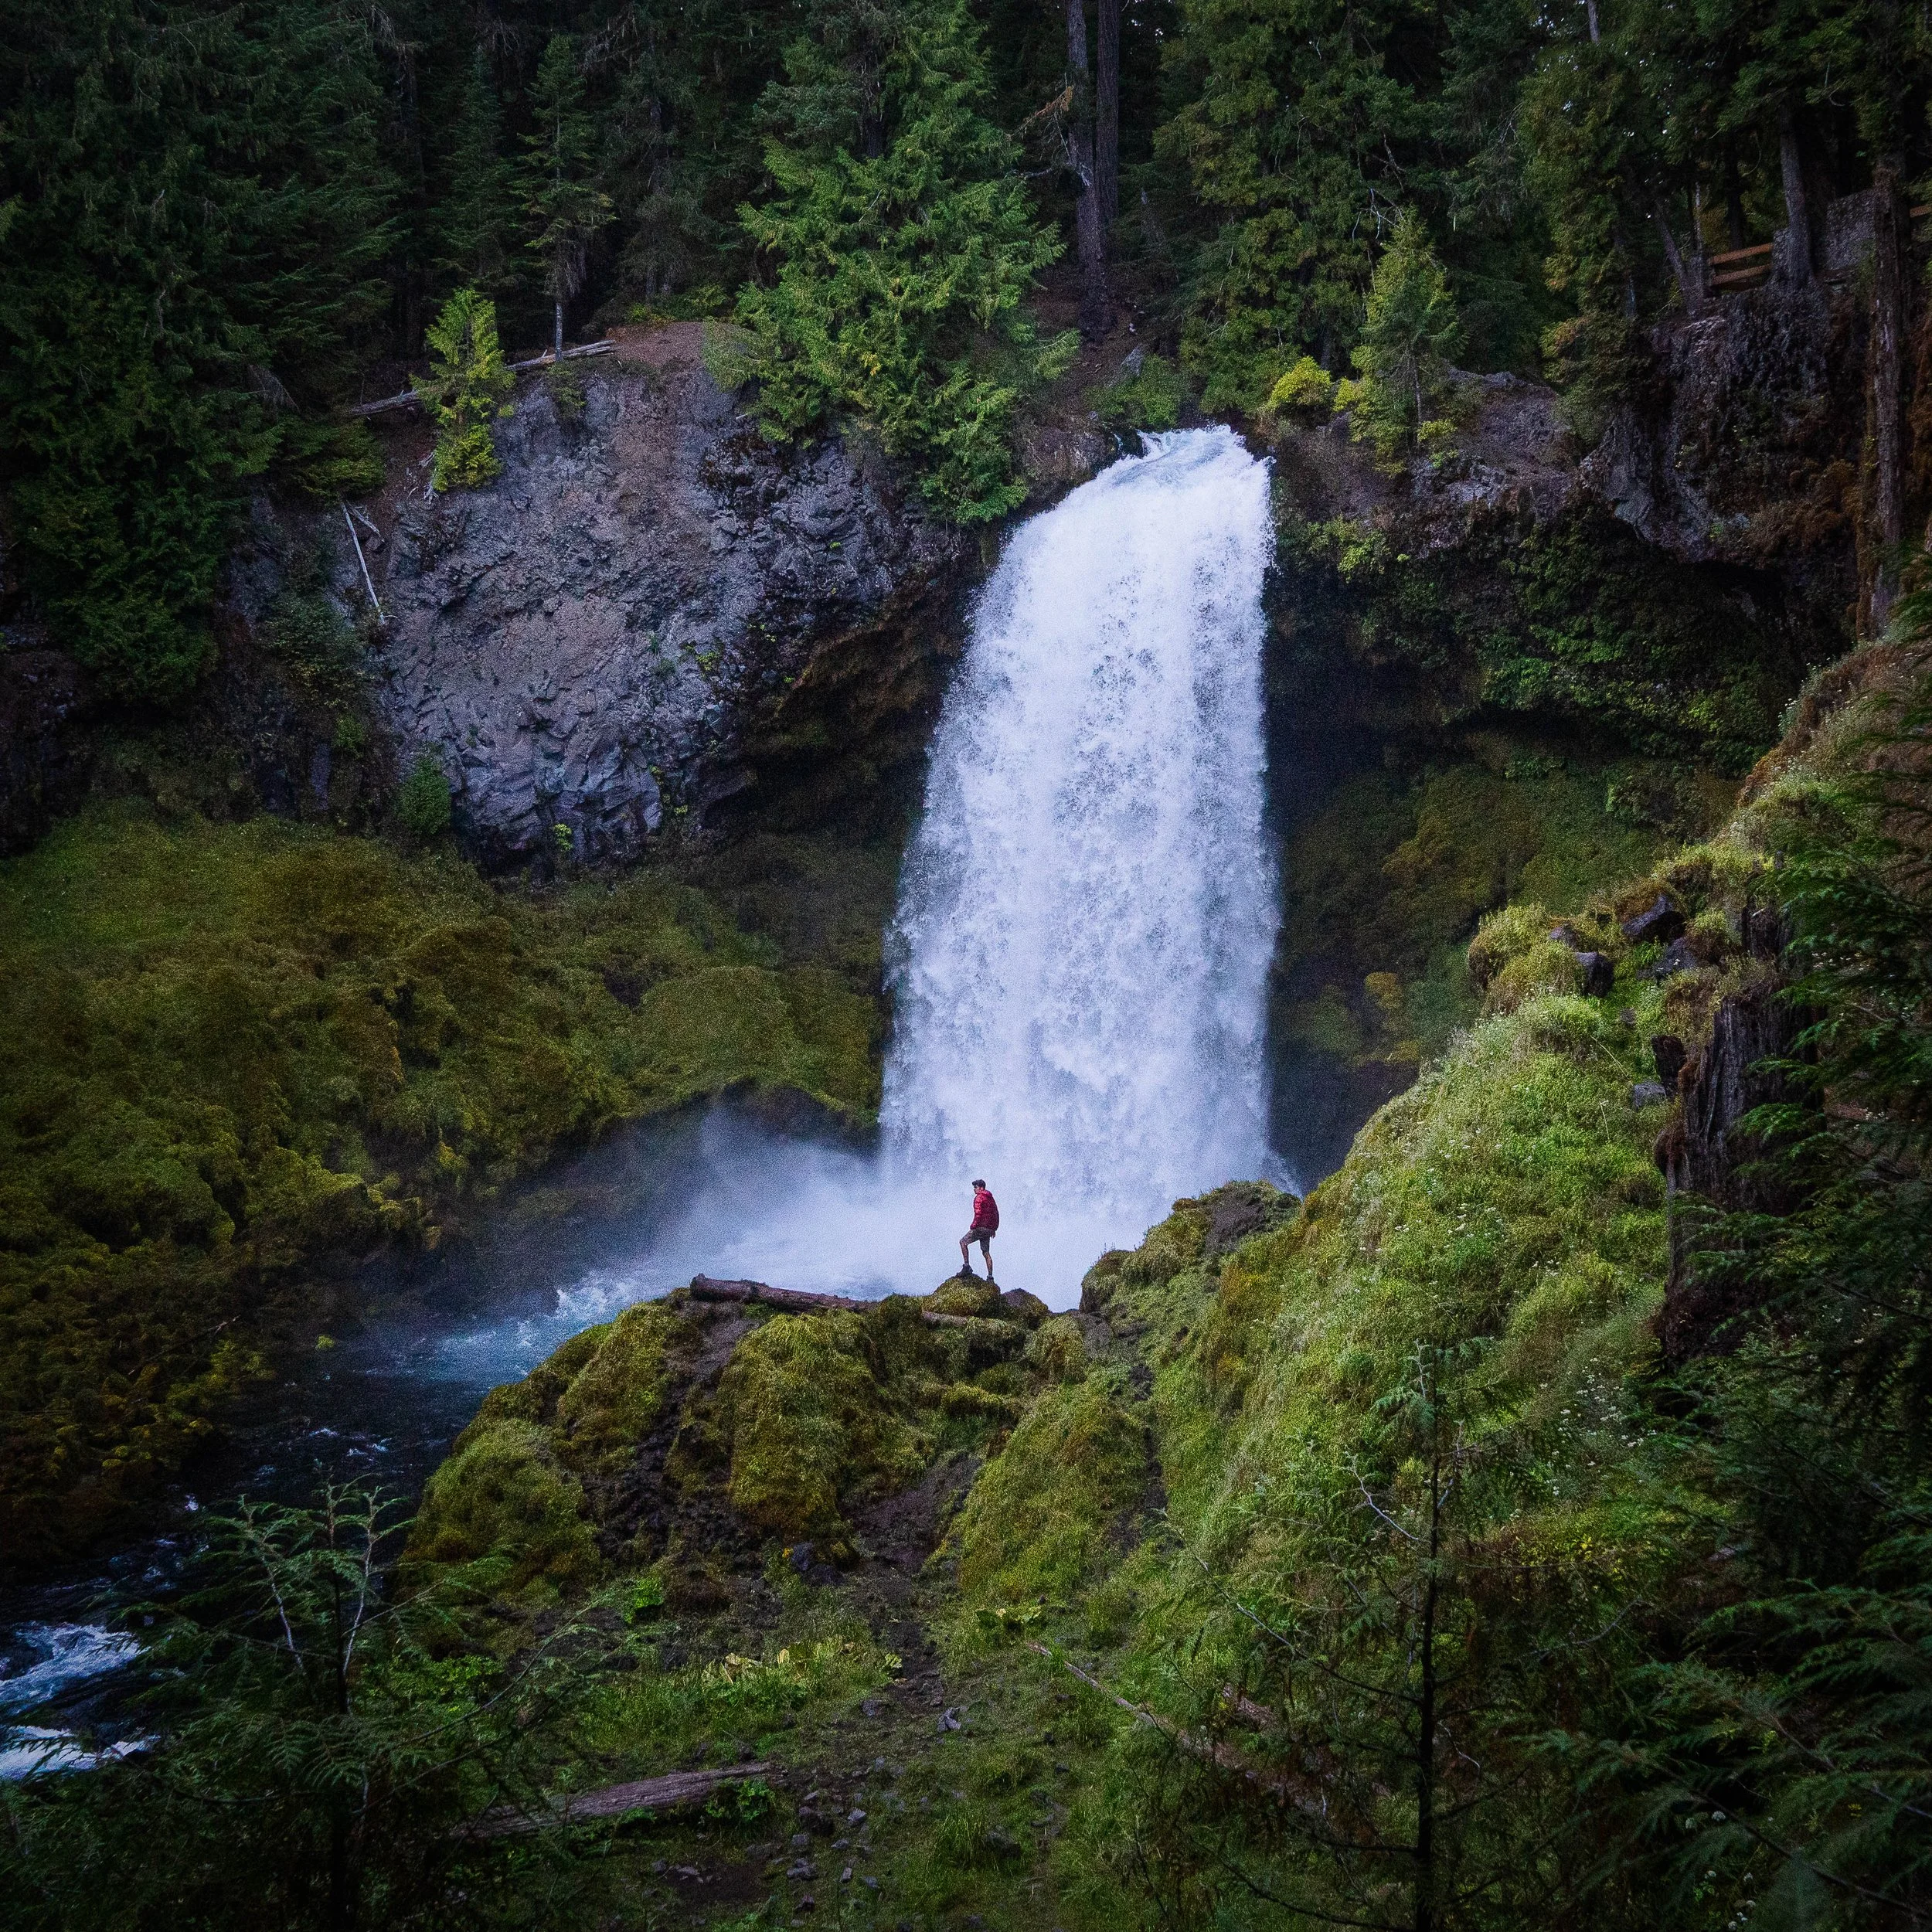
This photo was taken at Sahalie Falls in Oregon. An intervalometer / timelapse function was used in order to program the camera to take dozens of shots automatically while I posed in front of the waterfall.
5. Emergency Beacon
An emergency beacon is a small GPS-like device with a single purpose. If you press its button in a life-threatening situation, anywhere in the world, rescuers will come to your location and lend you a helping hand. This includes oceans, seas, and other countries.
They’re expensive (usually $300–$500), but most models have ~2 weeks of battery (per charge) and offer peace of mind, which is nice if you hike alone or visit remote areas often. I personally use the Garmin inReach Mini 2, which allows me to send and receive text messages via satellite, set waypoints for friends/family to view, and easily retrace my steps in real time.
Keep in mind that emergency beacons don’t work great in deep canyons (especially slot canyons) or thick, valley forests. You usually need a decent view of the sky so that it can connect to satellites.

This photo was taken at Arsenic Arch in Utah. In order to get here, I had to trudge into the desert with no trail at sunset. Having an emergency beacon with GPS coordinates gave me the confidence to do this hike alone.
6 & 7. Spare Batteries and SD Cards
Batteries and SD are small but essential items.
SD cards are where your photos are stored, and batteries power your camera. Always carry extras in your bag, car, or your pockets. SD cards, especially micro SDs, are tiny and easy to lose, so I like to keep them in specialized containers like the Nomatic Memory Card case.
Imagine hiking 10 miles for sunrise, only to realize you left your SD card or battery at home. A spare or two can save your day. I’ve even been known to lend them to other photographers that have forgotten theirs.

This photo was taken at Steptoe Butte in Washington. All of my camera batteries had died before arrival, but luckily I found one hidden in my backpack with enough charge to get a few shots.
Accessories You Don’t Need for Adventure Photography
Before we wrap up, let’s talk about some accessories you might think you need, but actually don’t:
Flash: Not necessary for landscape or adventure photography. Instead, rely on natural light or your portable RGB light.
Reflectors: These are bulky and mostly used in studios for portraits. They are also not practical for hiking or landscapes.
Gimbal: Unless you’re doing a lot of videography, skip this. I learned the hard way after spending $500 on one I rarely used. They are extremely bulky and heavy to carry, and not great for long distances.
L-bracket or camera cages: They add unnecessary weight. If your gear is insured, you don’t need these for protection.
Monopod: Great for sports photography or tracking birds with long lenses, but not useful for most adventure photography situations. Just use your normal tripod for stabilization.
Conclusion
In conclusion, these are all the accessories I highly recommend for enhancing your photography experience. It’s very easy to get caught up in the high of buying tons of gear when you’re first starting out, but focus on the end goal here- good photography with a minimal setup. Don’t get caught up in spending too much money right out of the gate.
In the next tutorial I’m going to cover how to Care for your gear, and all the accessories that come along with that. Let’s jump in.