
10 Wildlife Photography Tips That Will Change Your Art
Learn 10 tips to improve your wildlife photography.
In this tutorial, I'm going to be walking you through ten different tips to improve your wildlife photography. Let’s jump in!
Tip #1: Walk Quietly
My first tip is to learn to walk quietly. This can be achieved by carefully moving from heel-to-toe, slightly bending your knees, and keeping an eye on the ground. You’re also going to want to wear soft, flexible clothing that doesn’t “crinkle” when you walk.
Although this seems like common sense, learning to walk softly will save you so much hassle in the wildlife photography world. Animals, especially ones in areas where they may be prey, are very attuned to loud noises.
To go along with this, make sure all your gear is prepared and ready to go. Keep your camera and lens in hand at all times, so you don’t have to reach into your bag when things start appearing.
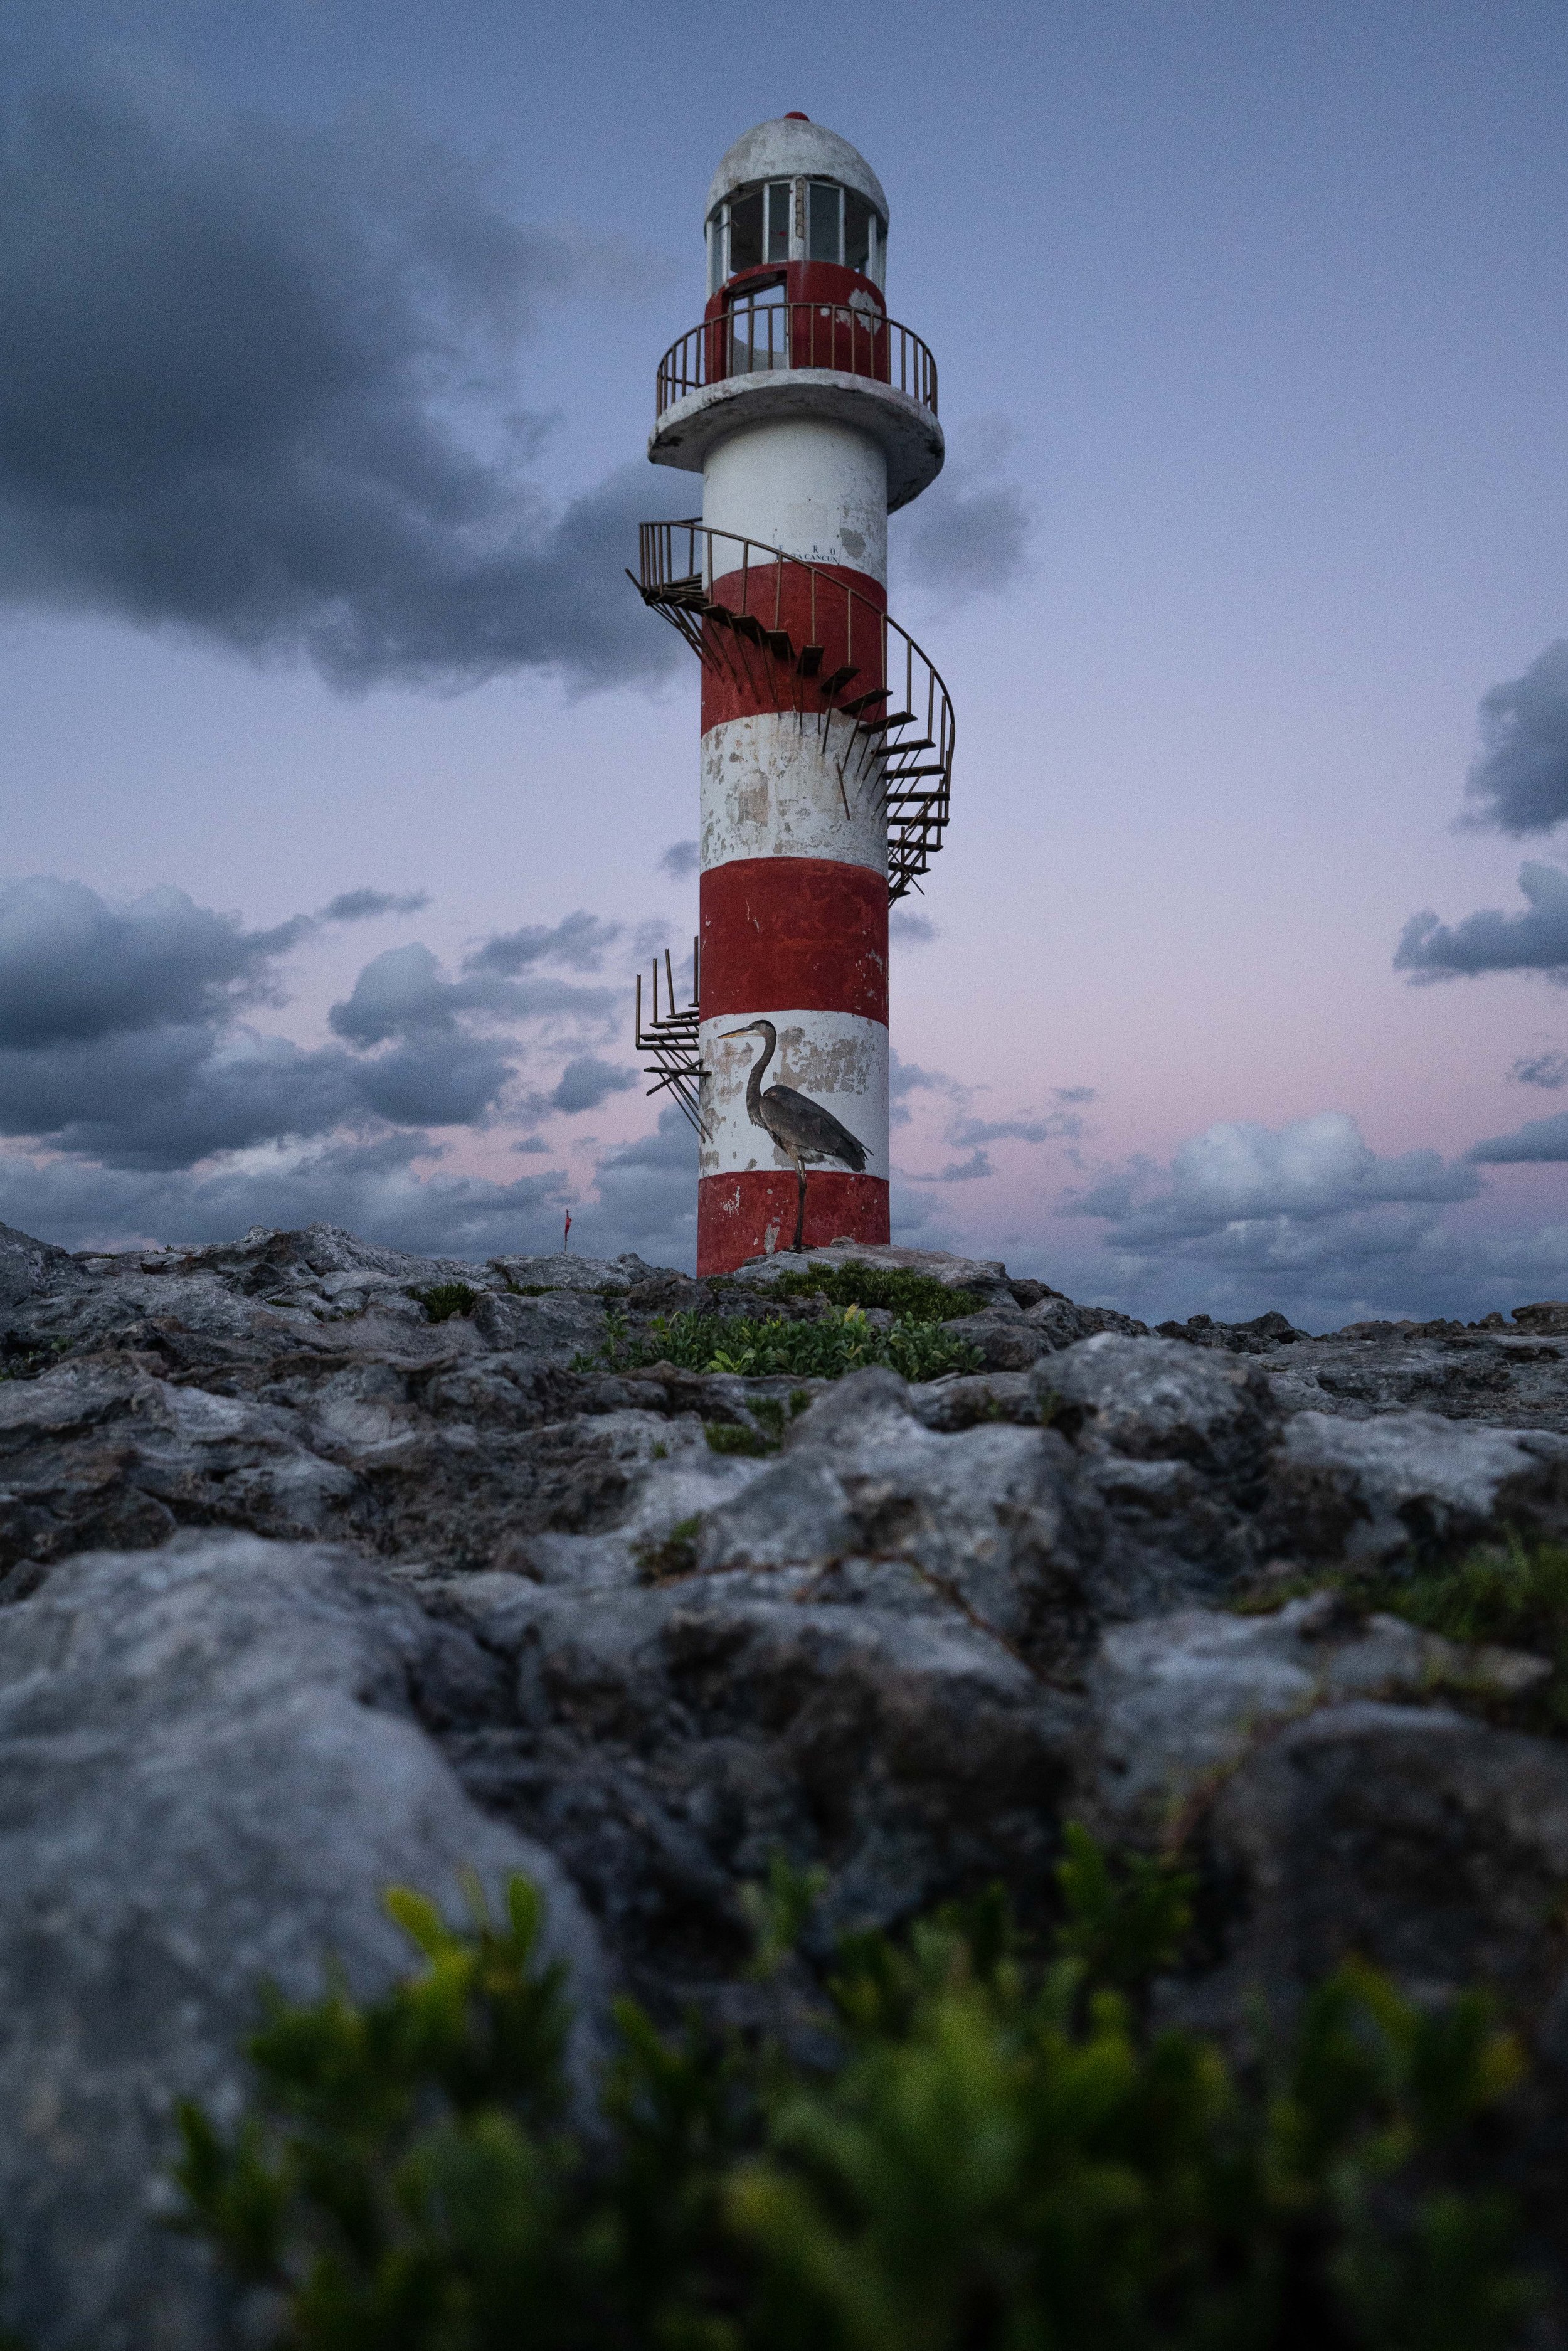
This perfectly lined up photo was taken at Faro de Punta Cancún with a very quiet approach.
Tip #2: Wait for the Animal to Look Up
My second tip is to photograph the animal when it’s looking up. Generally when you find animals in nature, 99% of the time they’re going to be eating something. Usually this isn’t when you want to get a shot of them, because the face is near the ground and they’re bent over.
A much better shot is when the animal is either attentive, facing your general direction, or interacting with another animal. Actions are also a great moment for shots.
Wait for it to start flapping, moving, running, or any kind of movement that can help tell a story about that animal.
The name of the game here is patience, which is why wildlife photography isn’t for everybody. These types of shots take time, and it’s not like landscape photography where you can always come home with a shot no matter what.
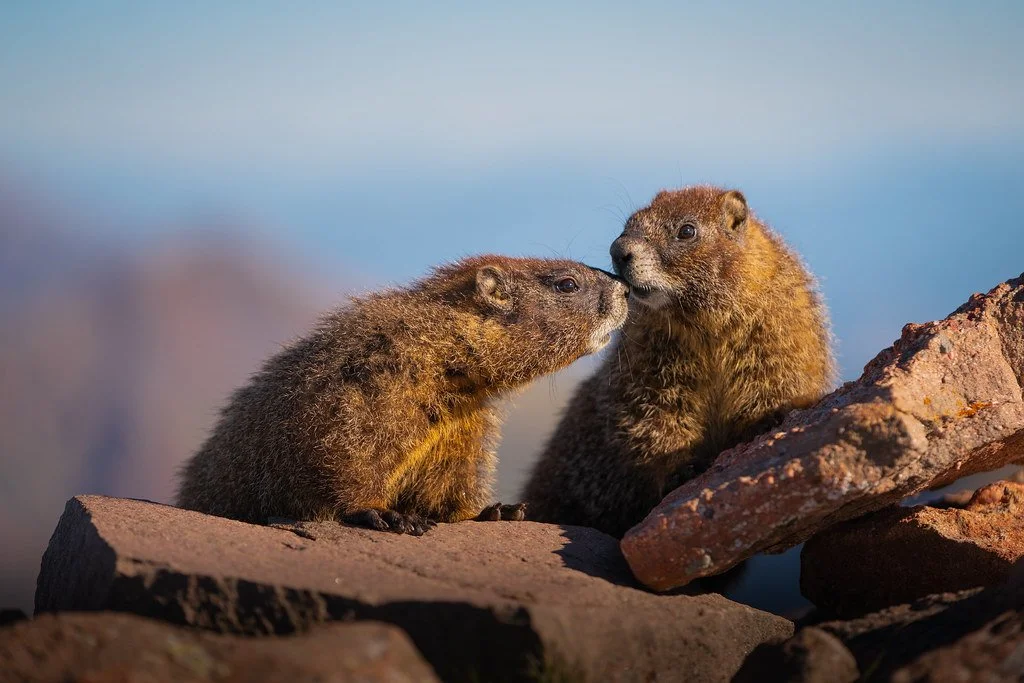
This photo of marmots was taken on Humboldt Peak in Colorado.
Tip #3: Compose Scenes Quickly
The third tip I have is to learn to compose scenes quickly. Wildlife photography tends to go from 0 to 100 very quickly, which means you’ll need to think on your feet.
A great way to practice this is to sit in the passenger seat of a car, and take photos as you drive around a busy city. This, along with general street photography, is a great way to train your artistic reflexes.
The good thing about wildlife photography is that the animal is almost always the subject. You never have to waste time figuring out what the subject might be, unlike in landscape or street photography. You simply need to learn how to support that subject. What elements around it can make it stand out?

This photo of a lizard was taken at Goosenecks State Park in Utah. The lizard was here for about 10 seconds before it moved onto it’s next resting place.
Tip #4: Use a 200mm+ Lens or Teleconverter
The fourth tip I have is to use a 200mm or longer lens. Sure, you can shoot with something lower, but chances are you’re going to have to get very close to get a shot that’s not cropped into oblivion.
400mm-600mm is even more ideal, but these lenses are absolutely massive and hiking in with them isn’t always the lightest idea.
This is where teleconverters can help. These are essentially magnifiers that you can strap on your camera in-between in the lens, which add either a 1.5x or 2x magnification. This means you can get a 200mm lens to become a 400mm lens, with a simple add-on.
Usually they’re a couple hundred bucks, and they tend to be much cheaper and (lighter) than a 400mm+ lens. The only catch is that your lowest f/stop usually raises one or two notches, and the sharpness takes a small dip.

This photo of wild parrots was taken at Tikal in Guatemala using a 200mm lens.
Tip #5: Keep an Eye on Aperture
The fifth tip I have is to watch out for your depth of focus, especially if you're shooting an animal that's very close to you. The first time I was photographing small sea turtles on the beach, I realized that if you're shooting below f/2.8 with a 50mm+ lens at close range, the depth of field becomes very narrow.
This means that you’ll want to bump up the aperture to f/4 or above to make sure the entire head is in focus. Else you might get the nose sharp for example, but not the eyes.
Tip #6: Focus on the Eyes
Speaking of depth of focus, the sixth tip I have is to focus on the eyes. In real life, the first thing you do when you see another human or animal is to look in their eyes to see their intentions.
This is very similar to portrait photography in that the eyes help connect the viewer with the subject.
Now obviously if the animal is 100 meters away, it’s not going to matter much because the entire animal will be in focus. But if you’re close enough to see the eyes, ensure they're in focus and centered in your image.
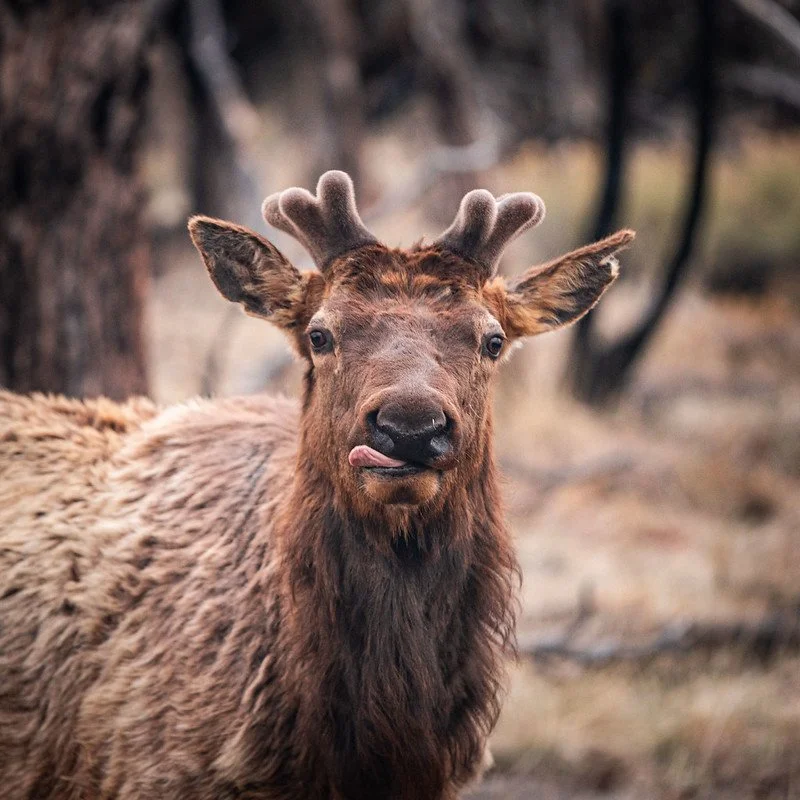
This photo was taken near the Grand Canyon in Arizona at precisely the moment the deer looked up.
Tip #7: Study the Subject
The seventh tip I have is to study the subject and its habitat. If you're really serious about getting into wildlife photography, you’ll quickly learn that the most prized photos in this scene are either of rare animals or rare scenes.
This means that in order to capture these animals, you’ll have to study how they behave, where they live, and how they function. Oftentimes this means spending a lot of time in nature studying their patterns and learning the local ecosystem.
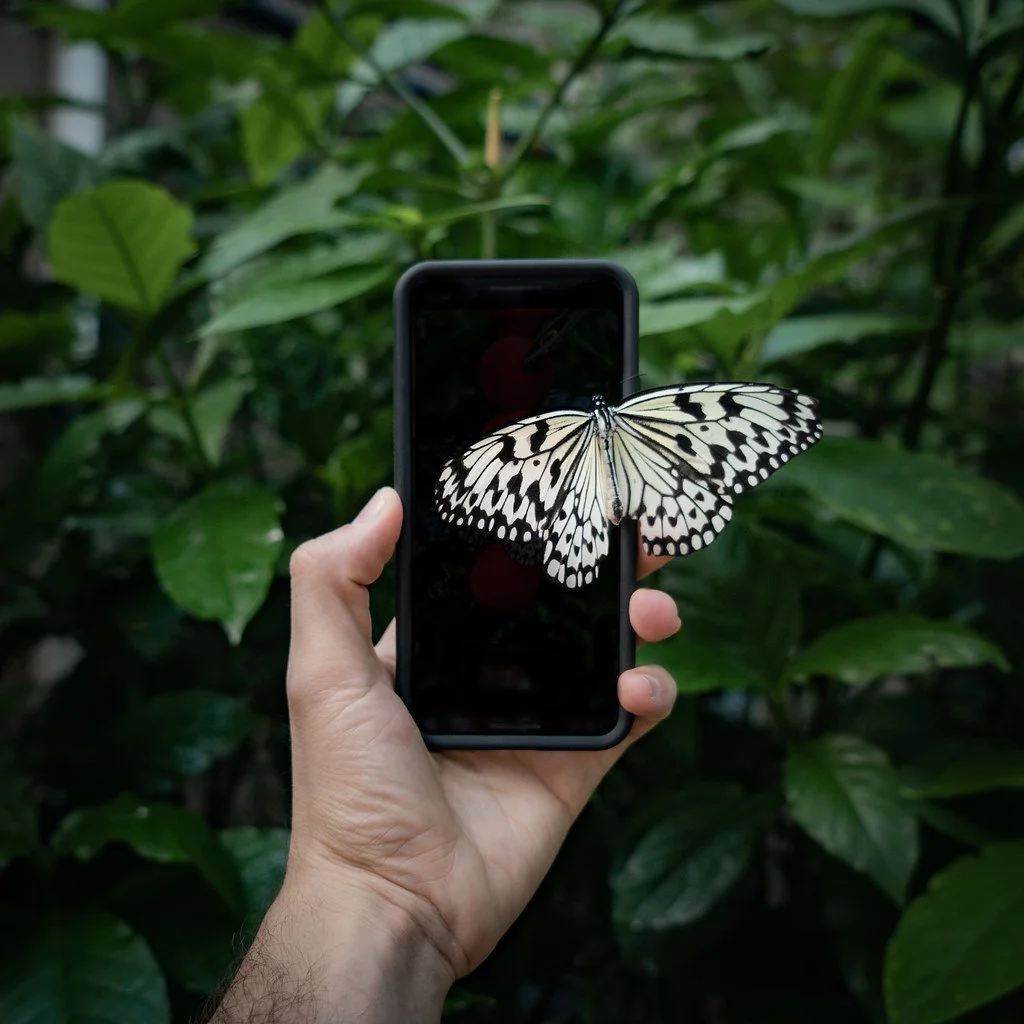
This photo was taken at the Butterfly Pavilion in Denver, Colorado. In order to get the butterfly to land on my phone, I made the background bright red, a color they are attracted to. I then Photoshopped the red background of my phone back to black to enhance the composition.
Tip #8: Hire Local Guides
In order to circumvent the idea of studying a subject immensely, you can hire local guides. Wherever you’re traveling, you can almost always find someone that’s already done that hard work of learning how a local animal exists.
If you pay them a little extra, you can sometimes get them to take you to even more remote or abstract locations as well. Even if you're just looking for landscapes, they can give you tips on spots that are less known to the public. Utilize local guides if you can find them.
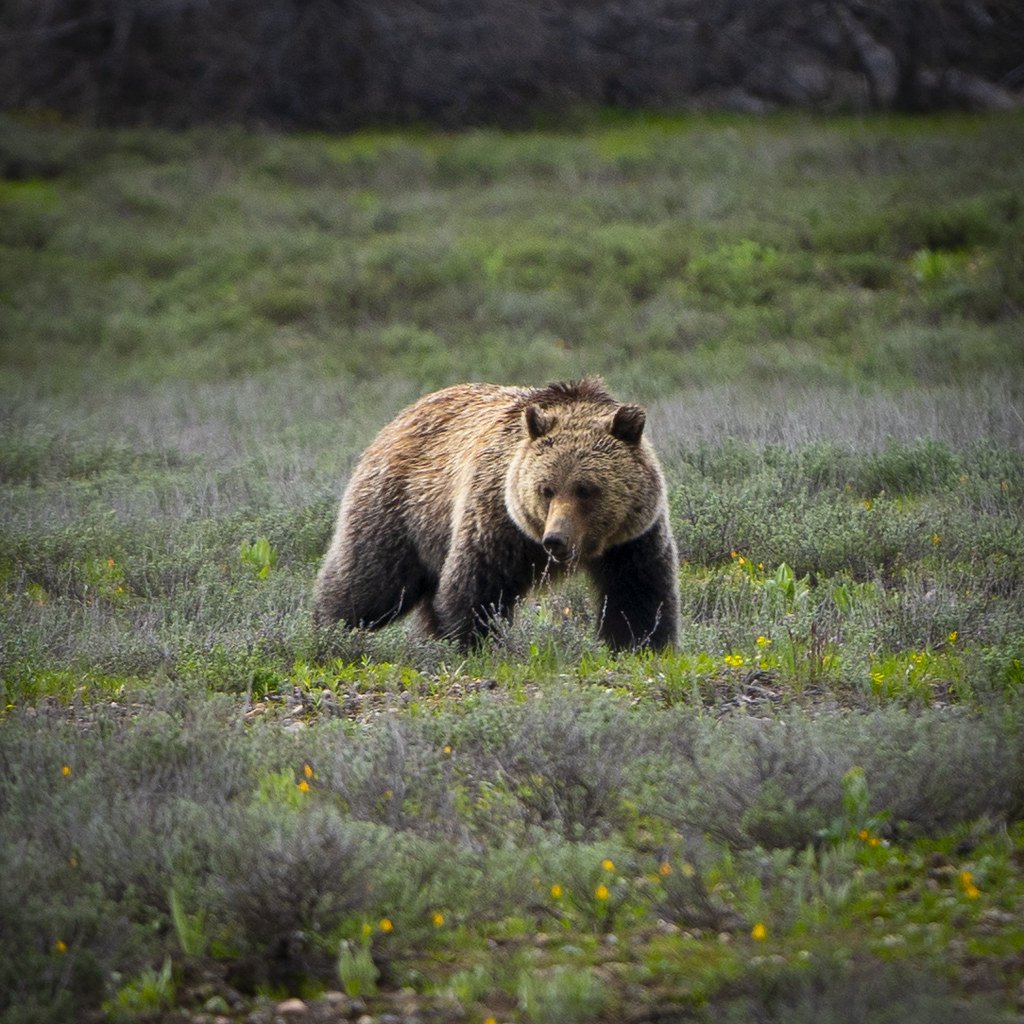
Per a park ranger’s recommendation, this photo was taken at a particular location that grizzly bears liked to roam in the Grand Tetons.
Tip #9: Consider Using Blinds
The ninth tip I have is to use blinds if they’re available. Blinds are small huts or cabins that you can wait in while animals pass by. They’re fairly common in the hunting world, and they can help ensure an animal doesn’t see or hear you.
Oftentimes they’re elevated as well, which can give you a good photography vantage point.

This photo of an alligator was taken at the Mayan Monkey in Cancun, from the deck above. These creatures were known to roam the area, so I simply waited until one appeared.
Tip #10: Use Camera Traps
The tenth tip I have is to look into camera traps. Camera traps are cameras you can rig onto trees that automatically take photos when they detect movement. National Geographic photographers often use these, especially when looking for very rare (almost extinct) animals.
There are also ways to rig your own cameras to do this. It might take some MacGyvering, but there’s easy ways to set up an external power source, an external shutter, and a remote trigger to get the shot.
Those are my ten tips for wildlife photography! The most important thing here is to remember to respect the animals. Don’t bait them, don’t feed them, and don’t bother them. Simply observe and walk away with a good photo!
Let's go ahead and hop into the next tutorial, where I’m going to drop every Slang photography word you need to know.