
10 Tips for Stunning Aerial Photography
Prefer to watch this tutorial in video format? 😏
Learn ten tips to improve your aerial (drone) photography.
In this tutorial, I'm going to walk you through ten tips to improve your aerial photography. By aerial photography, I mean anything taken with a drone, plane, helicopter, or similar aircraft.
Let's start from the top!
Tip #1: Use Top-Down Shots
Top-down shots are where you align your drone directly above the subject and aim straight down. These shots stand out because they show the world from an uncommon point of view, and it’s clear the shot is taken from a drone.
People respond well to shots where they know a drone was used, because it’s a sign the image was taken by a professional- not just another person with a smartphone.
For these shots, I like to look for Textures or Patterns, and use humans for scale. For example, check out this shot I took on a soccer field where I aligned myself with the lines. I’ve also seen people do this with tennis courts, basketball courts, crossroads, umbrellas, and all sorts of creative setups:

This photo was taken at soccer field in The Meadows of Castle Rock, Colorado.
Now, this type of shot doesn’t just apply to urban settings, it works great in landscapes too. For instance, check out this shot I got of some palm trees in Mexico. One palm tree was slightly offset in a horizontal line, which made it stand out nicely as the subject:

This photo, taken in San Ignacio, Mexico, is a perfect example of how the top-down shot can create a unique perspective.
Tip #2: Keep The Drone in Line of Sight
Always make sure you can see your drone with your naked eye- even if it’s a small dot. The moment you lose sight of it, you risk losing the drone. This is because even expensive drones can suddenly lose signal, meaning you’re now flying the drone without access to the camera.
From here, unexpected winds (especially at high altitudes) can push your drone away faster than you realize, and it could run into unseen obstacles like mountains, trees, or buildings.
Unless you’re very experienced or you know exactly where you’re flying, keep your eye on the drone at all times. This is especially important for smaller, cheaper drones since they don’t have the same range or wind resistance as larger models.
In the absolute worst case scenario, you can hit the “Return to Home” button. This will send the drone back to its takeoff point in the most direct route, which is especially helpful if you lose signal.
Tip #3: Make Sure The Firmware is Updated
Before going out to shoot, double-check that your firmware is up to date for both your drone and controller. Most drones won’t let you fly if the firmware isn’t updated, which can be a major bummer if you find this out five miles into the wilderness with no cell phone service. Learn from my mistakes.
On this note, it’s also important to research if you’re hiking into a no-fly zone. These are areas restricted by the government, which prevent your drone from even taking off. Although few and far between, especially in the wilderness, it’s nice to know for sure.

This photo was taken near the Bruneau Sand Dunes in Idaho. Service wasn’t good out here!
Tip #4: Pay Attention to Wind Conditions
If it’s windy on the ground, it will usually be even windier at high altitudes. Unless you know your drone’s limits like the back of your hand, I wouldn’t recommend flying if there’s heavy wind on the ground.
For example, I shoot on a Mavic Mini, which doesn’t handle wind well. There have been times when I was flying full speed toward myself, but the wind was still pushing the drone away. On several occasions I’ve had to chase it down on foot to land it safely, which isn’t as fun as it sounds.
Higher-end drones, like the DJI Mavic Pro line, can usually handle the wind better, but it’s still something to be wary of.
While we’re talking about weather, let’s touch on rain and snow. If it’s lightly misting or foggy, you can usually get away with flying, but I don’t hold me to it. It’s a definite risk. If it’s raining heavily or snowing however, don’t fly. Moisture can build up quickly on the drone and cause internal problems.
Tip #5: Use Speed and Cinema Mode
When scouting for compositions, I usually fly in Speed mode. This allows me to zip around and quickly scout the landscape, while preserving battery. Once I find the area I want to shoot, I switch to Cinema mode, which slows down the drone’s movement. This allows me to dial in the framing without over-correcting, and take multiple exposure shots if needed.

This shot was taken Balneario Municipal El Aserradero, off the coast of Mexico. Speed mode allowed me to quickly fly down the coast until I found this rotting pier.
Tip #6: Use Google Maps or Google Earth to Scout
I love using Google Maps and Google Earth to scout for composition. I simply switch to satellite terrain mode, where I can see exactly what the shooting location looks like before I arrive. This allows me to get a general feel for what the landscape is going to look like and see if it’s worth bringing a drone.

This photo, taken at Catedral de Nuestra Señora Santa Ana, was location scouted using Google Maps.
Tip #7: Use Humans for Scale
When you’re high up, it can be hard for viewers to understand how vast the landscape is. Including a human subject in the shot gives the shot a sense of epic scale.
Most of the time, I’ll use myself as the subject. It’s easy to hold the controller down by your side so it’s not visible, and then trigger the shutter for a clean shot.
I’d recommend silhouetting yourself against an opposing color or texture for maximum effect. If the audience can’t tell you’re in the shot at first glance, it’s probably not a good composition.

This photo, taken in the Ah-Shi-Sle-Pah Wilderness, is a great example of how humans can aid in defining the scale of an image.
Tip #8: Use Panorama Mode
Panorama mode is one of the most underrated drone features. Panorama mode lets you create wider shots by stitching multiple images together, which is awesome because most drones have fixed lenses.
This is perfect for capturing wide scenes like mountain ranges, roads, or cityscapes. Some drones can do this for you automatically.
If your drone doesn’t have the feature, don’t worry. You can manually shoot multiple overlapping frames, by panning over slightly for each shot. Make sure there is a lot of overlap (at least ⅓ of the image,) which will allow you to easily stitch them together in Lightroom and/or Photoshop.
Tip #9: Don’t Use FPV Drones for Photography
FPV (first-person view) drones are usually flown with goggles, and are most often used for racing, cinematic videos. Unfortunately they’re not great for photography, in the same way a purposely designed video camera isn’t great for photos.
They’re also harder to fly, require more maintenance, and are built for speed and agility rather than stability or image quality. If you’re focused on stills, stick with a standard drone, like the DJI Mavic Mini, Air, or Pro line.
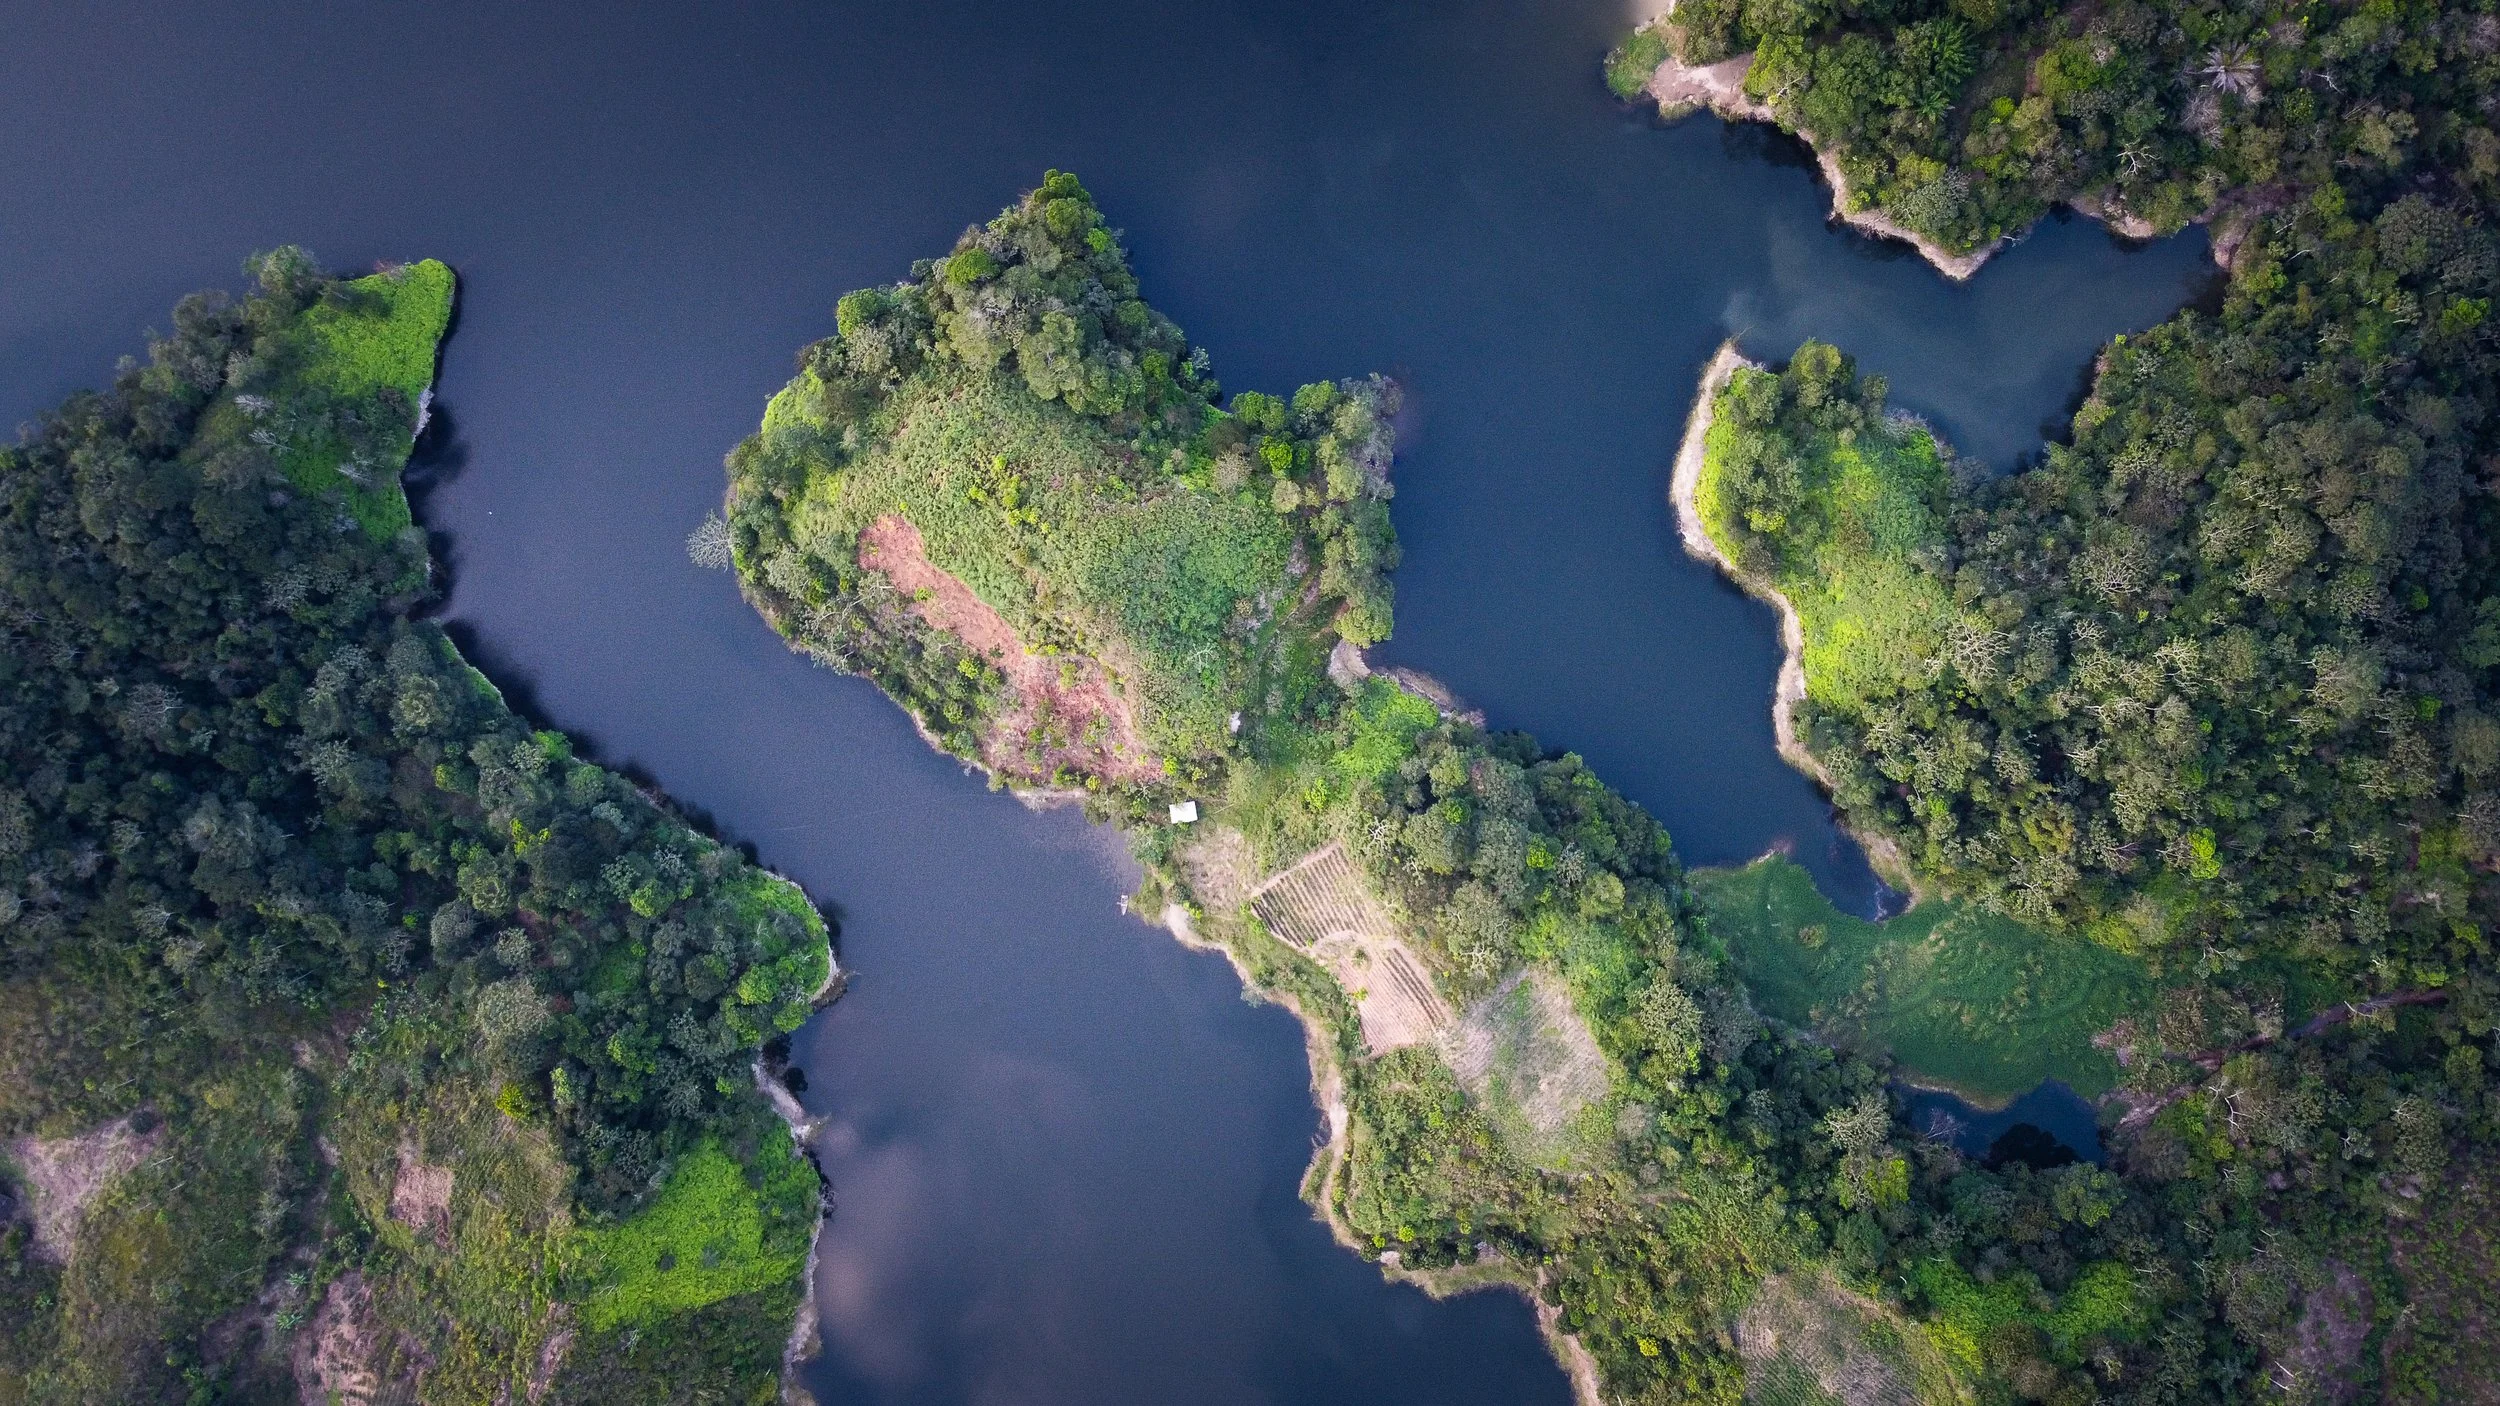
This photo of a small peninsula was taken a Laguna Yure in El Salvador.
Tip #10: Gain Extra Height Without a Drone
This last tip doesn’t involve a drone, plane, or helicopter- it’s just a trick for getting more height when you don’t want to (or can’t) fly.
Sometimes I’ll put my camera on a tripod, extend it as high as possible, set a timer, and lift it over my head to gain an extra five to ten feet of elevation. I focus the shot beforehand, usually around f/9 to f/13, and use a fast shutter speed to reduce motion blur since the camera will be shaking a bit.
It doesn’t always work perfectly, and you might need to try a few times to dial in the composition. But it can save you when you need a slightly higher perspective, but still want real camera quality. Alternatively, you can stand on your car for a few extra feet of height.

Here’s a another shot of Laguna Yure in El Salvador, where I had to use the above technique to get my camera higher than the bushes blocking the view!
And that’s it folks! Those are my top ten tips for improving your aerial photography. Let’s go ahead and jump into the next tutorial, where I’m going to give you ten tips for Astrophotography!