
10 Quick Tips for Dramatic Desert Photography
Learn 10 tips to improve your desert photography.
Prefer to watch this tutorial in video format? 😏
In this tutorial, I'm going to walk you through ten tips to improve your desert photography- meaning any barren, canyon, or cave-like landscape. Let’s jump in!
Tip #1: Remove Your Sunglasses
The first tip I have is to remove your sunglasses when taking a photo. Sure, it’s hot out and the sun is probably wrecking your eyes. But leaving them on while exposing your photos can easily result in blown-out images.
This is because your sunglasses are essentially an ND filter for your eyes. Through your glasses, the image on the screen looks fine. But in reality, it’s too bright.
Be careful! This has bitten me in the back several times. Now I always take them off right before shooting to double check the exposure, then throw em’ back on after.
Tip #2: Use a GPS
Using an offline GPS application like AllTrail, or using a GPS satellite phone like a Garmin Instinct can be a helpful way to travel through the desert. The difficult thing about deserts is that it’s hard for rangers and volunteers to make trails, because all of the ground looks the same, due to the harsh conditions. Even if there are trails, they could be blown away.
To counter this, many guides online give you nothing but a GPS coordinate to get there. This adds another degree of difficulty to hiking, because route-finding is now involved. If it’s hot out, this can be all the more stressful.
For example, when I went to New Mexico, there’s a special place called the Bisti Badlands. It’s known for its wild rock formations all within a couple mile radius, but the only way to actually find them is to aimlessly walk through the desert to certain GPS coordinates.
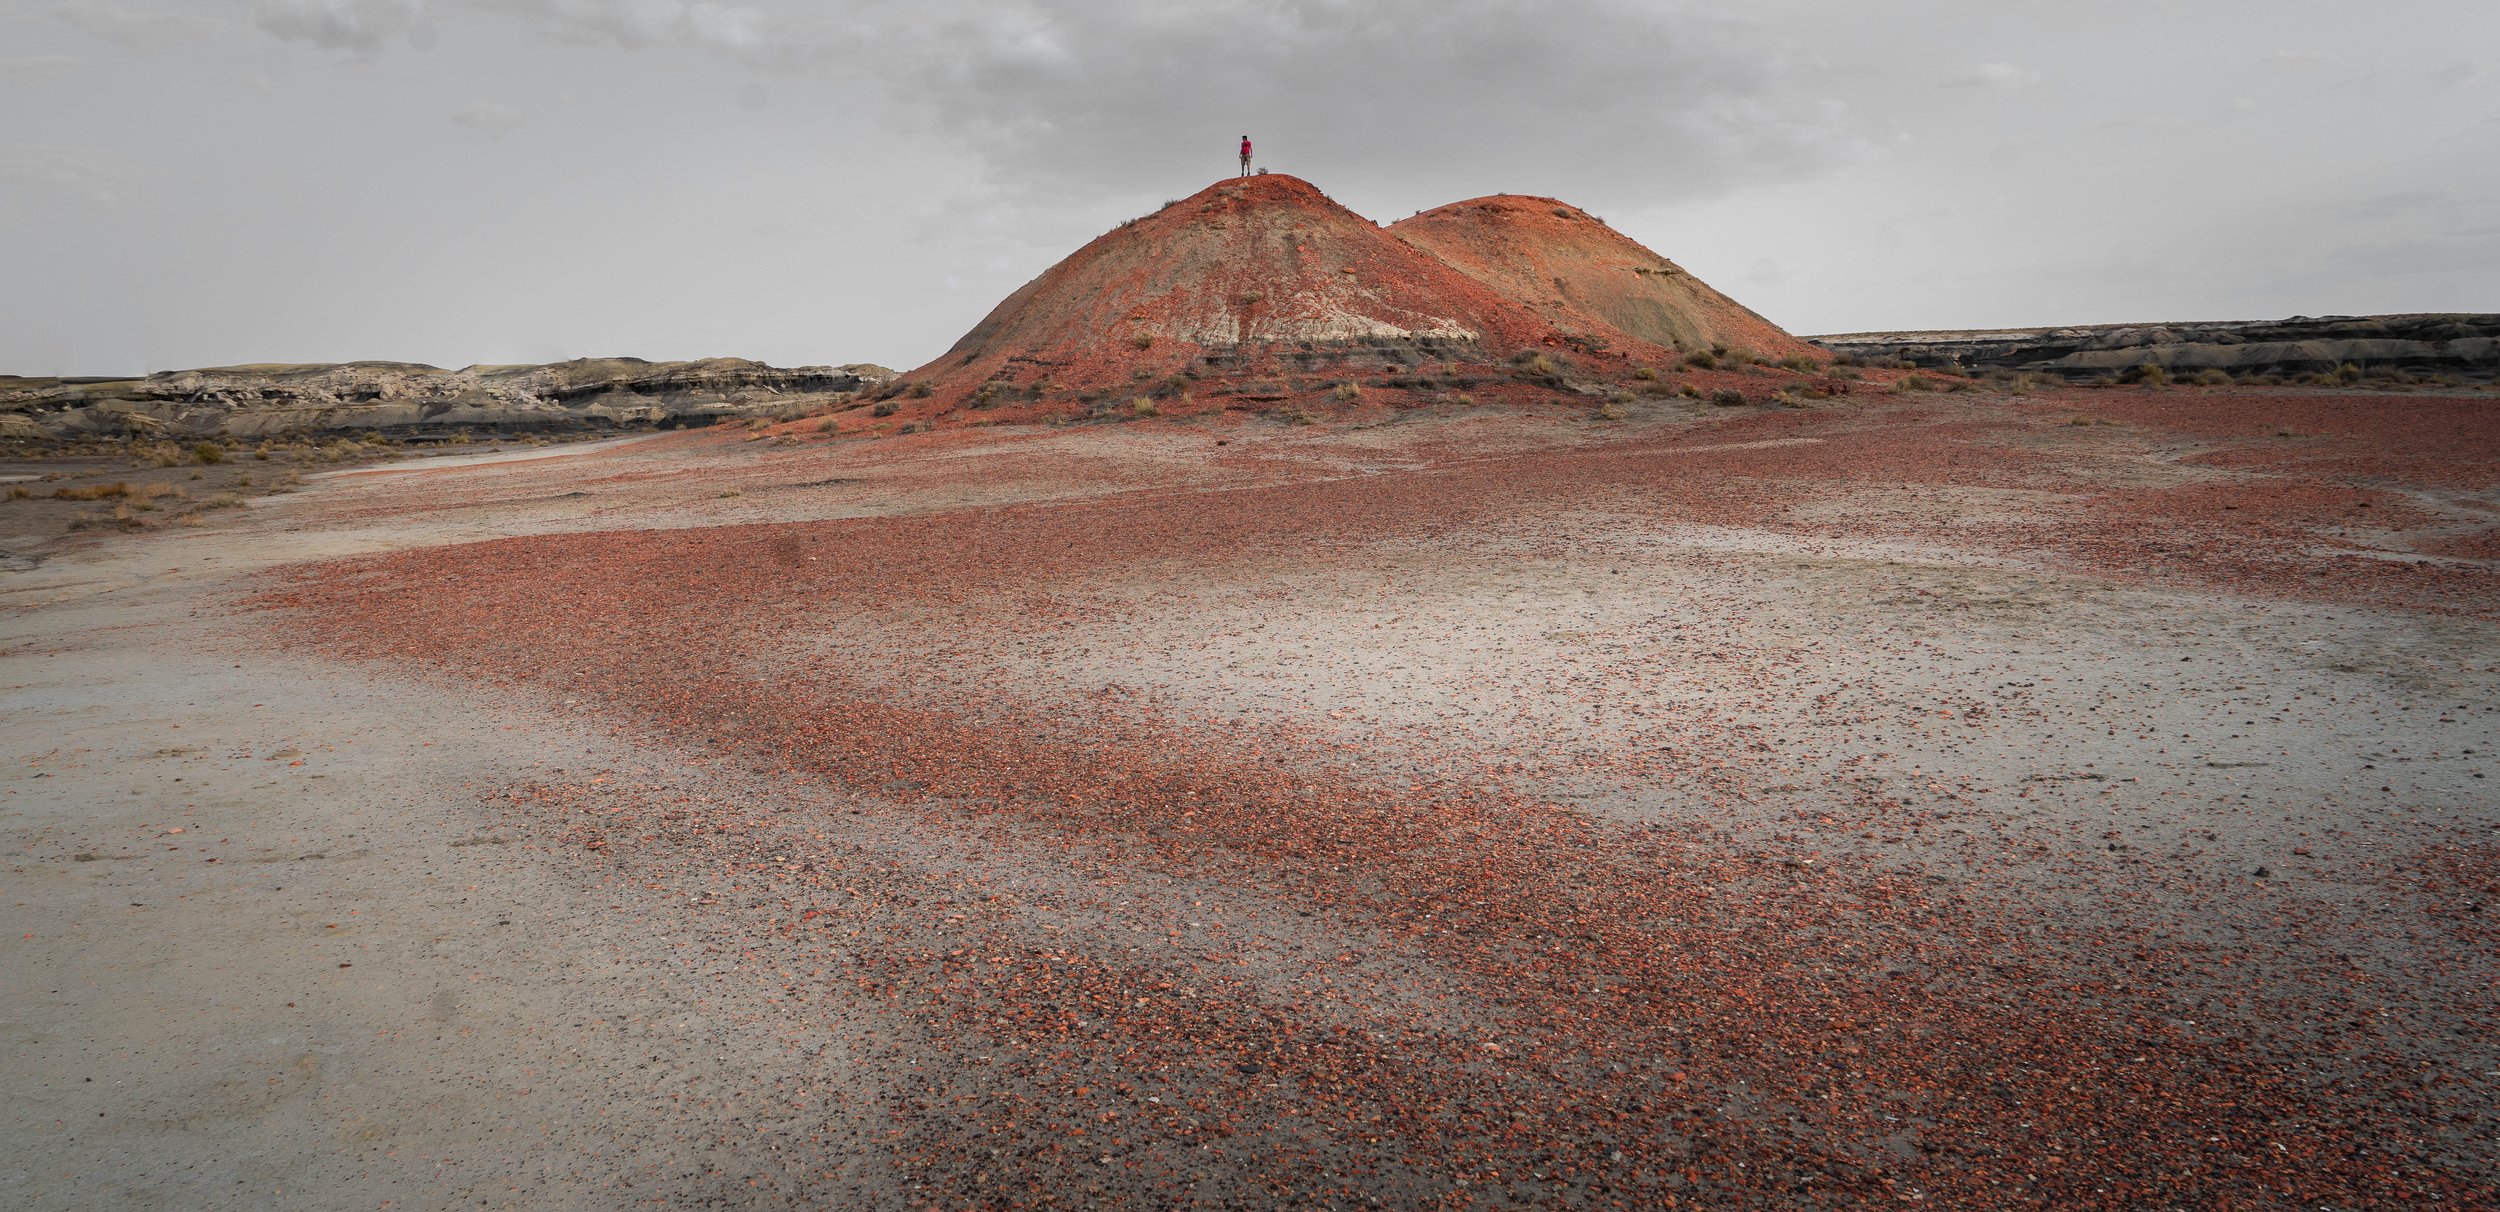
This photo of a strange red rock formation was taken at the Bisti Badlands in New Mexico!
There are no pathways, no trails, no signs- nothing. Now, obviously this isn’t the case with every desert hike, especially at popular destinations like Sonoma, Moab, and Santa Fe, but it is far more common in deserts than any other environment.
It’s also important to keep in mind that canyons, especially slot canyons, have a tendency to lose GPS signals due to the narrow walls. For these types of adventures, I like to make sure I’m very well versed in the route I’m expecting- even if that means printing out guides for the hike.
Tip #3 Be Weary of Flash Floods
Keep an eye out for flash floods. They are most likely to occur in deserts because there isn’t a lot of rainfall, which results in hard ground surfaces. This means that when it does rain, there aren’t places for the water to absorb or pool, so it openly flows right across the desert, often in large streams.
If you’re in a low valley, or see a higher density of sand, rock cracks, or mud cracks, that’s usually a sign that water passes through. These areas are aptly called “washes,” and are commonly cited on maps.
If there’s a chance of rain, even miles away, you do not want to be near these lower elevation areas. Be especially careful in slot canyons. These narrow canyons are fun for abstract images, but if a flash flood happens while you’re in one, there’s nowhere to go.

This photo was taken at Leprechaun Canyon in Utah, a slot canyon decently far away from civilization.
Tip #4: Seek Elevation
Speaking of flash floods, the fourth tip I have is to seek elevation- and not just for safety reasons. Most of the best compositions in desert photography are taken from higher elevations, because surprise surprise, deserts are usually flat.
For example, if you’re in a field of sand dunes, try to find the highest dune. You’ll be able to capture much more texture and depth than if you were standing in the valleys in between the dunes. Even finding a small boulder to climb in the desert can give you a significant height advantage to the area.

This photo, taken at Baja Rocks in Mexico, was taken from the top of a boulder with elevation- else I’d be stuck at ground level with all the saguaros.
Tip #5: Bring Sufficient Water
I know it’s obvious, but people often underestimate how quickly dehydration can set in. Especially because 90% of Americans are perpetually dehydrated to begin with. Just take a look at the sodium content in your last meal.
Deserts are ridiculously dry, which means even the act of mere breathing is dehydrating. If it’s hot, especially on windy days, your body will lose moisture fast. As a rule of thumb, I always bring double the amount of water than I think I’d need.
Death Valley, for instance, has temperatures that can easily reach 110 to 115 degrees Fahrenheit. For reference, even on windy days, it feels like someone is blowing a hair dryer on you.
This tip doesn’t just apply to hikes. If you’re planning on driving in the desert, always keep extra supplies in your car, in the instance it overheats or breaks down.

The photo was taken at Badwater Basin in Death Valley, which holds the record for the highest recorded temperature on Earth- 134°F.
Tip #6: Blowing Sand Can Hurt Your Gear
If sand and dust are flying through the air, they can easily get into your gear and ruin it. This is especially a problem with lower-end cameras, which aren’t weather sealed in the way higher-end cameras are.
If you have ports open, like an audio jack, for example, sand can get in and damage them. This can also happen with your buttons, making them sticky and unable to click. Talk to any park ranger at a sand dune state park, and they’ll all have the same story of countless tourists walking away with ruined cameras. Even with my weather-sealed camera, I usually avoid shooting if it’s windy out, as the risk just isn’t worth it.
Also, it’s worth keeping in mind that changing lenses in the desert is a risky endeavor. If sand gets on your sensor, it can scratch and ruin it. If I really must change my lens, I do it under my shirt, or in my bag to avoid possible dust.
Tip #7: Blowing Sand Can Hurt Your Eyes
If the sand can ruin your gear, it can also ruin your eyes. Sunglasses can help, but ski goggles are far better since they create a seal around your eyes.
Scarves or face masks are also great for protecting your nose and mouth, making it easier to breathe while exploring dusty landscapes.
Tip #8: Use Silhouettes
The eighth tip I have is about shooting in high contrast environments. In deserts, you usually won’t see many clouds around to give you that soft, golden light. You might see those beautiful, dramatic desert skies in photos online, but in reality, most deserts have blank, clear skies unless you happen to be on the edge of a storm. (Which is rare…)
If you find yourself working in harsh, over-exposed conditions, silhouettes can save you. I like to use cactuses, arches, rock formations, or even my own silhouette to create unique compositions against overexposed skies and landscapes.

This silhouette of a Joshua Tree was taken at the Jumbo Rocks formation in southern California!
Tip #9: Find Mud Cracks
Here’s a quick tip about how to find mud cracks in the desert- a popular foreground or macro photography subject. At first glance you might think they’re everywhere (like I did,) but in reality, they’re actually pretty rare.
My advice is to look several days after rainfall. When it rains, the water pools in certain areas, which creates mud. Then, after a few days of sun, that mud dries and cracks in those beautiful formations we love. Google low-elevation areas, washes, or dried lake beds.” Sometimes you can even spot the cracks if you zoom in far enough on satellite view.
You can also ask other photographers (or locals) to see where they might be. Mud cracks change quickly depending on weather conditions, so there isn’t one permanent “mud crack spot.” But if you find them, they’re incredibly fun to shoot and can offer amazing abstract compositions.

This photo of mud cracks was taken at the infamous Bisti Badlands in New Mexico!
Tip #10: In Caves, Look for Shapes
The tenth and final tip I have is for cave photography. If you find yourself shooting inside a cave and are unsure what to photograph, look for shapes on the walls. Try to find patterns or outlines that remind you of something in real life, and capture those.
In terms of lighting, most caves open in state parks are pre-lit, meaning you can simply walk through and look for interesting lighting and formations without having to light them yourself. This is a good thing and a bad thing- it makes the process easier because only so much is lit up, but you also have less choice in your compositions.
For caves, I’d also bring a tripod, since most of your shots will be long exposures, and also bring a microfiber towel, because caves tend to be damp, meaning you may need to wipe down your lens if there’s humidity.

This image of a rock outline taken at Wind Cave in South Dakota, reminds me of a mummy face.
Allllllright and those are my ten tips for desert photography! Let’s jump into the next tutorial where I’m going to cover how to photograph Environmental Portraits!