
How to Achieve the Flow State in Photography
Learn techniques to warm up and achieve flow state.
Prefer to watch this tutorial in video format? 😏
Introduction to Warming Up
Now that we've gone over the technical gear, how to work our cameras properly, and how to scout locations, let's talk about the first step in finding a composition- warming up.
If you remember back to my Philosophy tutorial, the fourth tenet of adventure photography is achieving the flow state. The flow state is a mental state where your creativity is flowing freely, and you’re not thinking about the process. You’re simply executing.
In this tutorial, I'm going to show you a variety of techniques to get warmed up, and eventually reach the flow state.
Let’s dive in!
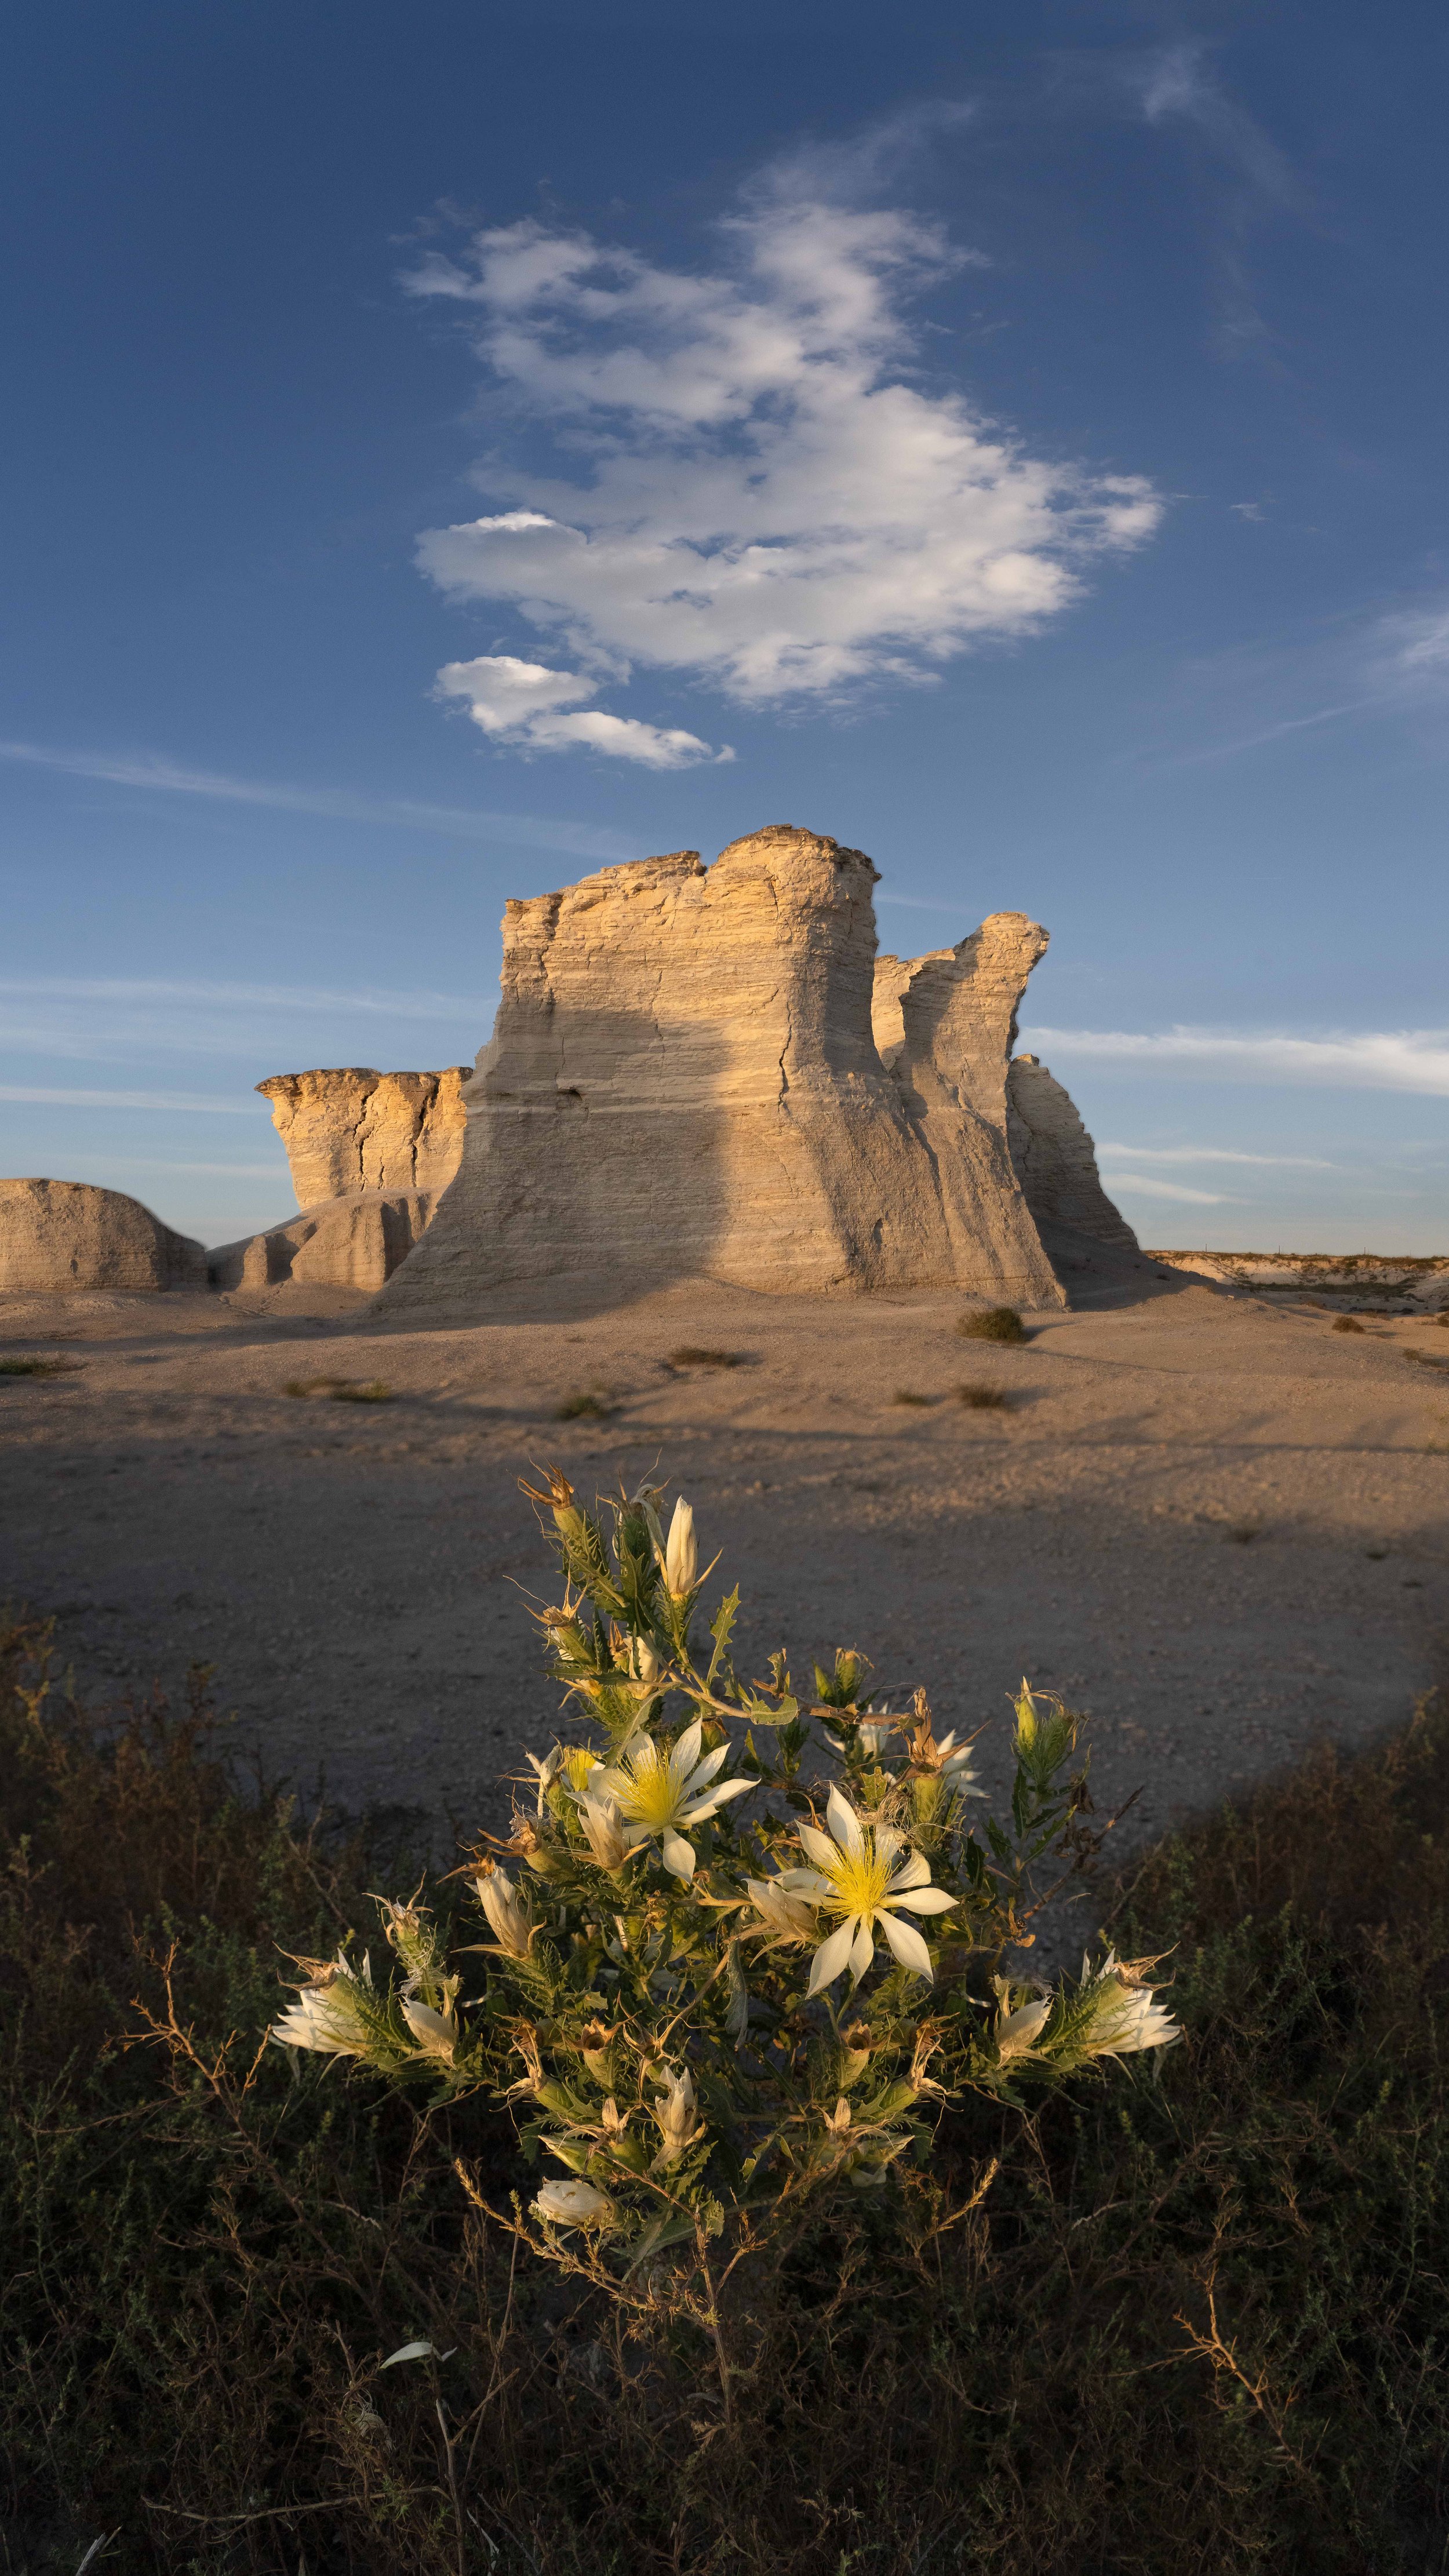
When you hit the flow state properly, everything just lines up. This photo was taken at the Monument Rocks in Kanas.
Pre-shoot Preparation
The first thing we need to talk about is what to do before you go shooting. That way, when you show up to your adventure, there’s no confusion.
The first thing I do is make sure my memory cards are completely clean, and my batteries are fully charged. I like starting with a fresh slate, so I make sure everything is offloaded from previous shoots.
The second thing I do is research where I’m going. This helps avoid any unnecessary surprises upon arrival. Before arriving, I like to know the parking situation, how long the hike is, how well-marked everything is, and where I’m going.
There’s nothing worse than showing up and realizing you got to do a five-mile hike when you thought you were just walking up to an overlook. (Spoiler alert: it’s happened to me many times.)
I also like to look at some sample photos of the area on Google Maps to start brainstorming compositions. This helps me understand what type of gear to bring, and what to look for on the hike.
For example, if there’s waterfalls or running water, I’ll make sure to bring an ND filter. If there’s overlooks, perhaps a long-range lens. Interesting flora? Perhaps I’ll consider my macro lens.

This photo was taken at Cadillac Mountain in Maine. Going in I knew I was going to be on the tallest mountain in the region, so having a zoom lens would be necessary to zoom in on the surrounding landscapes.
Set a Non-Photography Goal
Once you’re informed about the area, the next step is to set a non-photography-related goal. I believe this is critical to getting into the flow state.
It could be something simple like “hike three miles to the overlook,” “hit all three waterfalls on the trail,” or “make it through the slot canyon.”
Once you have that goal in mind, that’s what you’re working towards… not a specific photo. The camera is simply tagging along for the adventure. The reason I suggest this is because setting specific photography goals will usually lead to disappointment. Weather conditions can vary, the geology might have changed, or a million different things could intercept the photo you originally had in mind.
If your goal is simply to do something, not take a photo, you take all the pressure off the camera. Now, you’re free to shoot whatever appeals to you in the moment.
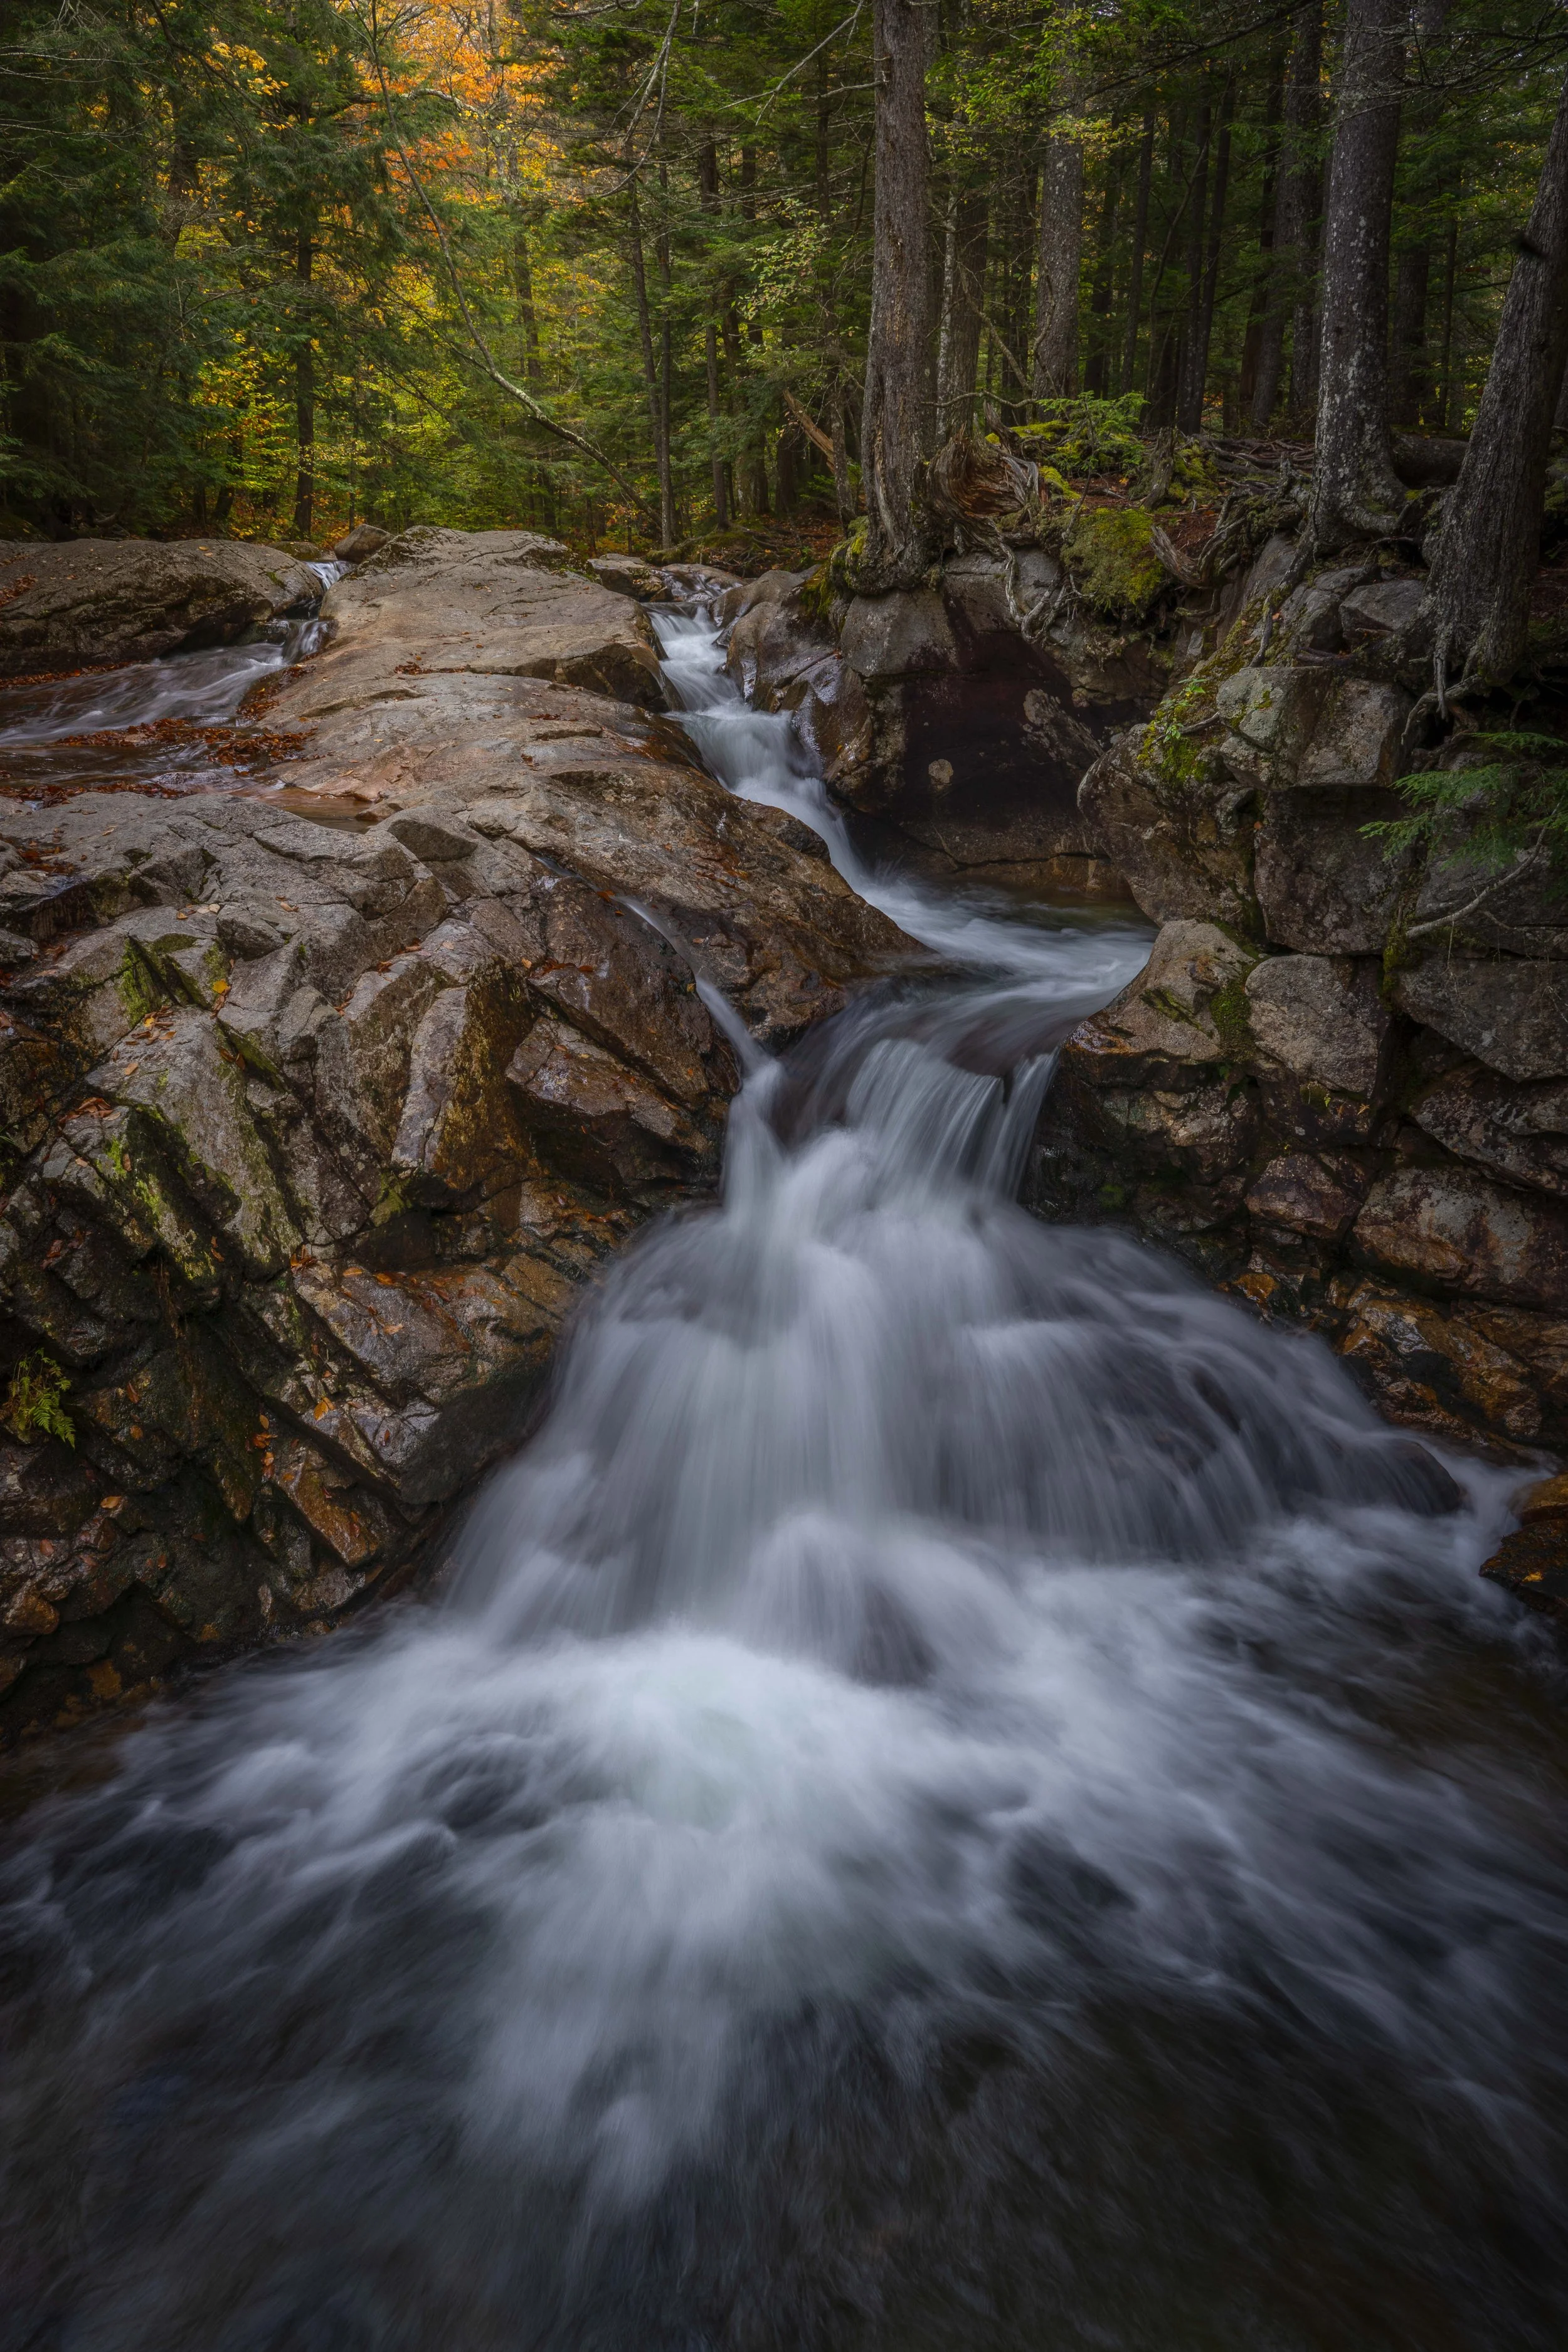
This photo was taken at Basin Cascade in New Hampshire. It was one of many features on this trail that I had no intention of shooting prior to arrival.
Arrive Early
Now that you’re prepared and focused, the next step is to arrive early. I like to arrive about 90 minutes before optimal lighting. Not 90 minutes before the hike-in, 90 minutes before the best light hits the location you’re shooting.
This gives you 30 minutes to hunt for compositions, an hour of golden light, and 30 minutes of twilight/dusk to work with. The full photography spectrum.
You’ll hear other photographers talking about showing up 3-4 hours early. Personally, I think this is overkill, unless you’re retired and have nothing else to do all day. For most of us, 90 minutes early is the sweet spot.
Eliminate Distractions & Get in the Zone
Once I’m prepared for the shoot, the next step is to eliminate all distractions and start getting into the zone. I find this usually happens naturally if there’s a hike-in, especially if you’re not checking social media, phone notifications, or spending too much time route-finding. Again, that pre-shoot preparation comes into play here.
To help streamline the warm-up process, I love listening to music. This is entirely subjective, as many people prefer natural sounds if they’re out in nature. But for me, I find the right playlist can really escalate things- especially if it’s a genre that energizes.

This photo was taken at the Windows in Moab, Utah. I’ll always associate Arches National Park with the song “I Need” by Sasha Rome because it was on repeat while I was walking around.
Start Small
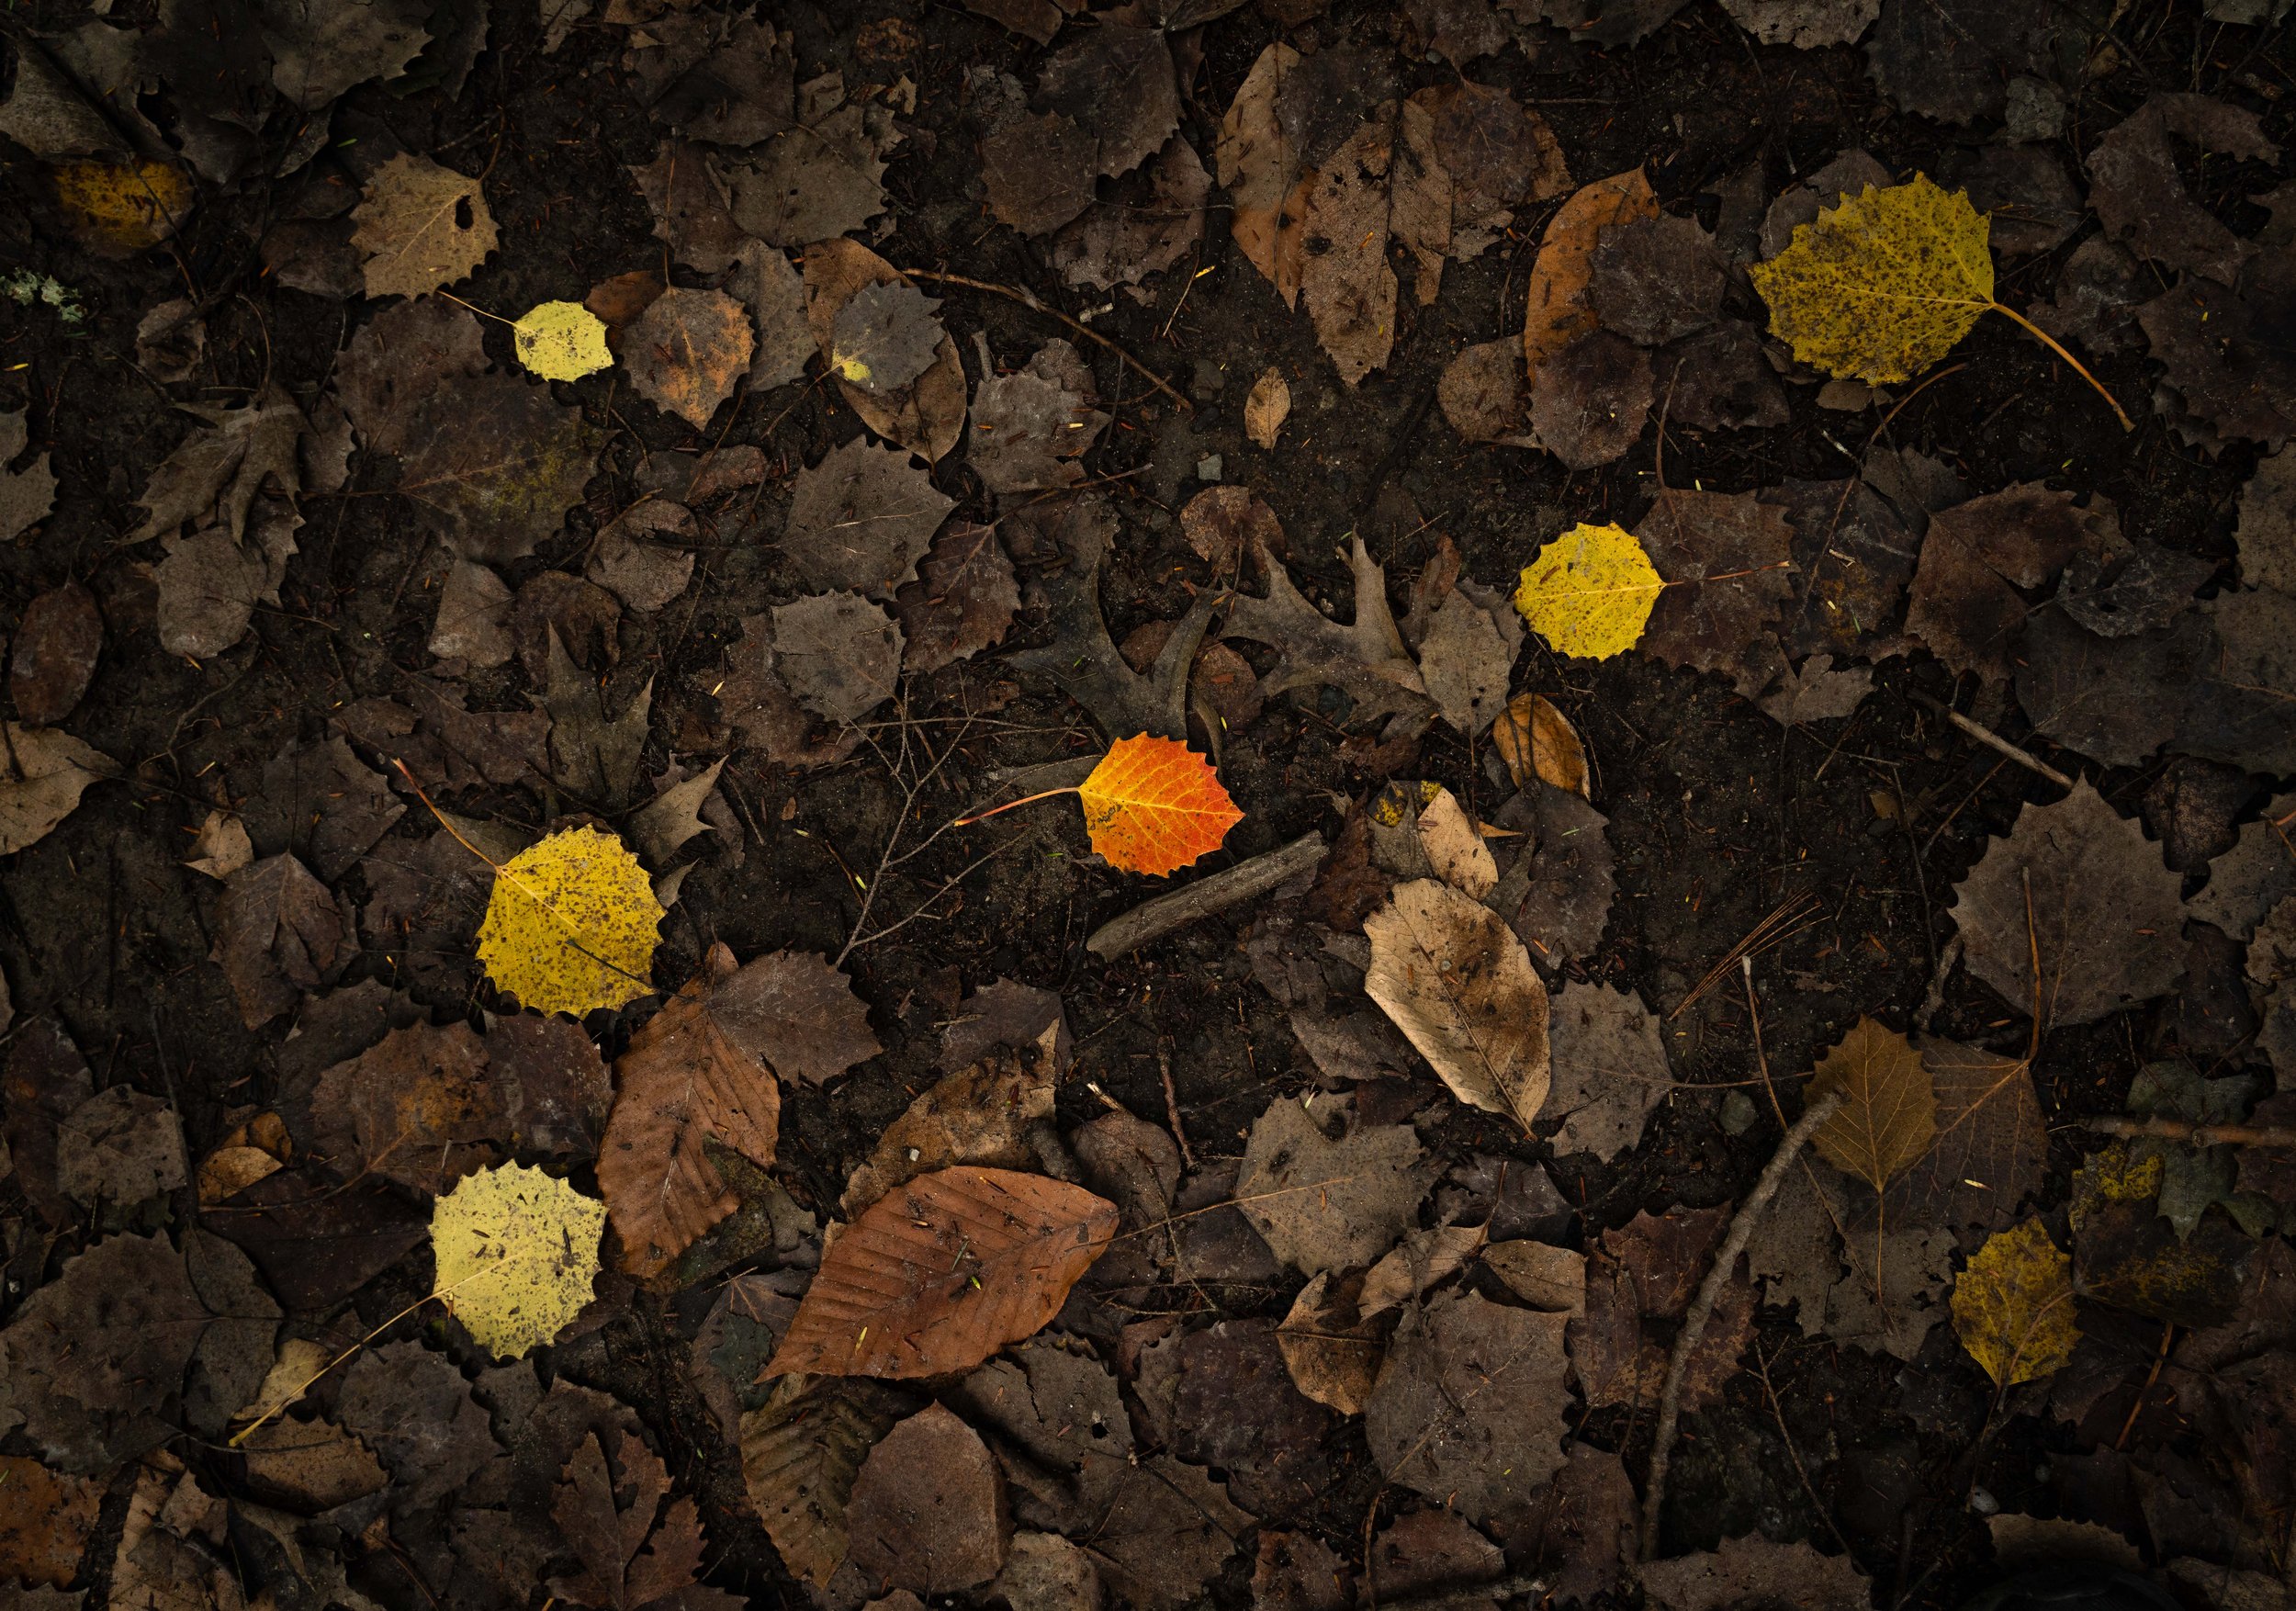
When I start shooting, I begin with something very small- like a flower, mushroom, or small plant. Easy stuff.
I’m not aiming for detailed compositions, focus stacks, exposure blends, or anything technical. Just small, simple shots to get the shutter going. You might even take a few shots you know you’re never going to publish or even edit.
Then I slowly work my way up. Here’s an example of a warm-up build:
Flower → Bush → Tree → Mountains → Subject + Mountains
Not necessarily in that order, or those subjects exactly. Just start small and work your way up- and at a certain point, you’ll begin transitioning into the flow state.
The interesting thing is you almost never consciously realize when you’re in the zone. You’re simply executing with full creativity, and then suddenly the light disappears and you’re left with a bunch of photos, wondering what just happened.
That’s the Flow State.
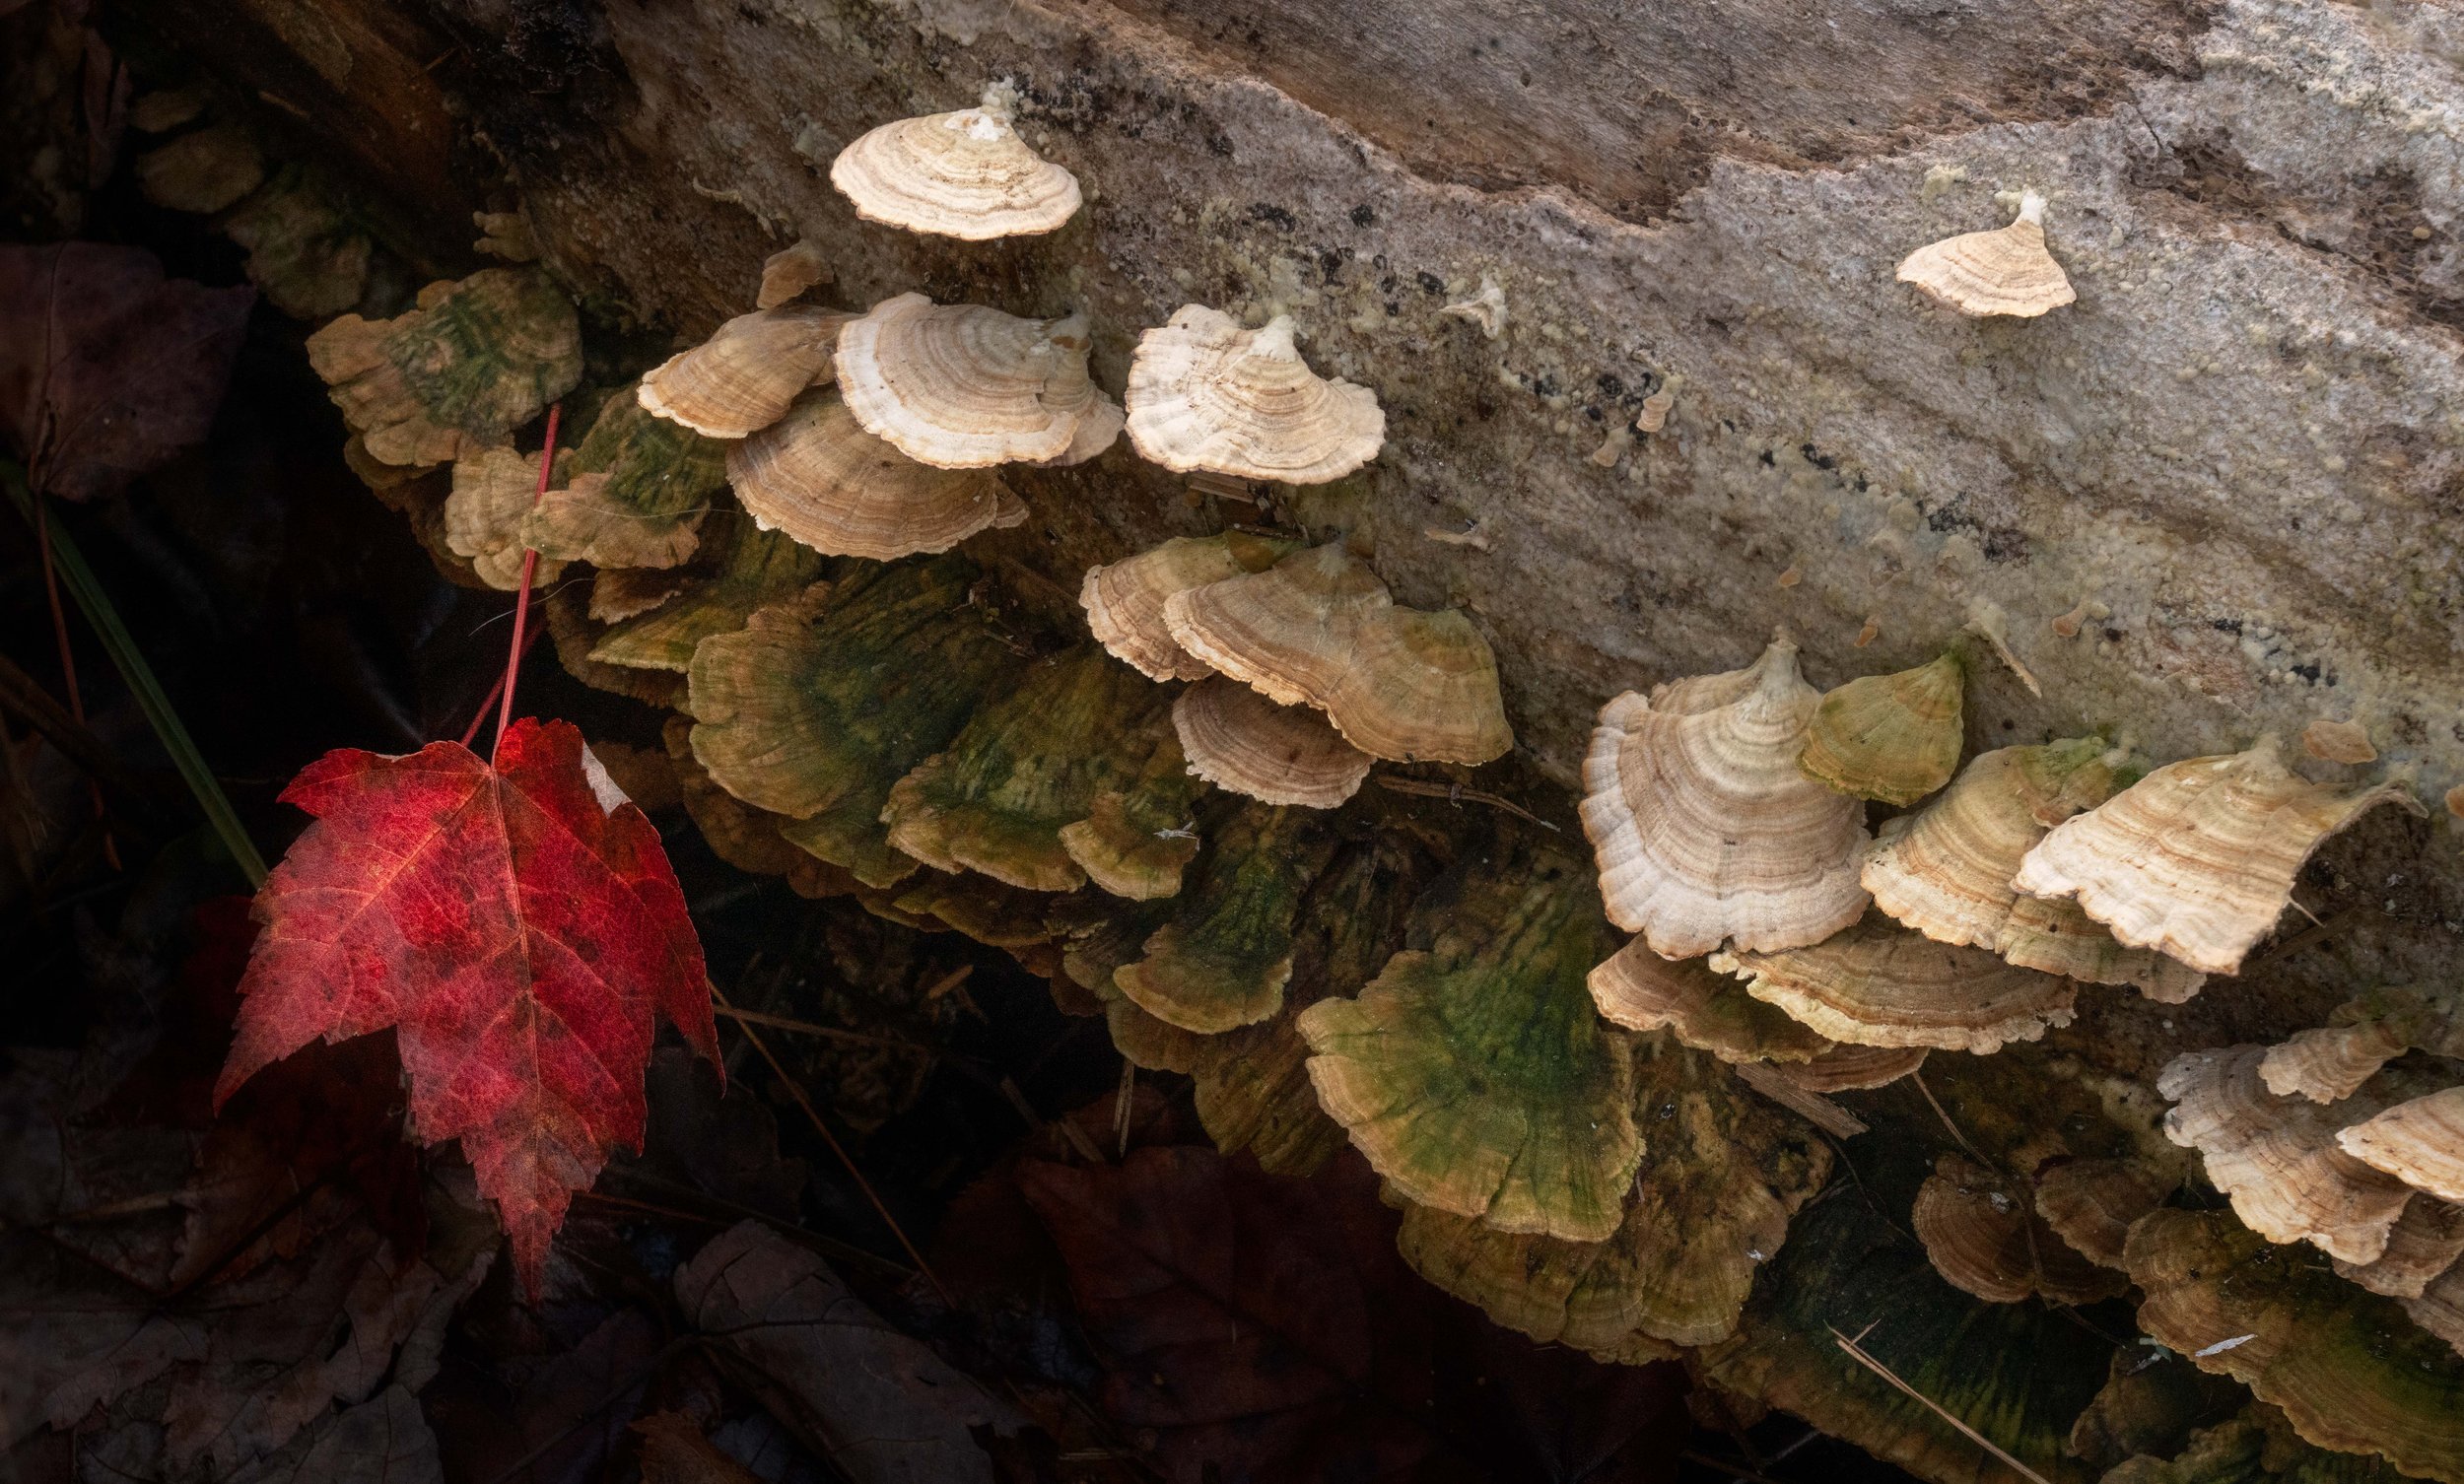
The following three photos were taken at the Wild Gardens of Acadia in Maine. Each photo gets “bigger,” showing how a warm-up build might work. This is the “small” shot.

The “middle” shot of the warm-up.
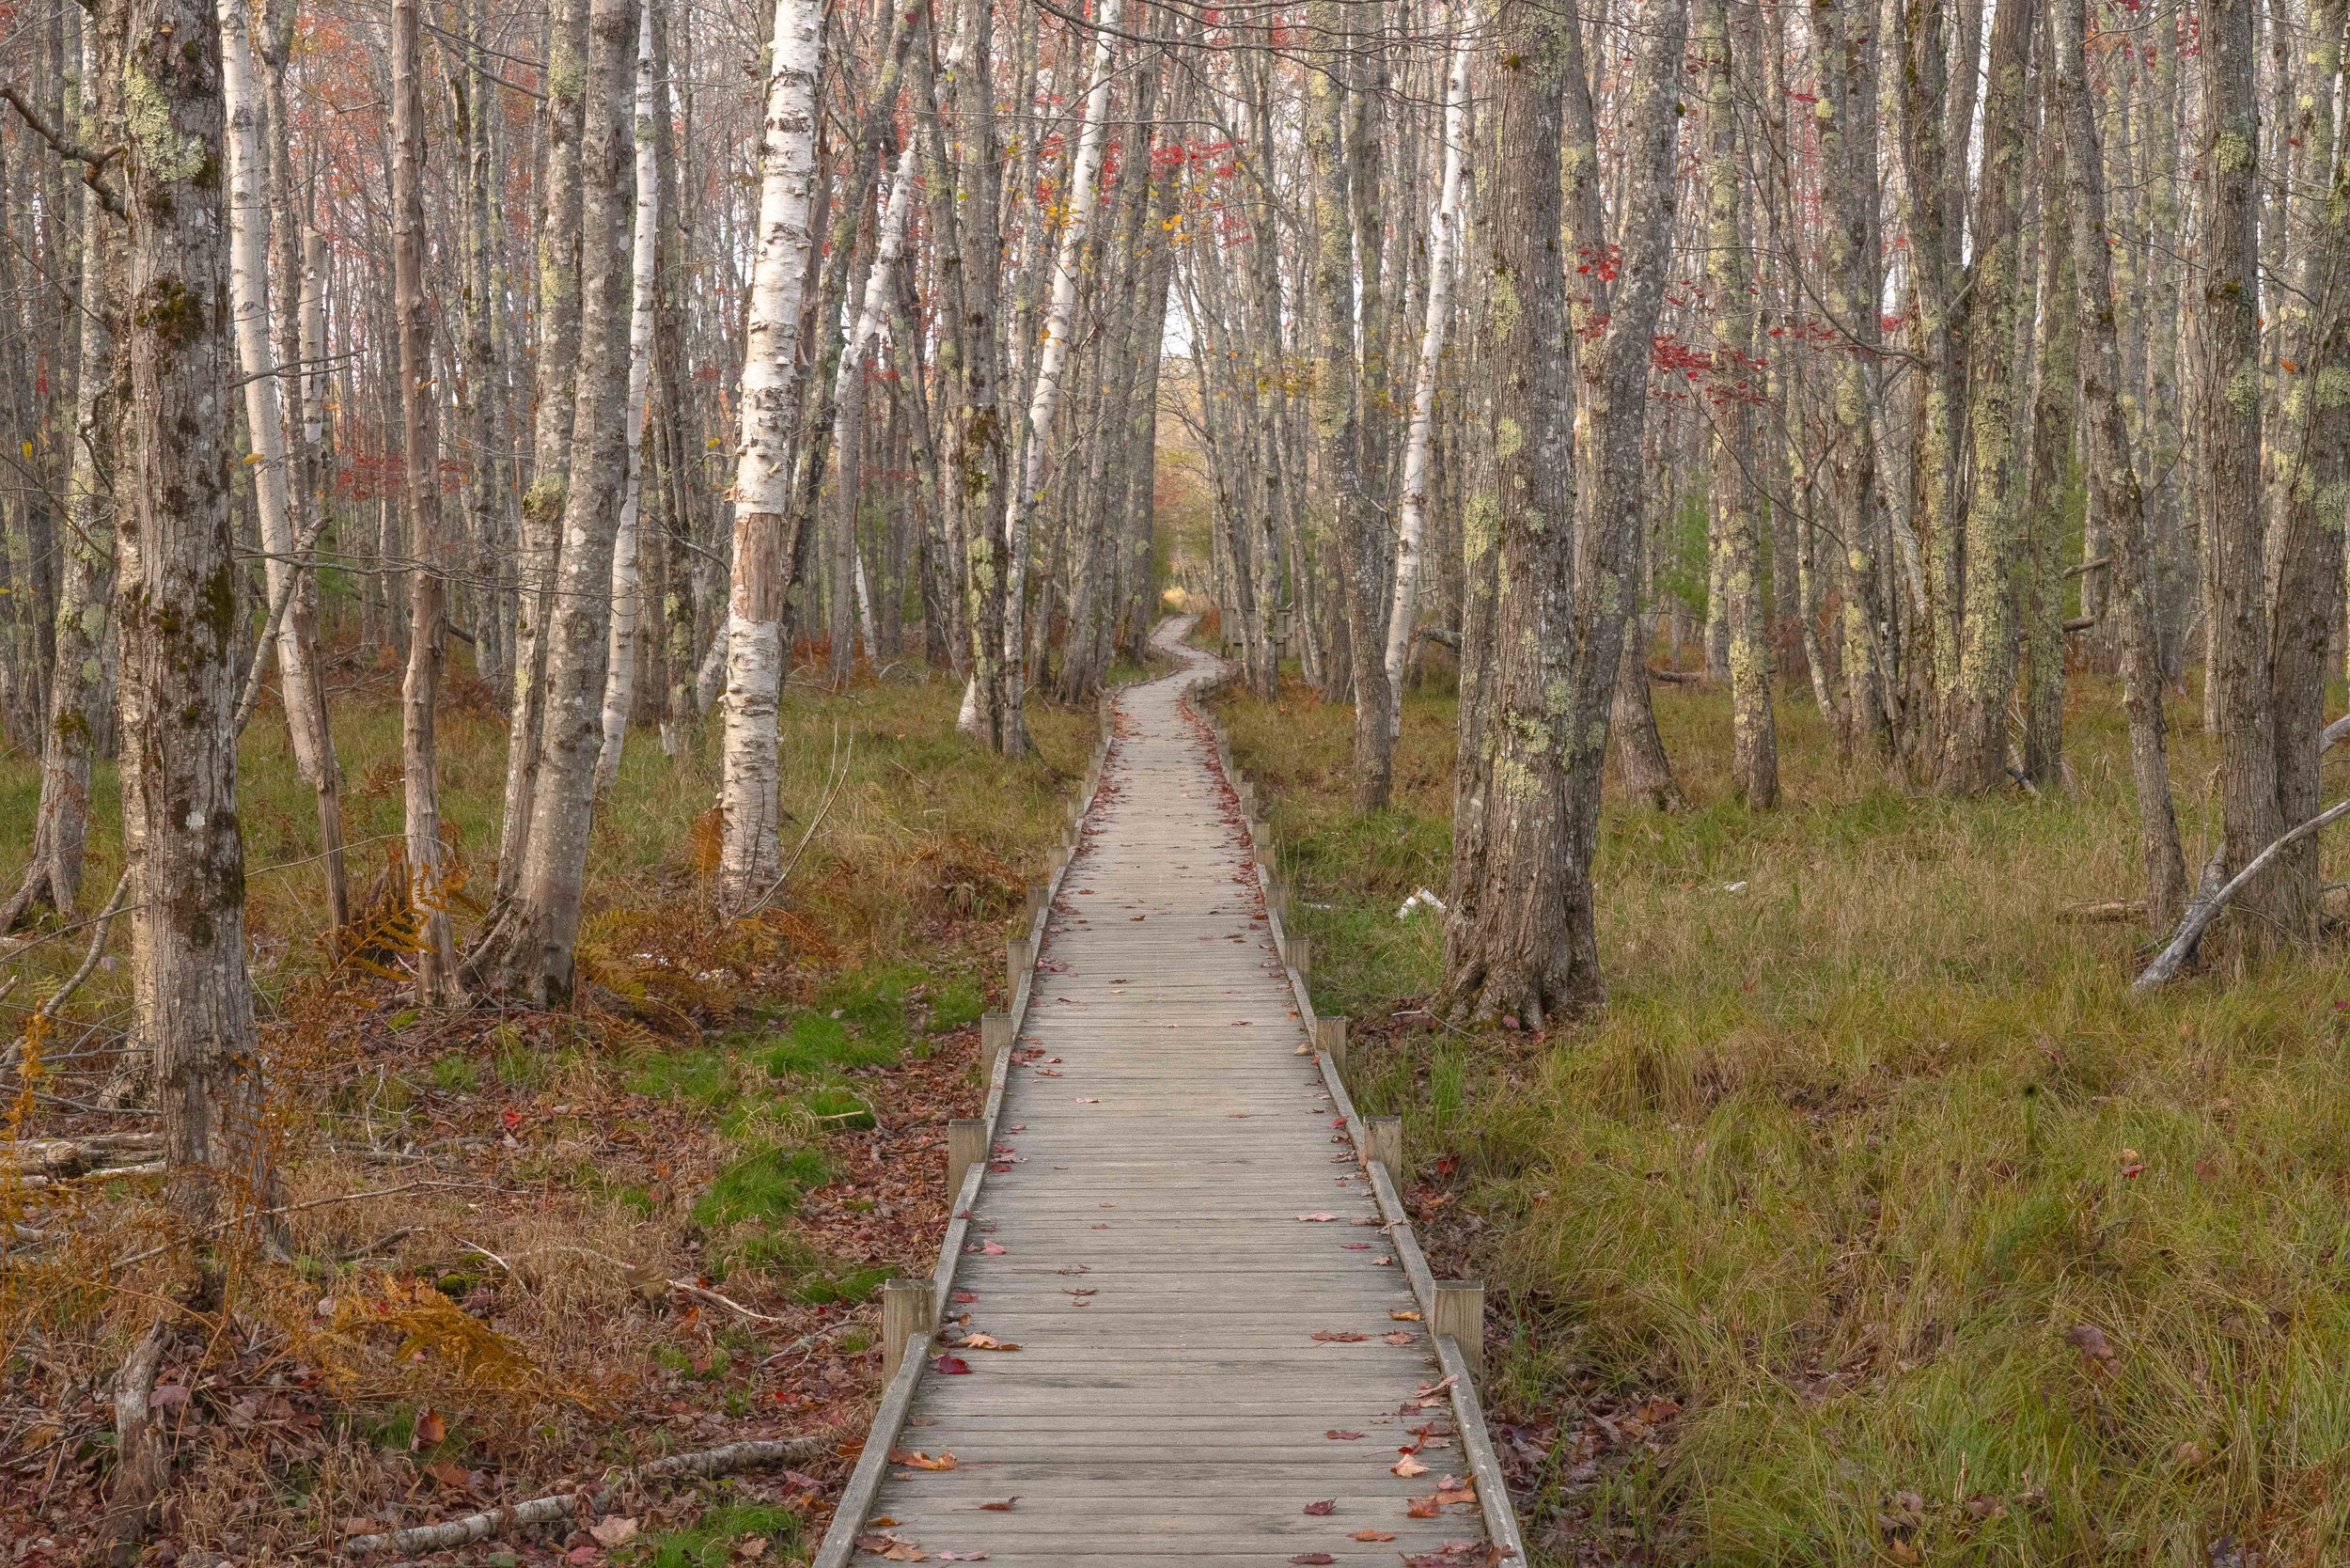
This is the “big” shot of the shoot, taken after the warm-up is complete.
What if You Can’t Get in the Flow State?
Now, not every day is going to be perfect. Sometimes, you just can’t get into it. Especially if you’re thinking about it too much.
Perhaps you’ve done everything right, but something’s not clicking. Maybe the location isn’t what you expected. Maybe it’s too bright. Maybe there’s nothing interesting. It can be all too easy to get into your head, especially when the light’s rapidly disappearing and you’re left uninspired.
Here are two tips that can help:
NLP Trigger (The Tic Tac Trick)
This is a concept from Neuro-Linguistic Programming, also known as NLP. Basically it involves setting a trigger in your brain to force yourself into the flow state.
For example, I keep a small, distinct-flavored candy, like orange Tic Tacs, in my camera bag at all times. Every time I get a great shot, I pop one. Over time, your brain begins to associate the specific candy flavor with the feeling of photography success.
Then on days where you can’t get into the zone, pop one. Your brain knows the association, and it can jump start you out of mental fog.
One thing to note is that this trick can’t be used all the time, or you’ll ruin the trigger. The majority of your associations with that candy need to be successful, so only use it when necessary.
This photo was taken at the Wild Gardens of Acadia in Maine. It’s a subtle reminder of the Tik Tak Trick.
Change the Environment
The second tip I have is to change your environment. If nothing’s clicking where you’re currently standing, move. Even if you’re standing in the best spot!
Changing the locations can help reset your creative mindset, and moving might give you inspiration somewhere unexpected. Then you can return to the “best spot” once you’re free flowing again.
My biggest piece of advice is to NOT go on social media if you’re feeling stuck. This can exaggerate those feelings of inadequacy, and pull you out of the moment. Try changing your music playlist instead, or eating a quick snack.

Don’t get trapped in the prison of your mind. This photo was at taken at East State Penitentiary in Philadelphia.
What if You Don’t Feel Like Going Out?
Sometimes, you don’t want to go shoot. It happens to the best of us, even if you love photography. Burnout is real- especially if you’re shooting multiple days in a row. When this happens, I have a few tricks up my sleeve.
The first is to watch motivational videos on YouTube. Yes, I know this sounds corny, but trust me, it works. There’s nothing better than a former Navy Seal yelling at you to “get after it” while you’re bracing yourself for a 5 mile hike in stark humidity.
A couple speakers I’d recommend are Jocko Willink, David Goggins, and Gary Vee.
Another tip I have is to adopt a no-choice mindset. This falls in line with my “artistic discipline” tenet. Tell yourself: “You don’t have a choice. You’re going out anyway.”
Even if the weather sucks or the lighting is bad, you don’t have a choice. This is the mindset that builds discipline, and more often than not, you’ll come out with an excellent photo.

This photo was taken at Guanella Pass in Colorado. Sometimes it helps to change the genre of your photography if you’re feeling burnt out. For example, get out the drone for a change.
Final Thoughts
The flow state is a delicate and extremely personal mindset. It can take practice to find your footing, and understand how you personally achieve it.
Prepare ahead of time, take it slow, build your momentum, and give yourself the space to create. This warm-up process will lead to consistent success in adventure photography.
Let’s go ahead and cut to the next tutorial, where I’m going to cover the basics of Composition!