
How to Maximize Image Quality
Learn the difference between RAW and JPEG, and about 5 additional settings to maximize image quality in your camera.
Prefer to watch this tutorial in video format? 😏
Introduction
Now that we’ve talked all about gear- specifically lenses, camera bodies, accessories, and how to care for your setup, let’s go ahead and talk about the actual camera itself.
What settings can we implement to make sure we’re shooting the best possible images? In this tutorial, I’m going to start by going over the differences between RAW and JPEG image formats, and give you my personal recommendation between the two. Then, I’ll cover five additional settings you can implement to maximize your image quality.
Let’s jump in!

This photo was taken at Theodore Roosevelt National Park in North Dakota, utilizing RAW file format.
RAW vs JPEG: What’s the Difference?
You’ve probably heard the term JPEG if you’ve spent any time on the internet. It’s one of the most popular image formats in the world. RAW format, on the other hand, is much less known. In fact, it’s almost a “secret format” for the photography community.
RAW files are exactly what they sound like: more stripped down versions of JPEGs. They look basic when they come straight out of the camera, but they actually hold a massive amount of information within them. More information than JPEGs, actually. Never judge a book by its cover!
Specifically, RAW files have a much larger dynamic range and can capture more color details than JPEG files. (Don’t worry, we’ll go over what Dynamic Range means later on.) For now, all you need to know is that RAW files give you more detail in both the shadows and highlights of your image than JPEG ones.
This means that when you take these photos and edit them, RAW files give you more flexibility to pull out these details and make substantial changes. With a JPEG file, you’re limited. There’s less information to work with, and you’re mostly stuck with how the camera interpreted the scene.
But there’s a catch: RAW files require editing to look good. Straight out of the camera, they look underdeveloped, flat, and lifeless. But after editing, you can transform them into solid images.
One thing to note is that RAW files are much larger in size than JPEGs. This means that if you’re patient with the uploading process and plan to spend more time editing, RAW files are the perfect choice. However, if you need to work quickly or have a substantial amount of photos to go through, JPEG might be the way to go.
Personally, I always shoot RAW, as I rarely deal with thousands of photos at once. Most of my landscape and urban adventures yield 100-400 photos per session. That’s a manageable number of RAW files, and I can quickly cull the keepers for editing in Lightroom and Photoshop.
The only time I shoot JPEG is for casual snapshots (like family events) or timelapses when I need to prioritize speed/bulk over flexibility. The moral of the story is that I recommend shooting RAW whenever you can. It gives you more detail and flexibility in the editing process.

This is an un-edited RAW file, straight out of the camera. Notice how it is bland, lacks color, and depth.
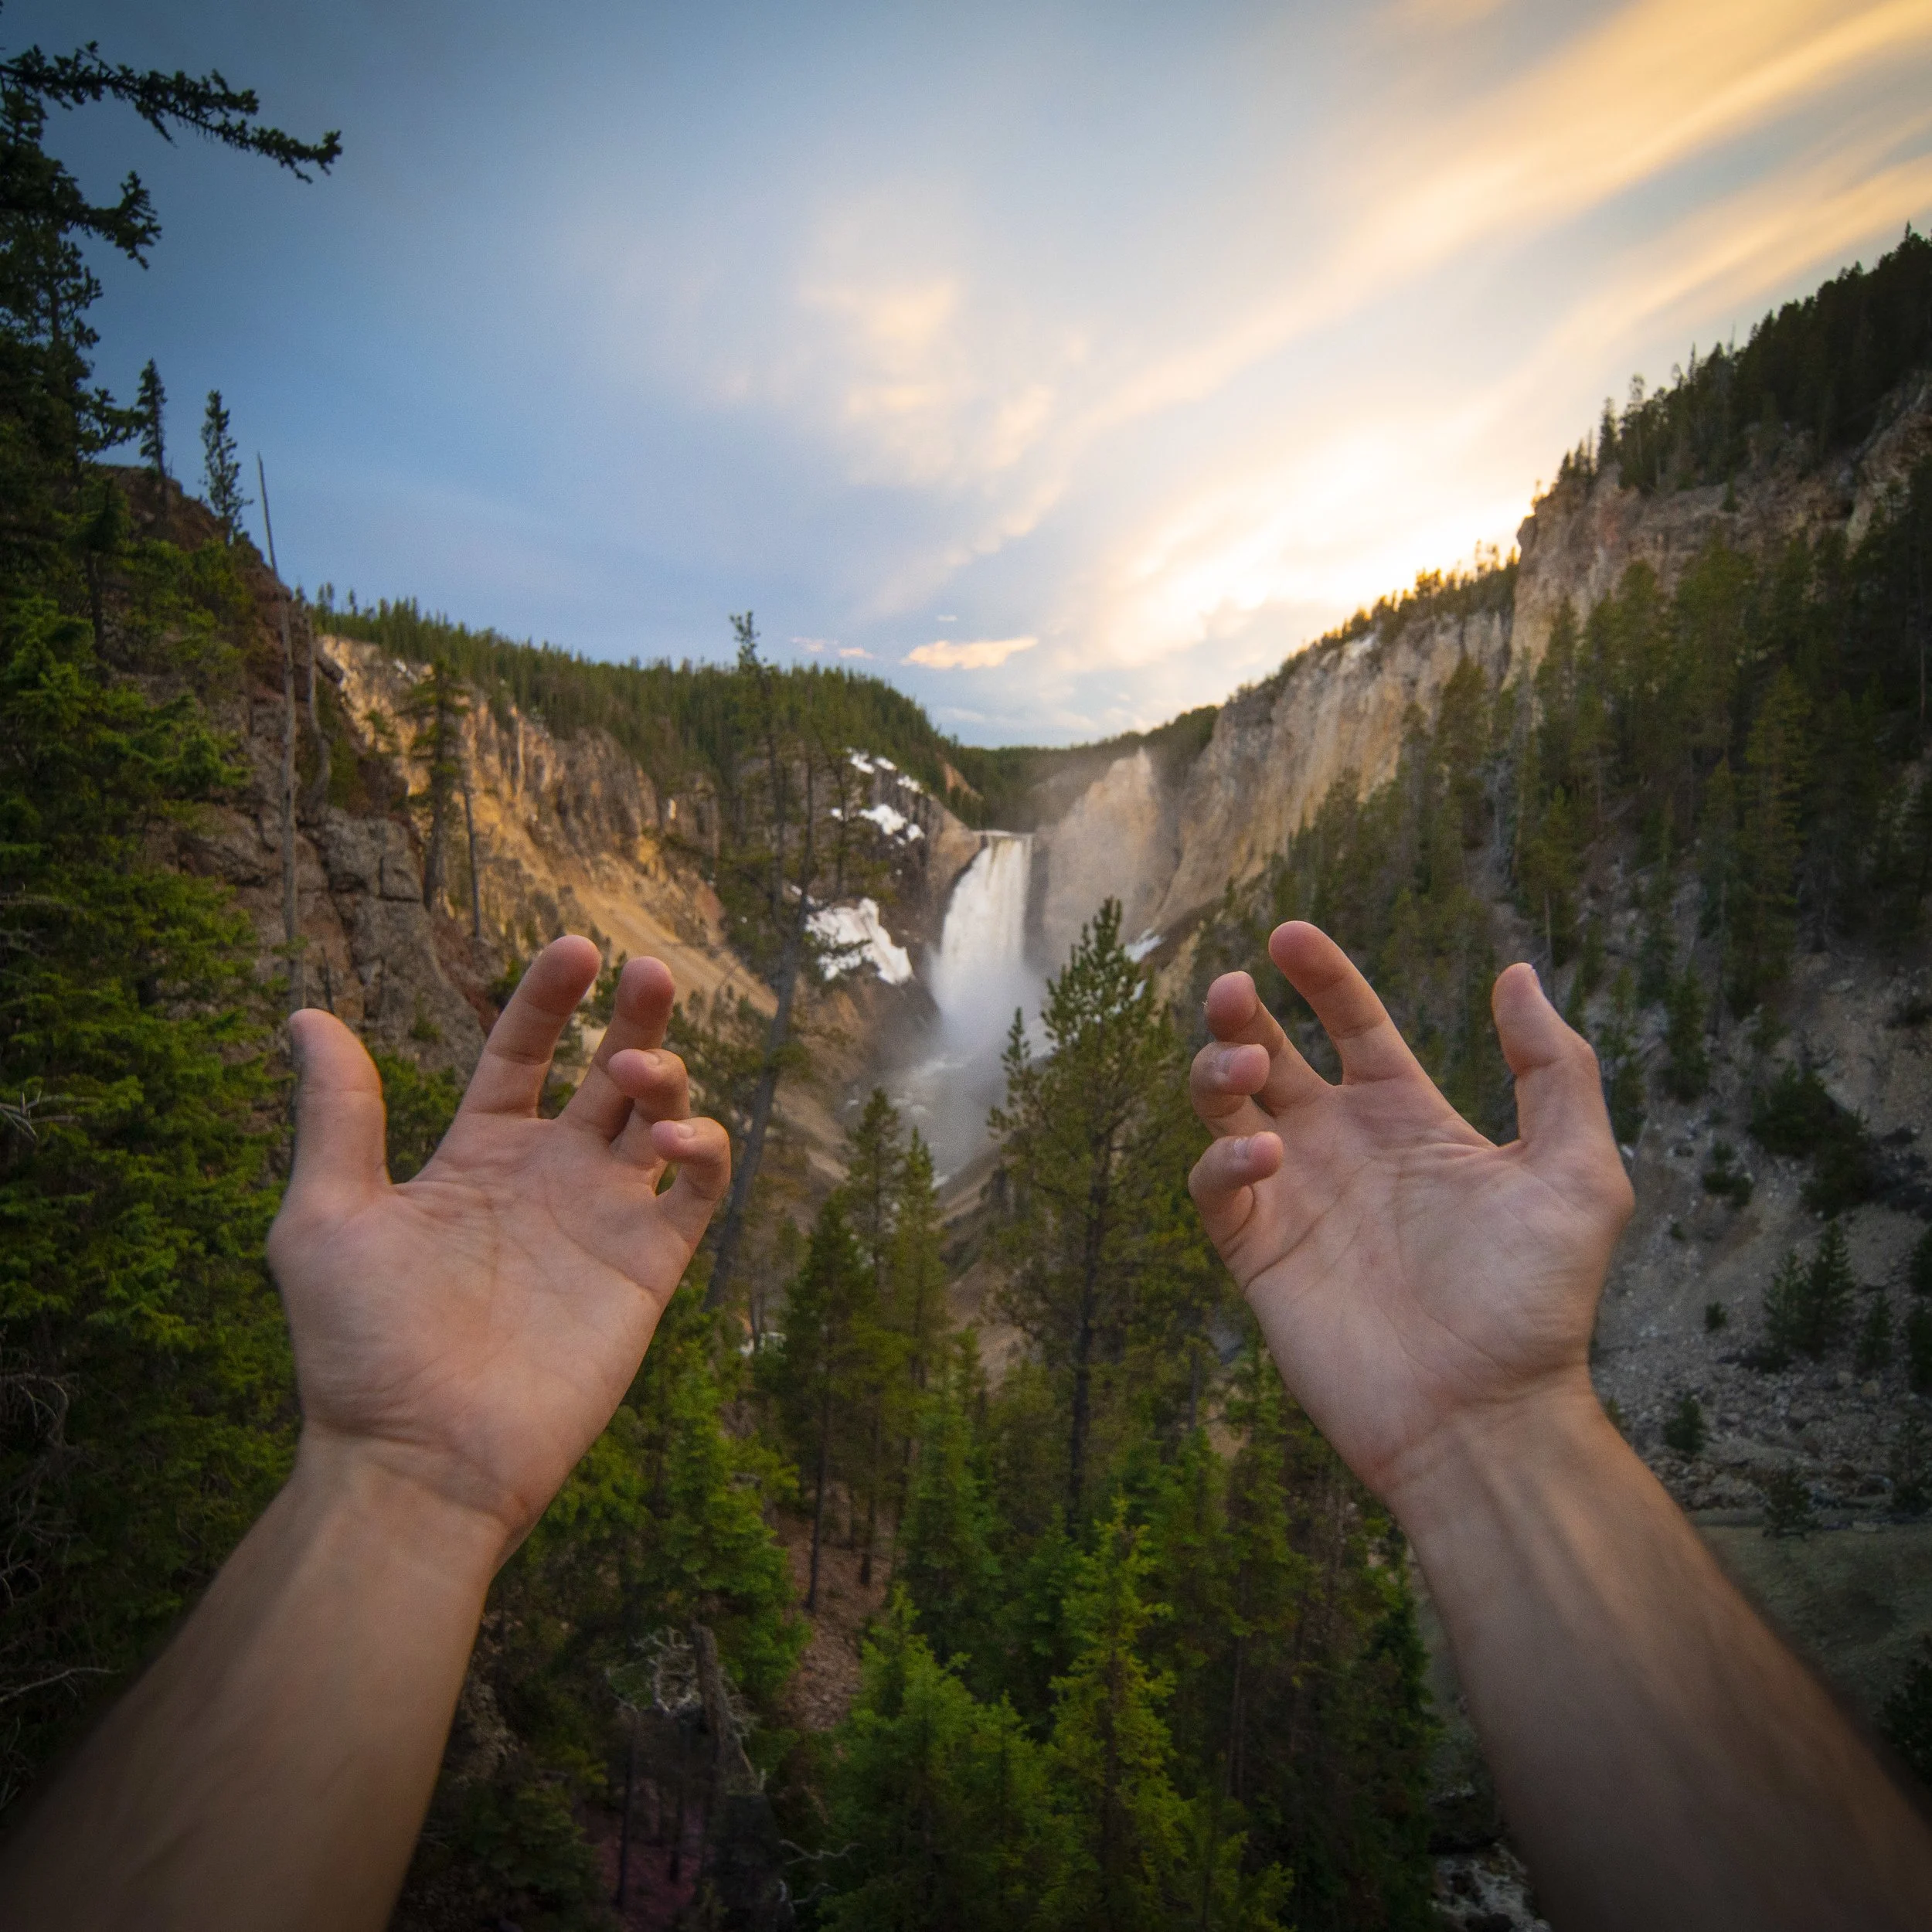
This is the same RAW file, edited in Lightroom and Photoshop. It was taken at Yellowstone National Park in Wyoming.
5 Additional Camera Settings
Let’s briefly touch on some additional settings you might see in your camera menus:
1. Compressed RAW vs. Uncompressed RAW vs. Lossless Compression RAW
The difference between these three different types of RAW files is essentially size.
Uncompressed RAW files have the highest quality. They retain all the data, but are the largest in size.
Compressed RAW files are similar, but they’re smaller in size. In turn, you get a slight loss in quality. However, they’re still far better than JPEG format and are ideal if you’re trying to save space.
Lossless Compressed RAW files are the best of both worlds, but not all cameras offer them. They essentially retain all the RAW data, but manage to compress the file intelligently so you save space. Personally I use this format on all my cameras, paired with 256GB SD cards. This is more than enough space for several hour adventures.
2. White Balance
The white balance setting adjusts the color temperature of your image (warm vs. cool), and it is measured in Kelvin units. A higher Kelvin rating (8000K, for example) indicates a cooler temperature, while a smaller Kelvin temperature (2700K, for example) indicates a warmer temperature.
If you’re shooting in RAW format, white balance doesn’t matter too much, as you can adjust it later in post-production without any harm. I usually leave my white balance setting on Auto. But if shooting in JPEG, make sure to adjust your white balance manually before you take the photo, as it will be baked into the file, making it difficult to edit later on.

This photo was taken at the Alpine Vista in California. It contains a warm white balance.

This photo was taken at Volcán Santiaguito in Guatemala. It contains a cool white balance.
3. Resolution
Full-frame cameras often allow you to crop your photos in-camera. For example, you might have the ability to crop your photo to be APS-C sensor size. However, I always recommend shooting at full-frame resolution and cropping later on in post-production if needed. This way, you always have more data to work with if needed.
4. Bit Depth
A higher bit depth means more color information. Choose the highest bit depth available (typically 12 or 14-bit) for maximum color fidelity. Note that this also means a larger file size.
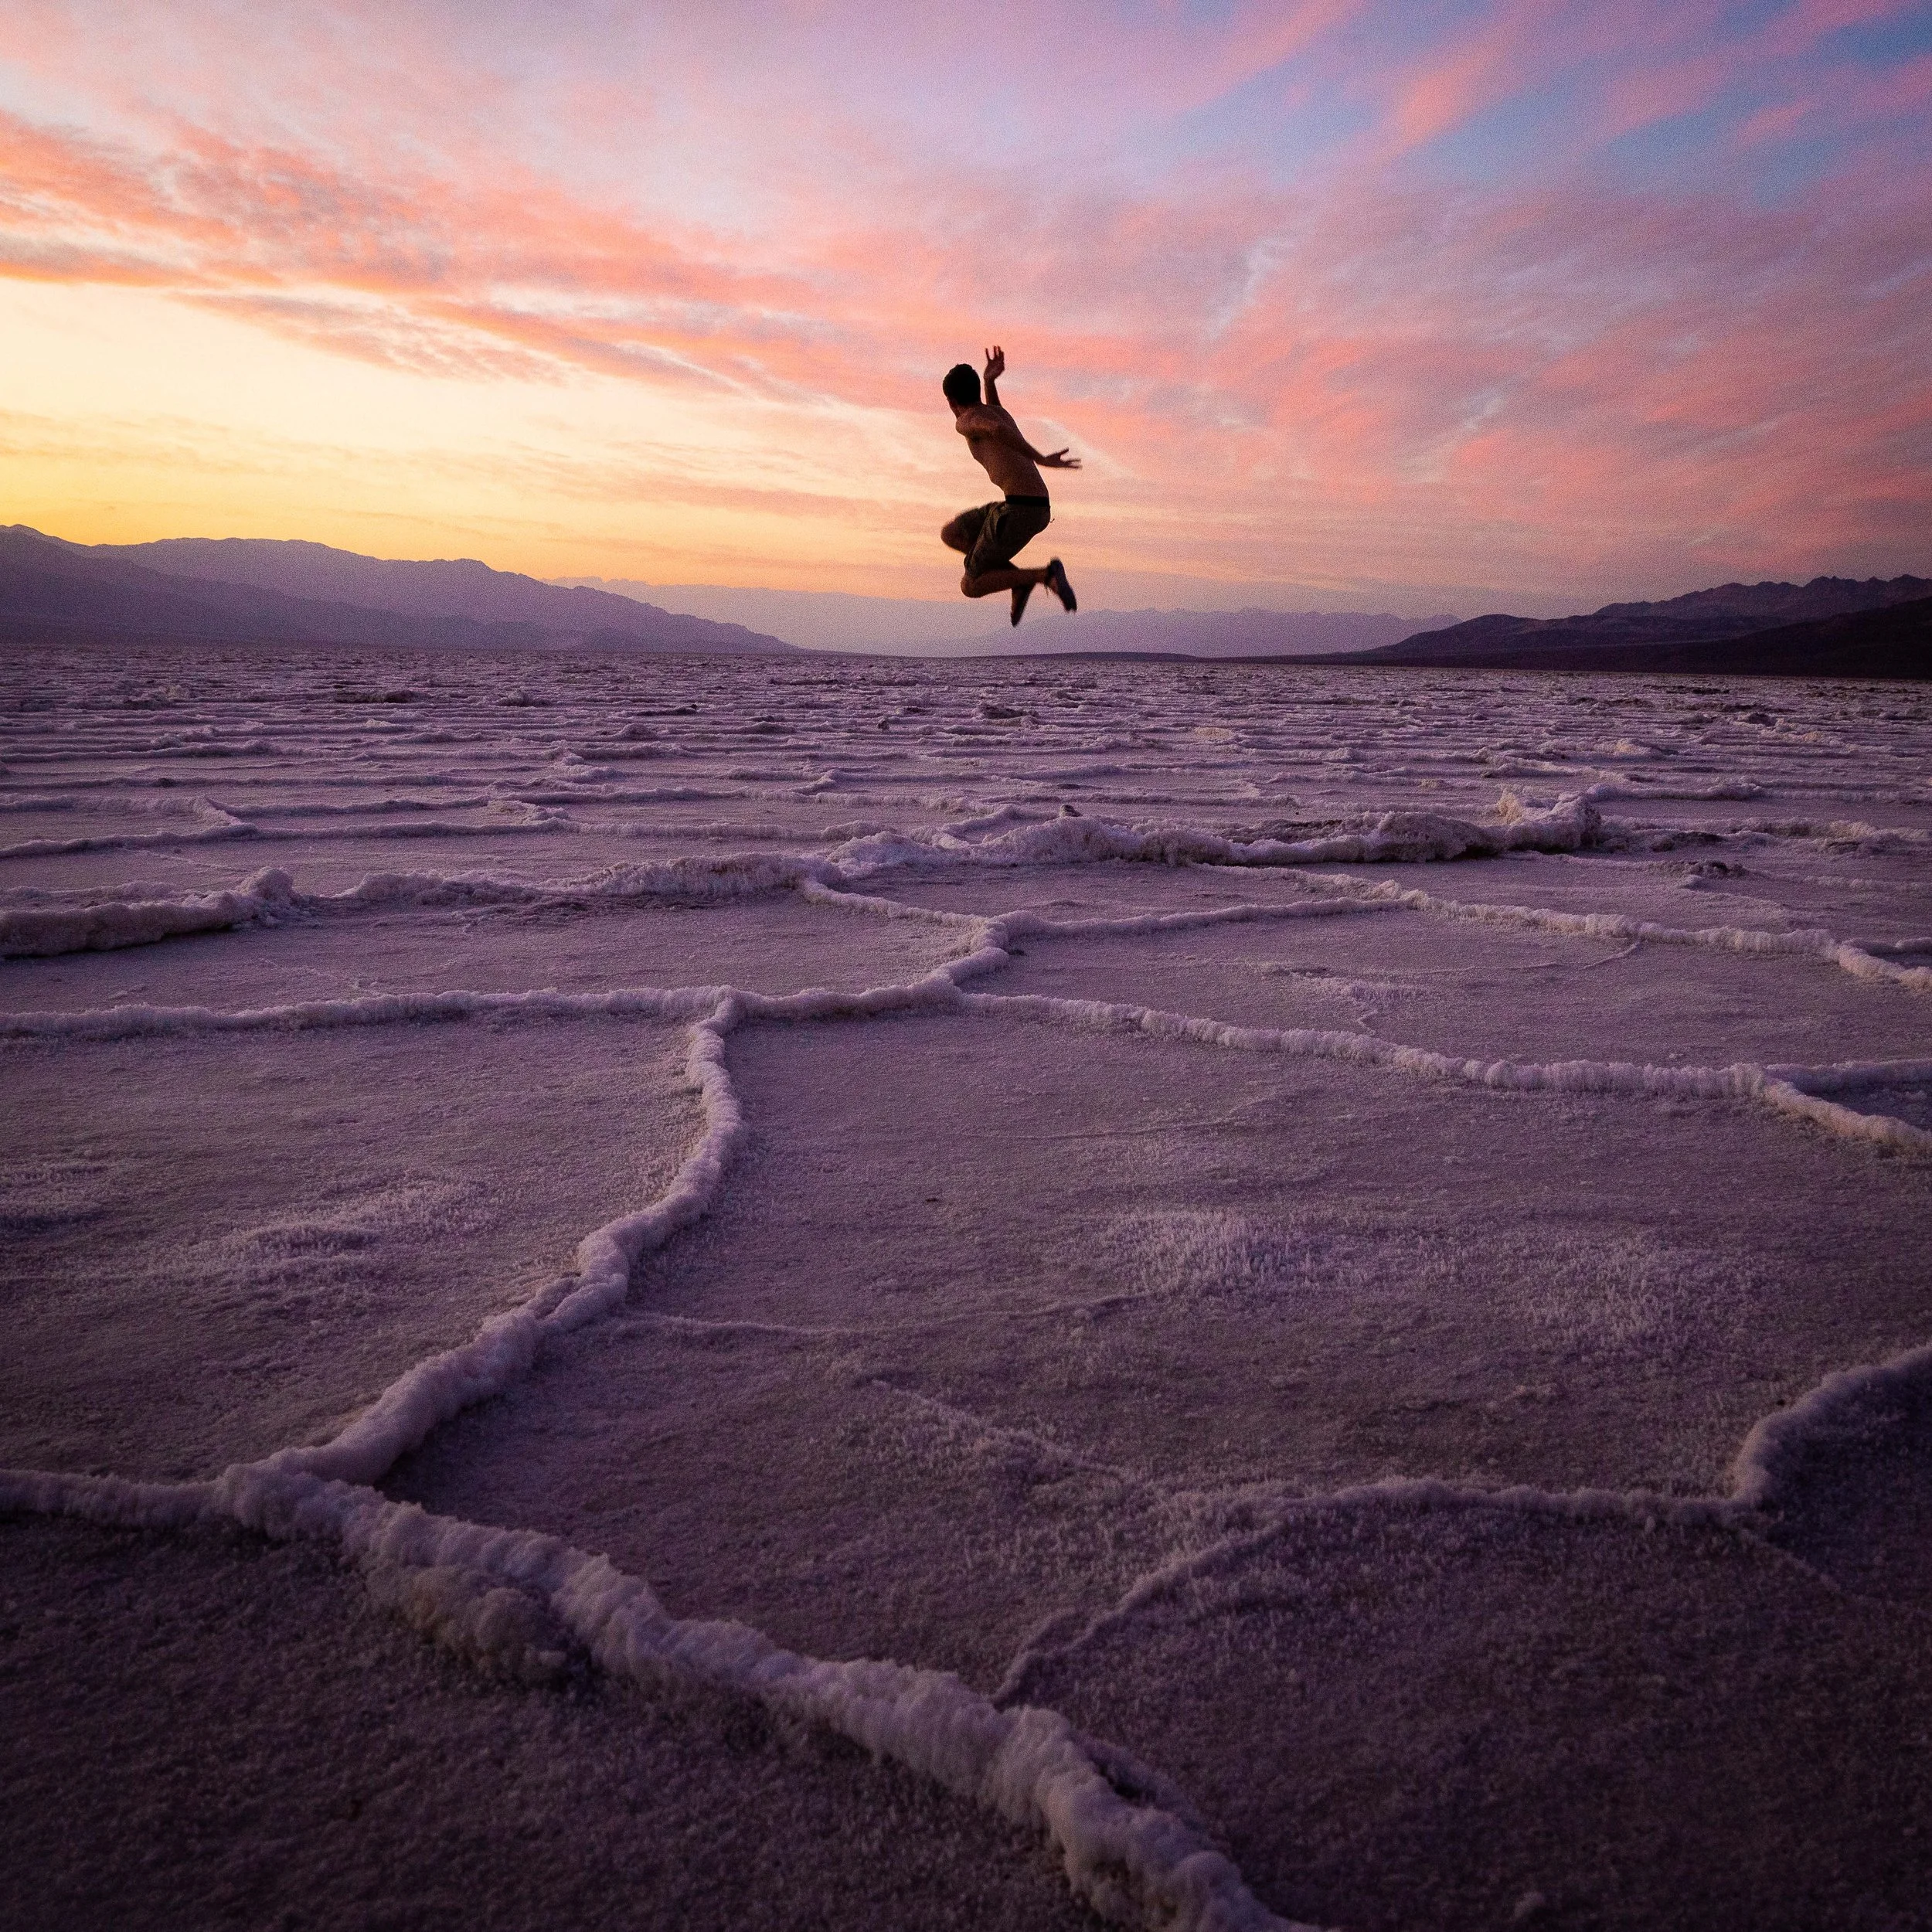
This photo was taken at Badwater Basin in Death Valley. Maximize your color bit-depth setting for the best color results.
5. RAW + JPEG Shooting
Many cameras these days let you shoot RAW + JPEG files simultaneously. This means both file types will be saved to your SD card, with one typically as a backup. If you’re just starting out, this is a great way to compare the differences side by side.
You’ll even notice that some higher-end cameras will have two SD card slots. This means that you can set one card to save RAW files, and the other to save JPEGs. If one SD card fails, you’ll have the other as a backup. This is a great practice if you’re shooting in once in a lifetime locations, or doing shoots for clients where you can’t afford to lose the data.
Another hack is to program one SD card for RAW files, and one SD card for video files to make the Importing process quicker.

This photo was taken at Salto de Malacatiupan, a hot springs waterfall near the border of El Salvador. There’s a good chance I will never go here, so shooting with backup JPEG files was a good idea.
Final Thoughts
In conclusion, there’s a million and one settings in your camera, but only a few that are going to make a real difference in your image quality. Dial the following settings into your camera, and you’re be good to go:
Shoot in RAW format- Uncompressed or Lossless, if possible.
Keep the White Balance on Auto, as you can edit it post-production without harm (unless you’re shooting in JPEG format.)
Always shoot in Full Resolution, save the cropping for post-production.
Choose the highest Bit Depth possible for maximum color fidelity.
If your camera allows it, shoot in RAW and JPEG so your camera has a backup file in case one corrupts. I’d recommend using two memory cards, and setting your camera to print one on each card.
With these settings in place, you’ll be capturing the best possible images with your camera.
Now let’s talk about Dynamic Range- perhaps one of the most important topics in photography.